The Fall Roof Check From the Ground: Shingle, Flashing and Vent Signs Visible Without a Ladder
What Fifteen Minutes and a Pair of Binoculars Can Honestly Tell You
By
Published: September 11, 2026
Updated: September 14, 2026
Fact-checked · , including Natural Resources Canada, Statistics Canada & Government of British Columbia
Credit: Shutterstock
Key Takeaways
•Ground-level observation is a recognized inspection method, not a shortcut — Canada's national home inspection standard requires certain components to be checked exactly this way.
•Most of what you can see from the driveway points at a cause rather than a verdict, and several of the classic "bad shingle" signs are actually telling you something about the attic underneath.
•Roofing cement has a published minimum application temperature of 5 °C, which is what decides whether a finding is a call this month or a call in April.
There is a particular kind of autumn dread that arrives when you glance up at your own roof. Something looks different. A patch near the chimney seems darker than it did in June, or a row of shingle edges is catching the light in a way that feels new. And then the calculation starts: you are not climbing up there, you would rather not pay for an inspection on a hunch, and winter is maybe eight weeks out.
Here is the good news, and it is better news than most people expect. A surprising amount of roof condition is legible from your own driveway. Not everything — and the honest boundaries matter enormously, so we will draw them clearly. But the things that actually matter most before a Canadian winter tend to be the things that show up as pattern, colour and shape at distance, which is precisely what a pair of binoculars is good for.
What follows is a walk you can do in about fifteen minutes, on four sides of your house, with your feet on the ground the entire time. You will come back with a photographed list. More usefully, you will come back knowing which items are a phone call this month, which can wait for warmer weather, and which were never a problem at all.
Why a Ground-Level Look Is a Real Inspection Method
Let's deal with the self-doubt first, because it stops people before they start. You may assume that anything short of standing on the roof is guesswork — a homeowner's approximation of the real thing.
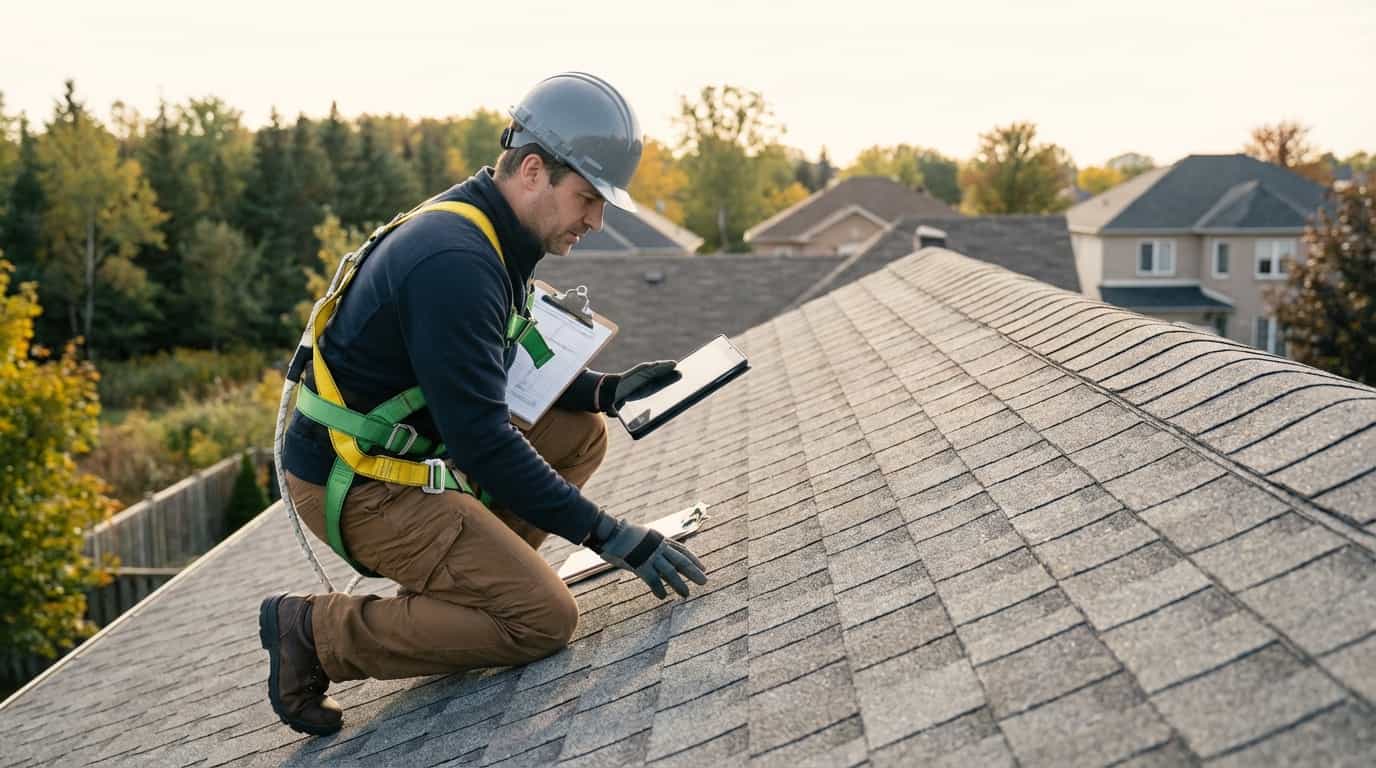
It isn't, and the profession's own rulebook says so. The 2024 National Standards of Practice published by the Canadian Association of Home & Property Inspectors requires inspectors to examine eaves, soffits and fascia "where visible from the ground level." That phrase is written into the standard itself. Ground-level observation is not what an inspector falls back on when the ladder is in the van; it is a defined category of required observation with its own place in the document.
Two more clauses are worth knowing. The standard requires an inspector to describe the methods used to inspect the roof, which means a professional report says how the roof was observed rather than quietly implying someone walked it. And inspectors are not required to enter any area that would, in their opinion, be hazardous to themselves or others. A qualified professional is permitted to decline unsafe access and still deliver a valid inspection.
So when you stay on the ground, you are not cutting a corner. You are applying the same rule a professional applies, to your own house, for free.
Where to Stand, What to Bring, and When to Go Out
The kit is short. Binoculars, or a phone with a decent optical zoom. A notebook or your phone's camera roll, because the point of this exercise is documentation rather than memory. Comfortable shoes, since you are walking the whole perimeter.
The method is just as simple: walk all four elevations, and look at each one separately. This matters more than it sounds. Roofs age unevenly, and the differences between the sides are diagnostic in themselves — the south-facing slope takes the heaviest ultraviolet load, while the north-facing slope stays damp longest. Stand back far enough to take in a whole plane at once, usually across the street or at the far edge of your yard, then work closer for detail. Photograph anything that looks unusual, and photograph it wide as well as zoomed, so you have the context later.
On timing, the Canadian Roofing Contractors Association recommends inspections twice a year, in spring and fall, plus after any major weather event including heavy rains, high winds and ice storms. Its description of a typical inspection is quietly encouraging for anyone doing this themselves: it includes a review of interior walls and ceilings for water staining and exterior walls for cracking and moisture, alongside the roof surface itself. Two of those three are checks you can do properly and unaided.
Early October is the sweet spot in most of the country, for reasons that will become clear when we get to the repair calendar. If you want to extend this walk into a fuller exterior sweep, our 20-minute exterior check for hail and windstorm readiness covers the siding, windows and yard in the same pass.
Warning
This article never asks you onto a ladder or a roof, and that rule holds for the rest of the season too. Beyond the obvious risk to you, the Roofing Contractors Association of British Columbia lists foot traffic among the factors that actively damage roofing — so walking a shingle roof to look at it can create the very problem you went up to find.
The first stop is at eye level, which is a relief after all that squinting at rooflines. Look at the base of each downspout, and at the splash block or the ground beneath it, for accumulated granules — the coarse mineral grit that surfaces asphalt shingles.
Now, here is where almost every article on this subject goes wrong, so let's be careful. You will find pages online offering tidy thresholds: under twenty percent granule loss means monitor, twenty to fifty means replace within two years, and so on. Those numbers are invented. No shingle manufacturer publishes a measurable granule threshold, and once you understand why, you will stop looking for one.
IKO, which runs Canadian shingle plants, explains that an excessive quantity of granules is applied deliberately during manufacturing to guarantee the asphalt beneath is completely covered. The loss of that surplus is normal and does not affect shingle performance. Granule loss only becomes a problem, in the manufacturer's own words, when much of the asphalt becomes exposed on the shingle surface.
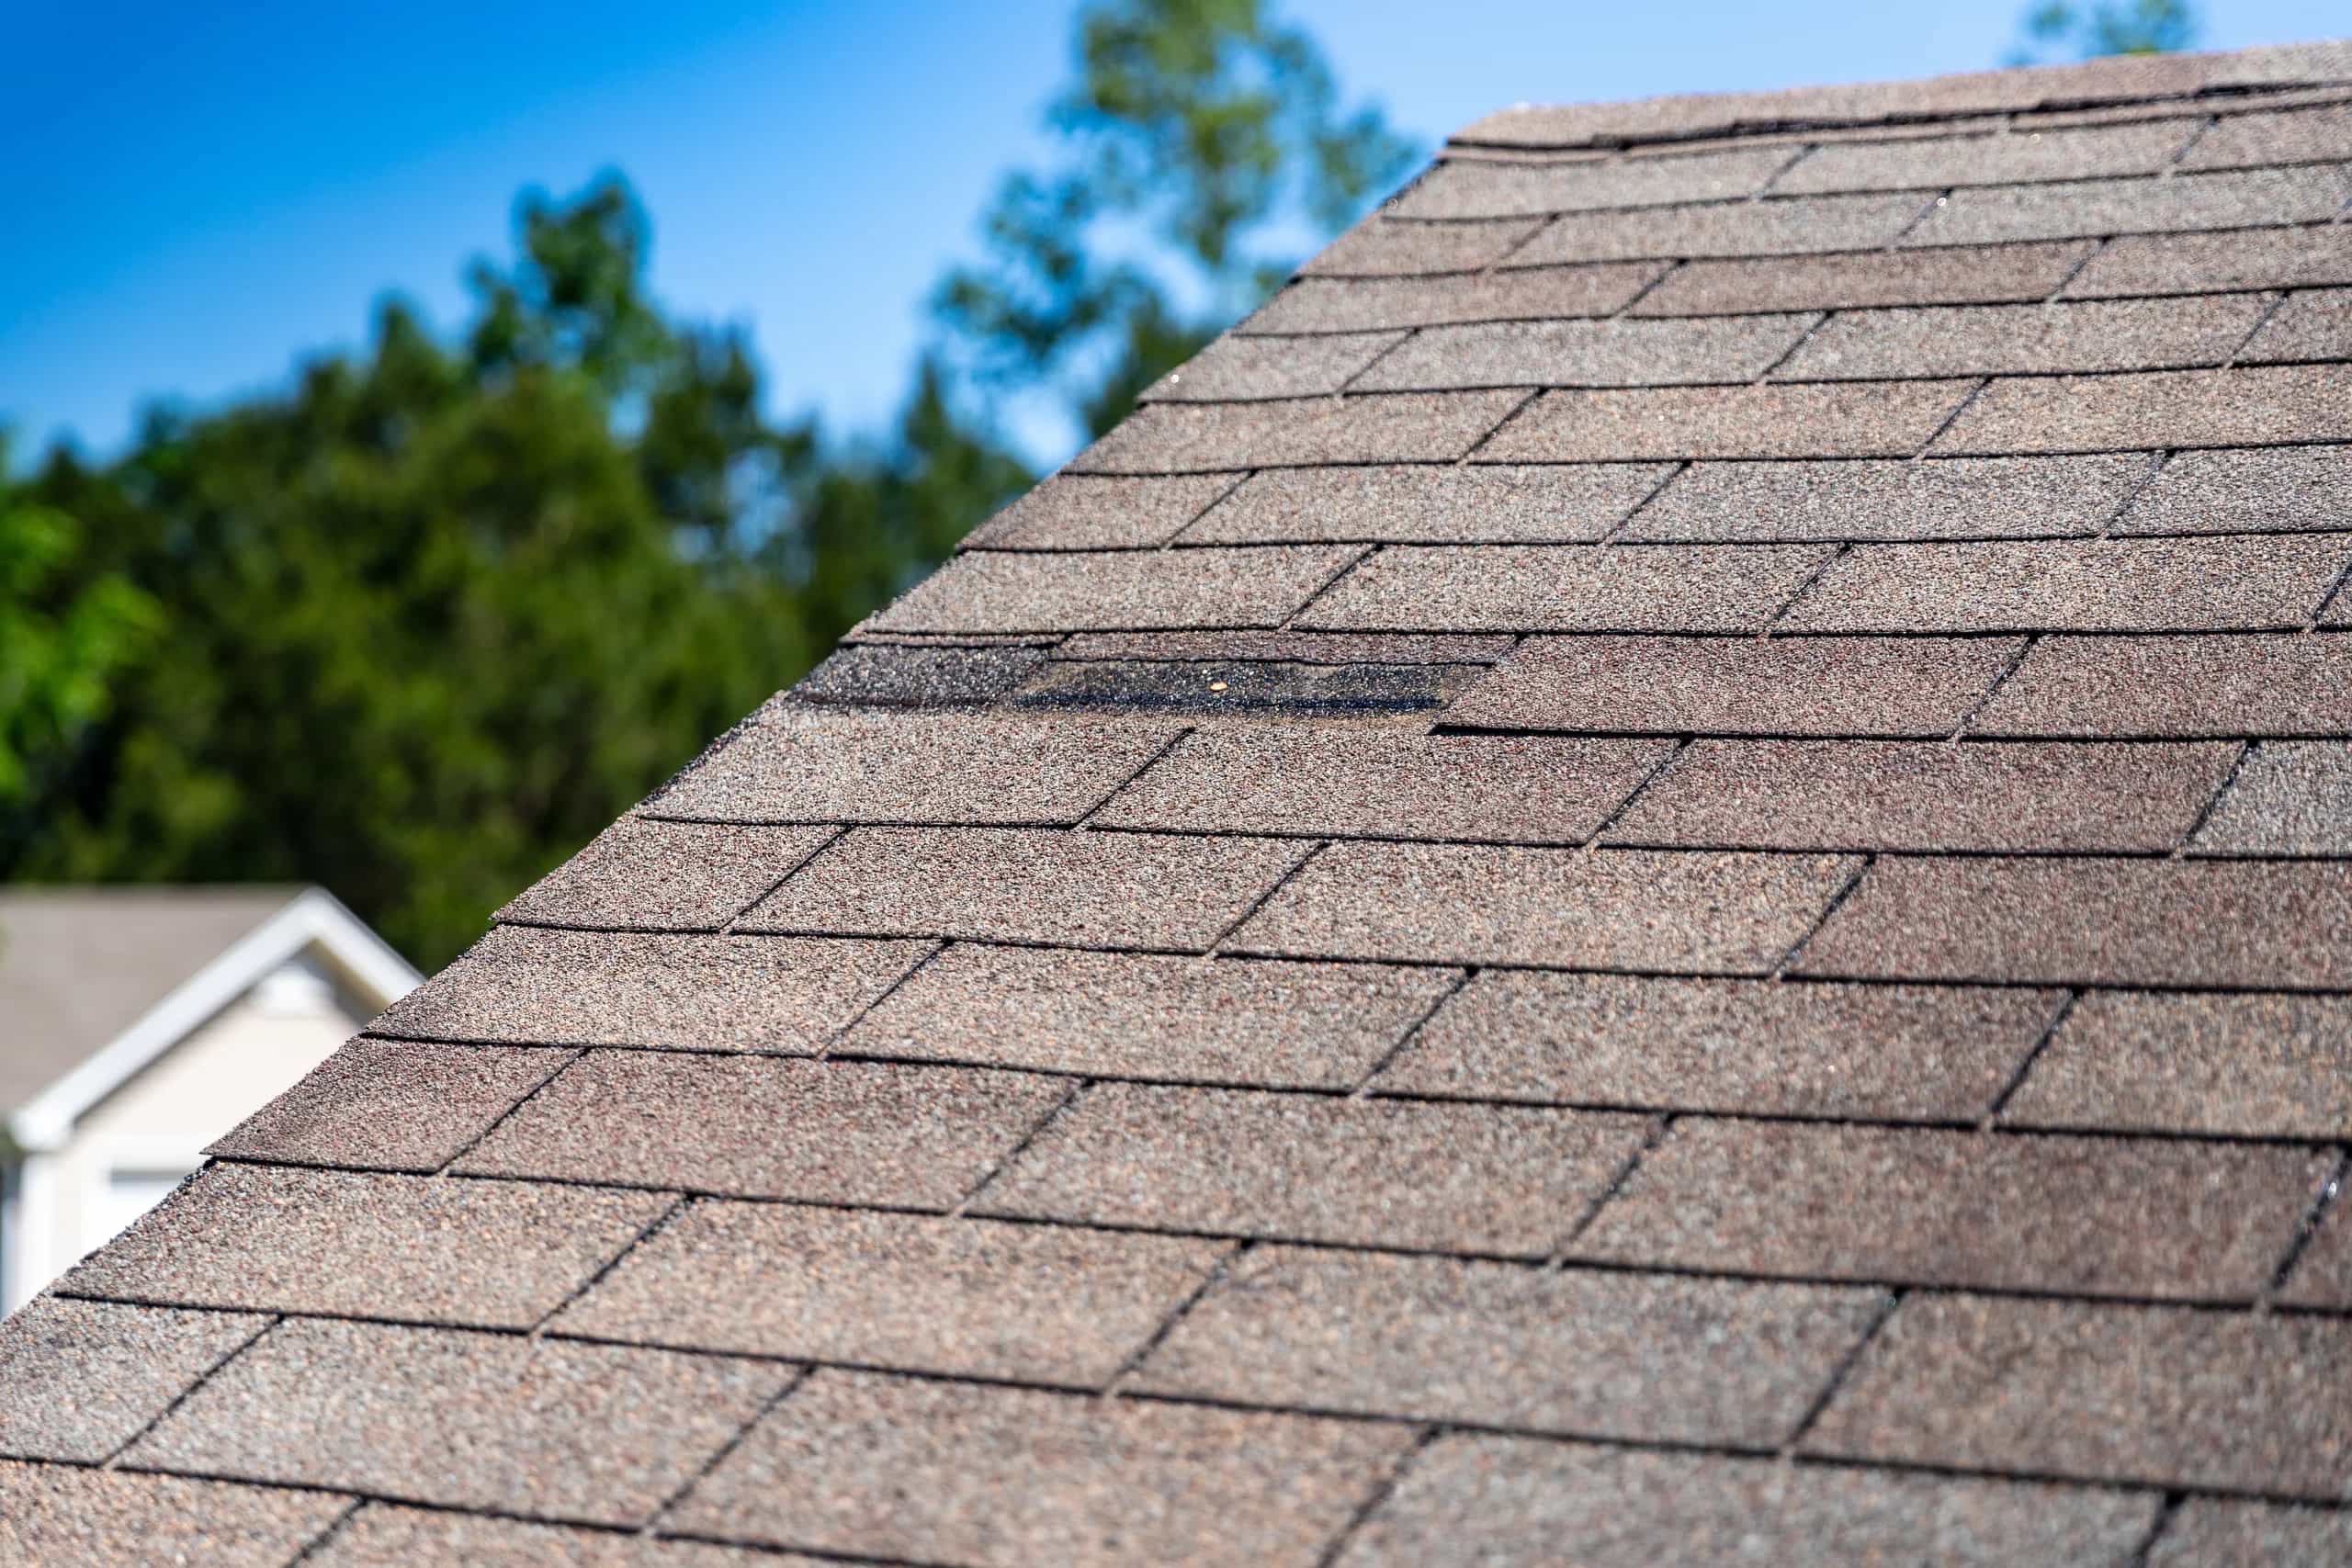
Read that again, because it relocates the entire test. The question is not how much grit is in your downspout. The question is whether bare asphalt is showing up on the roof — shingles that have gone from a uniform granular colour to a patchy, darker, smoother appearance in places. A brand-new roof sheds noticeably for its first season and that is expected. An older roof with clean downspouts and bare patches visible from the driveway is in worse shape than a roof with grit at the splash block and an even surface colour.
So treat the downspout as the prompt rather than the measurement. If you find granules, it tells you where to point the binoculars next.
Reading the Shingle Field
Now for the broad expanse of shingles, where distance genuinely helps. Up close, a roof is a thousand individual pieces. From across the street, it is a pattern — and pattern is the diagnostic.
Buckling, and the Straight-Line Test
If you can see ridges or waves running across the shingle field, look carefully at how they are arranged. The Asphalt Roofing Manufacturers Association draws a distinction here that works beautifully at thirty metres. Moisture-induced deck effects typically show distortions coincidental with the joints in the roof deck panels or lumber, which appear as regular, straight, evenly spaced lines. Distortion caused by wrinkled underlayment, by contrast, is random throughout the roof area and not aligned with deck joints.
That difference changes who you call. And there is a further point in the same bulletin that homeowners almost never hear: the association attributes deck movement partly to inadequate ventilation of the attic space, because restricted airflow beneath the deck creates moisture and temperature problems that move the wood. The defect you can see is on the shingles. The cause may well be under them.
Curling, Cupping and the Cold-Morning False Positive
Shingle edges that lift are not all the same thing, and the terms get used interchangeably in a way that causes real confusion. Cupping and clawing describe different shapes with different causes and should not be treated as one condition.
More practically, for an article you are probably reading in sweater weather: IKO documents a distinct phenomenon called winter curling, in which the front edge of a shingle tab lifts into a shallow saucer shape in cold weather and flattens again once it warms up. It is a manufacturer-documented, reversible condition.
Tip
If you spot saucer-shaped tab edges on a cold morning, go back out on the next warm afternoon before you do anything else. If the edges have settled flat, you were looking at winter curling rather than a failing roof — and that free second look has just saved you a quote.
Splitting and Surface Wear
Long cracks running through shingles, and generalized surface erosion, share a mechanism worth understanding. Inspection training published by InterNACHI describes how heat accelerates the evaporation of volatile compounds in asphalt — the compounds that keep shingles flexible and waterproof — while daily thermal cycling expands and contracts both shingles and sheathing, producing splitting and contributing to long-term granule loss.
An attic that runs hot ages the roof above it from below, which is why a ventilation assessment is so often the cheaper intervention. If the shingles themselves are the question, our guide to asphalt shingle types, brands and warranties in Canada covers what the different product tiers actually buy you.
Flashing and Penetrations: Where Roofs Actually Leak
Most homeowners scan the field of shingles and ignore the fiddly bits. This is backwards. The interruptions in a roof — chimneys, walls, skylights, valleys and pipes — are where water finds its way in, and one of them is both the likeliest failure point and genuinely visible from the ground.
Every house has plumbing vent pipes poking through the roof, each sealed by a boot: a rubber collar over a metal base flashing. Roofing contractors report that these rubber collars are the component most likely to fail well before the shingles do, typically needing replacement somewhere around ten to fifteen years as ultraviolet exposure dries and cracks the rubber. One contractor's inspection guidance on pipe boots treats cracks deeper than a quarter-inch as failure, and notes that shingle service life has lengthened over recent decades while boots have not.
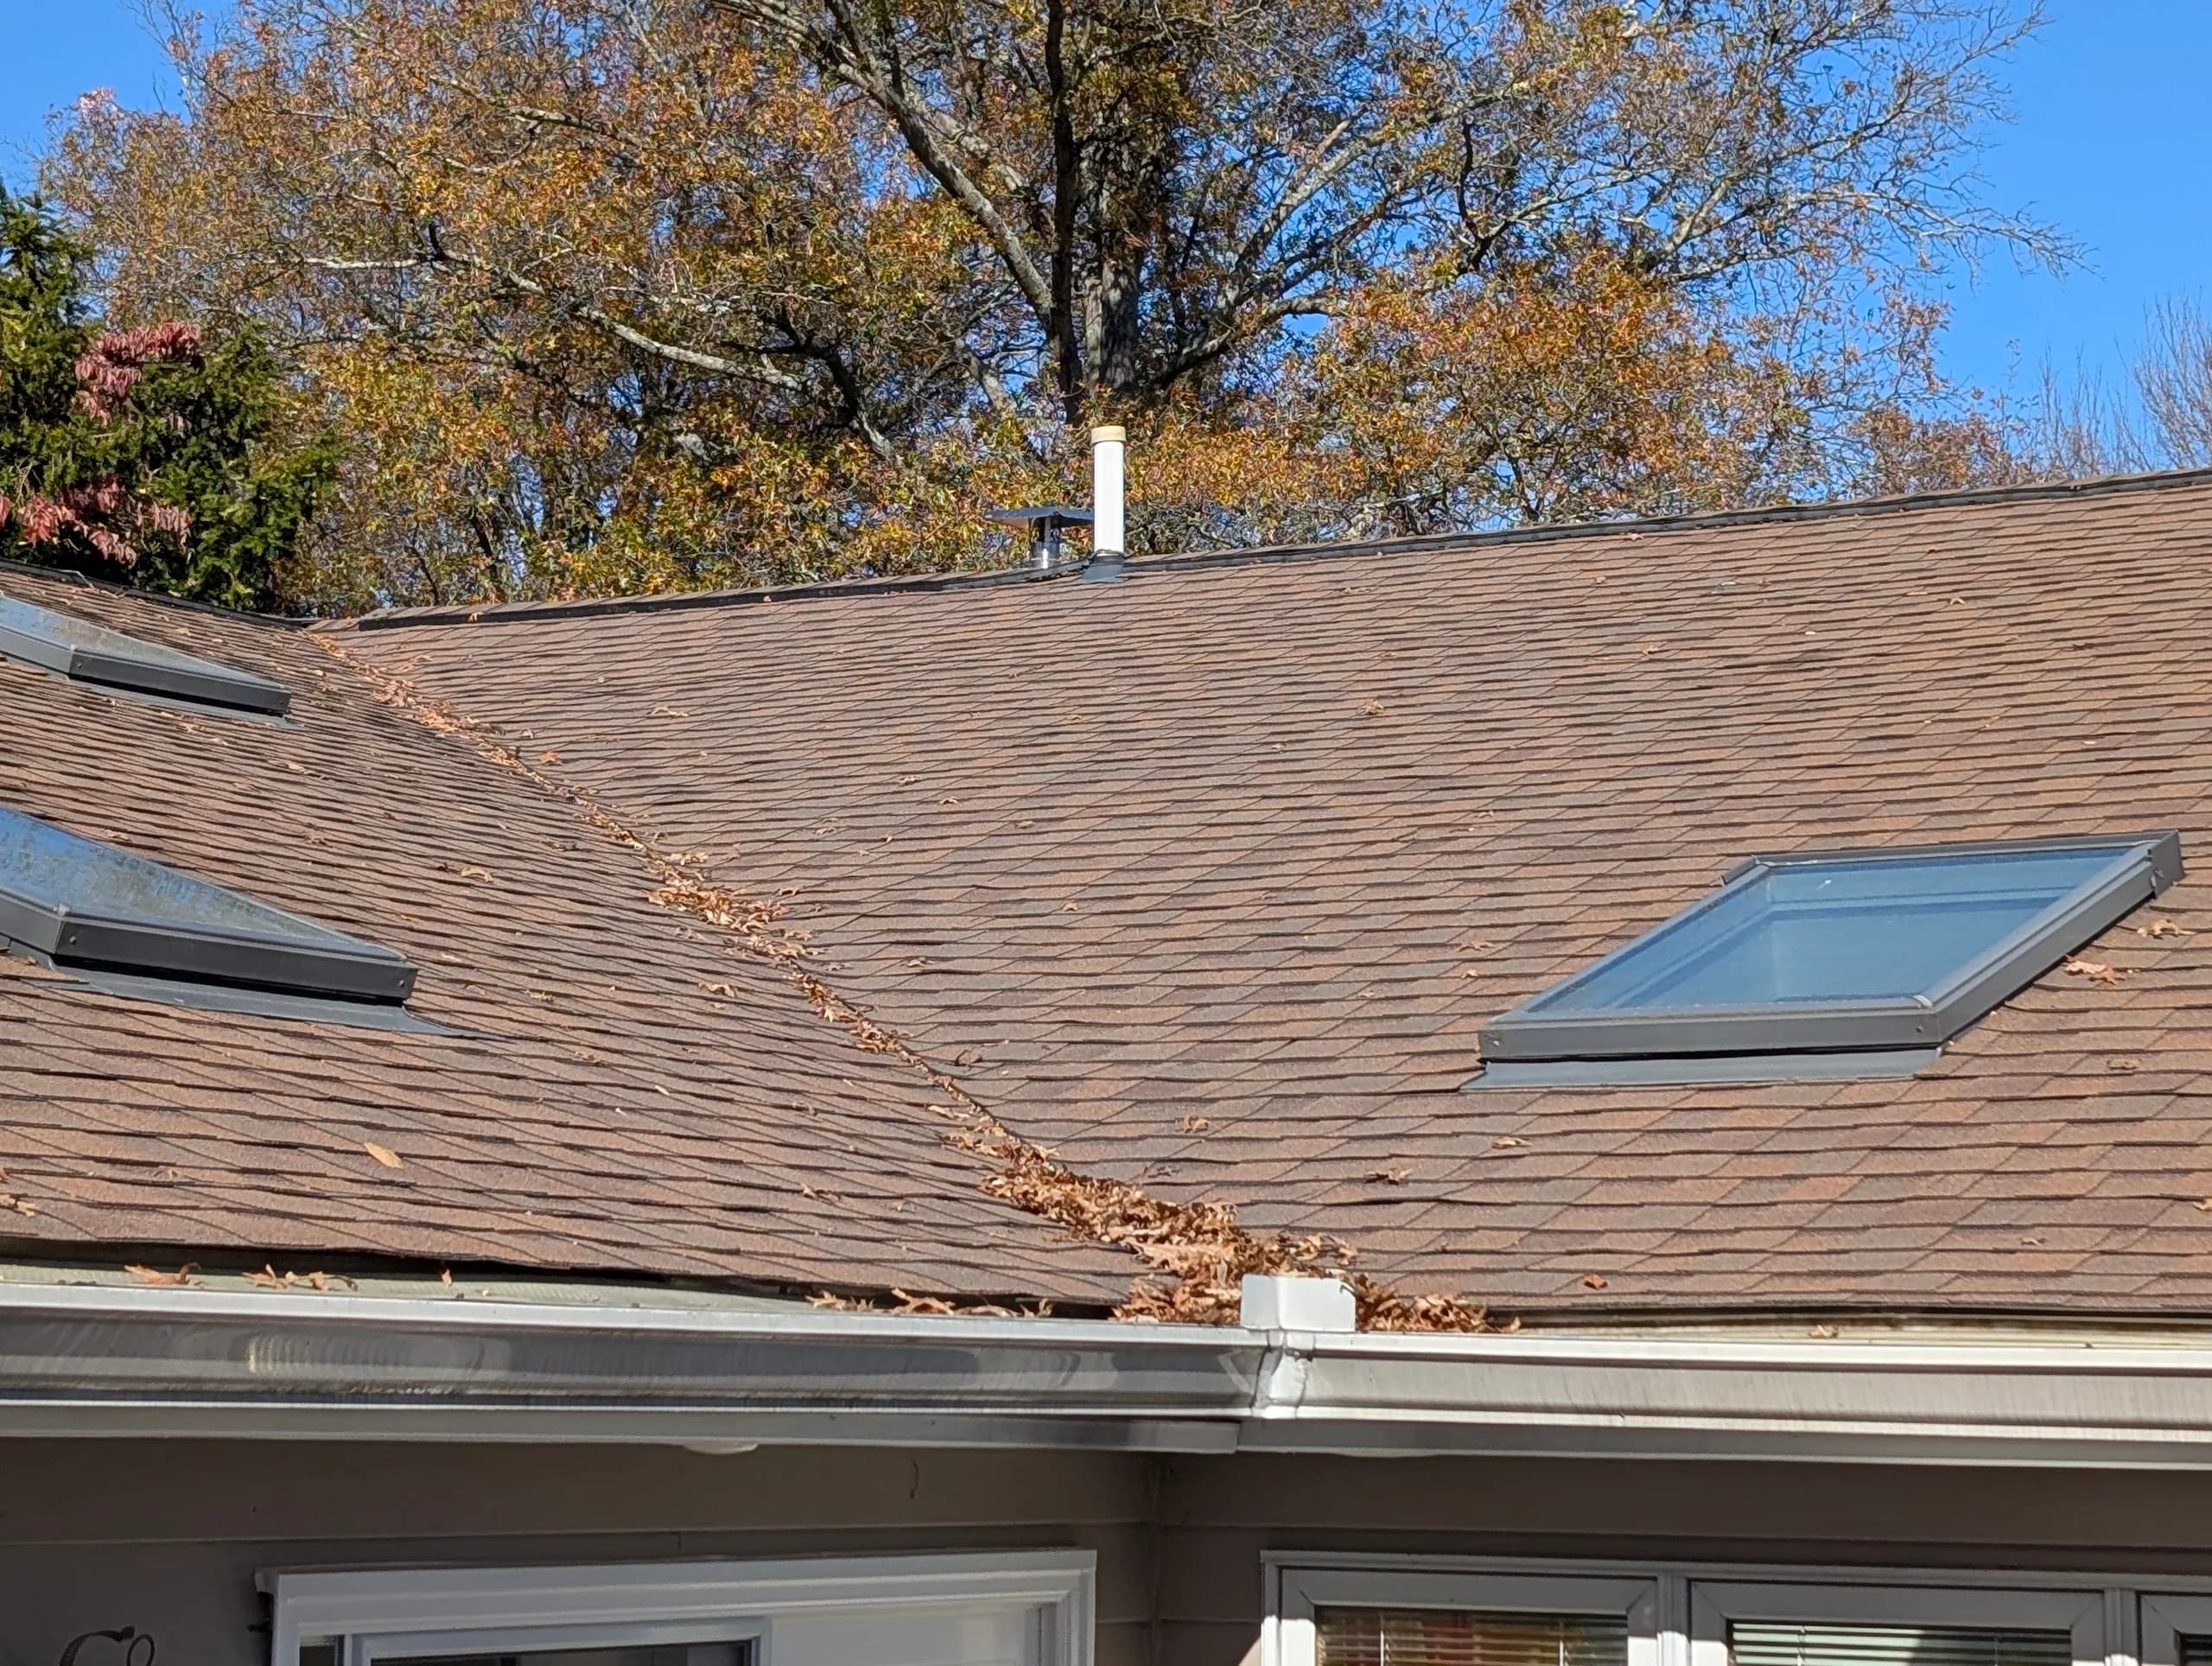
Silhouetted against the sky, a split collar is one of the more readable things on a whole roof. Point the binoculars at each vent pipe and look for a collar that has gone hard and grey, split along its folds, or pulled away from the pipe.
There is a related trap worth knowing about. Contractors frequently find that budget re-roofing jobs leave the old pipe boots and flashings in place when the shingles are replaced, which leaves components of wildly different ages all sharing the job of keeping water out. If your roof was redone five years ago and you have a mysterious leak near a vent pipe, that is a very plausible explanation — and "are you replacing all the flashings and boots" is now a question for your next roofing quote.
Chimney flashing, sidewall step flashing and skylight perimeters deserve a look too, though here honesty requires a caveat. You can sometimes see obvious failure from the ground — visibly lifted metal, a gap you could post a letter through, rust staining running down brick. What you cannot see is the condition of the sealant in a chimney reglet or whether step flashing was woven correctly under the shingle courses. Those are close-access questions. If you are already seeing water indoors, our guide to early leak detection and emergency fixes is the more urgent read.
Ventilation Signs Visible From the Driveway
Ventilation has come up twice already as a cause hiding behind a visible symptom, so it earns its own pass. The encouraging part is that a roof ventilation system has two halves, and the half most people forget is the half at eye level.
Attic venting works as a pair: intake low at the soffits, exhaust high at the ridge or through roof vents. Part 9 of the building code requires vent area of at least 1/300 of the insulated ceiling area, rising to 1/150 for shallow slopes and roofs built with roof joists, and it requires those vents to be distributed uniformly on opposite sides of the building with at least a quarter of the openings at the top of the space and at least a quarter at the bottom.
That bottom quarter is your soffit, and you can inspect it properly without leaving the ground. Walk the perimeter looking up into the underside of the overhang. Are the soffit panels actually perforated, or are they solid? Have they been painted over so thoroughly that the perforations are sealed? Is there insulation visibly stuffed against them from inside, or a bird's nest, or a mat of debris? A roof with a continuous ridge vent and blocked soffits is not a balanced system, and it is a documented deficiency rather than a matter of taste.
While you are looking up, find where your bathroom and kitchen exhaust fans terminate. Canadian code requires exhaust ducts to discharge to the outdoors, so a duct that simply ends loose inside the attic fails that plainly. A duct that terminates at a vented soffit is a subtler problem: the soffit is the attic's air intake, so warm, moist house air gets delivered directly to the opening that feeds the attic. Look for a proper hood on an exterior wall or through the roof, and note any duct that seems to vanish into the overhang.
Note
Building code requirements are set provincially, not nationally, and editions vary. According to the Canadian Board for Harmonized Construction Codes, the 2025 National Building Code is in force only in Newfoundland and Labrador as of July 12, 2026 — everywhere else remains on the 2020 edition, and Nunavut is still on 2015. Confirm anything code-related with your own municipality.
For the fuller picture on how intake, exhaust and insulation work together, our guide to roof ventilation and attic insulation is the companion piece to this section.
Two roofs on the same street can carry two kinds of dark patch that mean opposite things, and confusing them is expensive in both directions.
The black streaking that runs down roof planes across Canada is algae — most commonly gloeocapsa magma, which produces a dark pigmented sheath to protect itself from ultraviolet light. And on the authority of the shingle manufacturers' own association, it is cosmetic. Their guidance on algae and moss states plainly that there is no scientific evidence algae damages asphalt shingles, though it certainly affects appearance. If dark streaking is the only thing you have found, you have not found a reason to replace a working roof.
Moss is a different story entirely, and the same association is equally clear about it. Moss can be detrimental to shingle performance: it lifts and curls the leading edges of shingles, which raises the risk of blow-off in wind, and heavy build-up can move water sideways across the roof rather than down it, damaging the deck or causing leaks. Moss tends to favour north-facing planes that get less sun and stay damp longer — which is exactly why walking all four elevations separately is worth the extra five minutes.
The distinction is visual and you can make it from the ground. Algae reads as flat staining that follows water flow, in streaks running down the slope. Moss reads as texture — raised green or grey-green cushions with visible depth, usually thickest along shingle edges and in shaded areas.
One warning applies to both. Never use a pressure washer on an asphalt shingle roof; the association is unambiguous that it strips granules and very likely causes premature failure of the roof system. The recommended approach is a fifty-fifty mix of laundry-strength chlorine bleach and water, applied with a sprayer, left to dwell for fifteen to twenty minutes, then rinsed with low-pressure water. It is genuinely possible to diagnose a harmless stain correctly and then cause real damage removing it.
What the Attic Adds After the First Cold Snap
Everything so far has been outdoor observation. There is one more check, it costs nothing, and it is the single best confirmation of a ventilation suspicion — but it is seasonal, so think of it as the December follow-up to your October walk.
After a genuine cold snap, open the attic hatch and look. Natural Resources Canada's guidance on roofs and attics gives a rare and useful number here: some frost build-up is to be expected, but particularly heavy build-up of 10 mm (3/8 in.) or more is the signal to check that ventilation is present and not blocked with insulation.
Ten millimetres. That is roughly the thickness of a pencil, and it is the difference between "normal Canadian attic in January" and "something needs attention." The same guidance recommends that ideally half the attic ventilation openings be continuous soffit vents and the other half gable, ridge or roof vents — and it advises against powered attic fans, which can pull more air than the soffits can supply and end up drawing house air into the attic, making both heat loss and moisture accumulation worse.
The moisture itself is more domestic than most people realize. It is not coming from a leak. It is the water your household puts into the air every day through cooking, bathing, laundry and simply breathing, rising into a space that was never meant to receive it.
The Ground-Level Triage Table
Here is the whole walk, condensed. Photograph what you find, match it to a row, and note the next step. Every row ends in an action rather than a verdict, because a verdict is not something this method — or any method short of close access — can honestly deliver.
Sign
What It Usually Means
Severity
Can It Wait Until Spring?
Next Step
Granules at the downspout, roof colour even
Normal shedding, especially on a newer roof
Low
Yes
Note it and re-check in spring
Bare, darker, smoother patches visible on shingles
Asphalt exposed; shingle surface is spent in those areas
High
No — get it assessed before winter
Book an inspection or roofing assessment
Ridges in straight, evenly spaced lines
Deck movement, often moisture- or ventilation-related
Medium to high
Assessment no; repair usually yes
Ventilation and deck assessment, not a shingle claim
Random, scattered waves with no alignment
Likely wrinkled underlayment beneath the shingles
Medium
Usually yes
Flag for a roofer at the next visit
Tab edges lifting into saucer shapes in cold weather
Possibly winter curling, which reverses when warm
Unknown until re-checked
Re-check first
Look again on a warm afternoon before acting
Tab edges curled or clawed in mild weather
Age, heat or attic moisture, depending on the shape
Medium
Usually yes
Photograph and raise at your next inspection
Cracked, split or missing shingles
Open path for water; wind exposure increases
High
No
Repair before the first freeze if temperature allows
Vent pipe collar split, hardened or pulled away
Boot at end of service life; a likely active leak path
High
No
Boot replacement — often a small, isolated repair
Visibly lifted or rust-stained chimney flashing
Flashing or sealant failure at a known leak point
High
No
Close-access inspection required
Solid, painted-over or blocked soffit panels
No intake air; ventilation system unbalanced
Medium
Yes, but plan it
Ventilation assessment over the winter
Exhaust duct ending in the attic or at a soffit
Moist house air delivered into or beside the attic
Medium to high
Yes, but do not forget it
Re-route to a proper exterior termination
Black streaks running down the slope
Algae — cosmetic only
Low
Yes
Optional cleaning; never pressure washing
Raised green or grey cushions, usually north-facing
Moss — not cosmetic; lifts shingle edges
Medium
Yes, but treat in spring
Plan bleach-solution treatment and trim overhanging branches
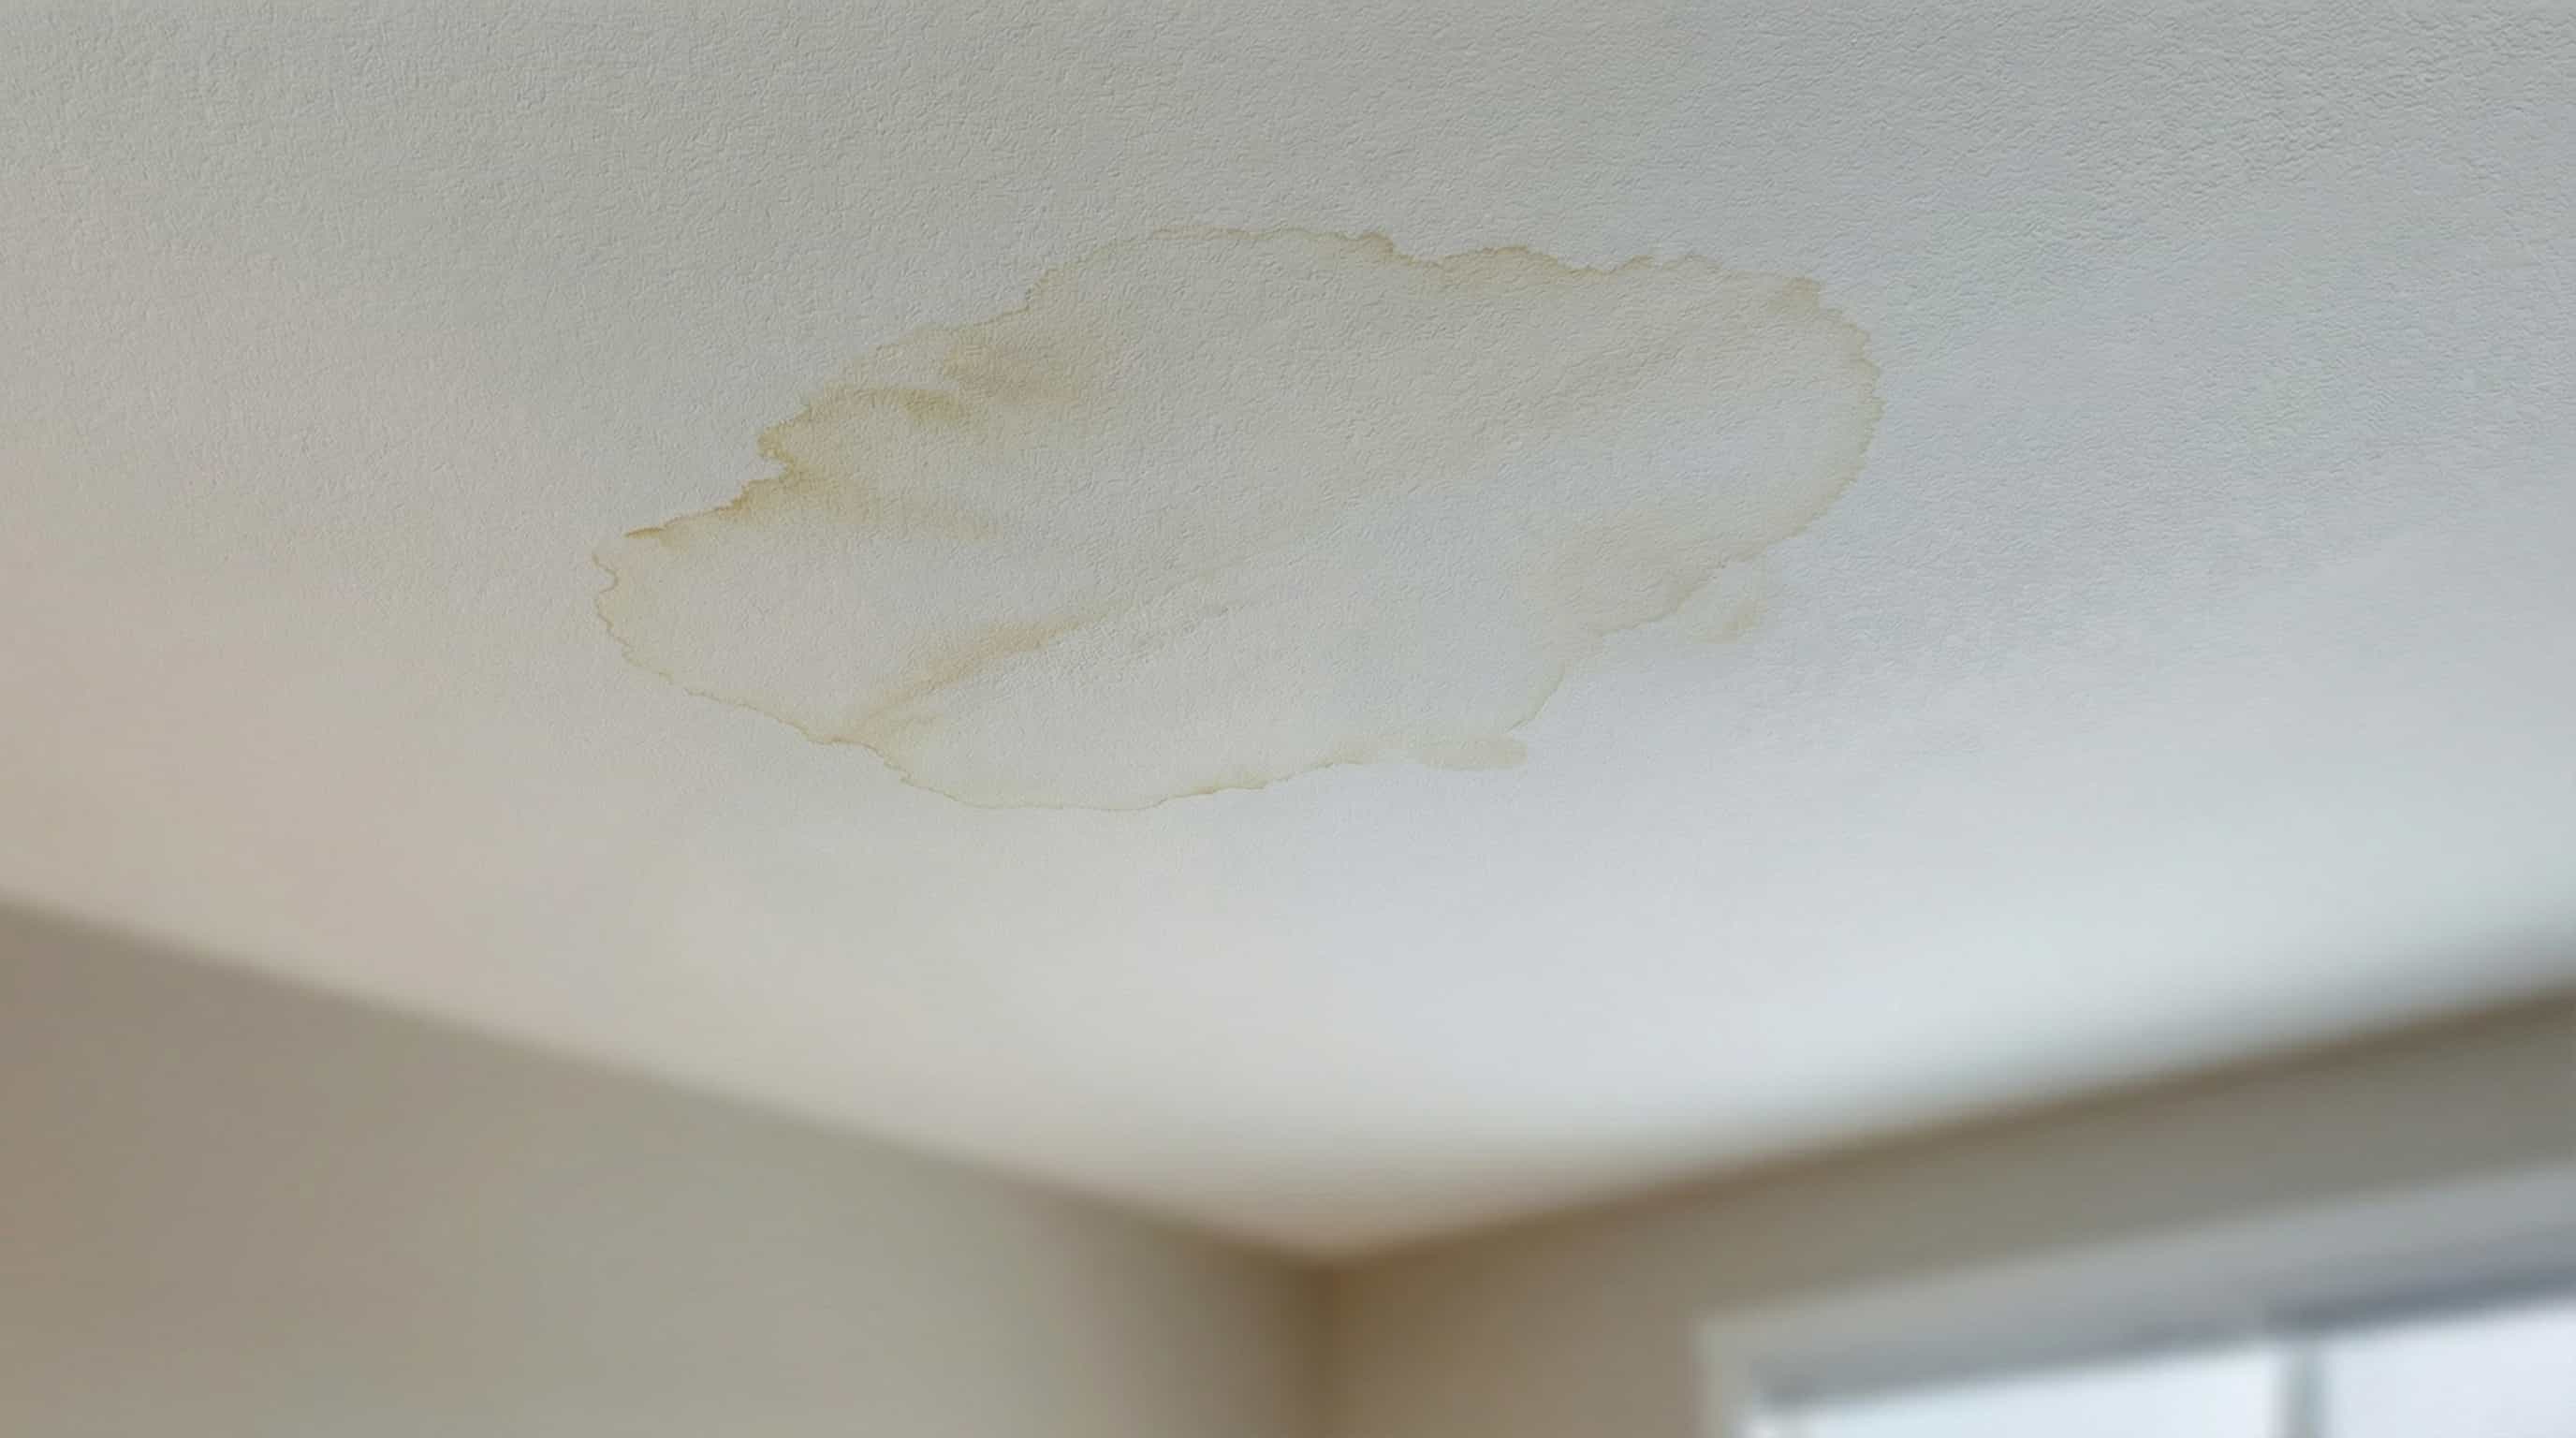
Ceiling or wall staining indoors
Active or recent water entry from somewhere above
High
No
Immediate professional assessment
Attic frost 10 mm or thicker after a cold snap
Ventilation blocked or insufficient
Medium to high
No — act during winter
Check vents for blockage; ventilation assessment
Visible sag or dip in the roofline
Possible structural issue
Highest
No
Professional assessment without delay
Fix It Now or Book It for April
This is the part that turns a list of findings into a decision, and it hinges on a number most homeowners have never encountered: repairs to a roof are governed by a physical temperature floor, not by a contractor's preference.
Henry's Canadian product page for its Plastic Roof Cement 810-20, a standard Canadian roofing mastic, instructs users to apply it between 5 °C and 30 °C, states plainly that it should not be applied below 5 °C, and requires a dry surface. That second requirement quietly rules out a great many autumn mornings regardless of what the thermometer says, because a frosted or damp roof is not a dry one.
Now set that floor against the calendar. Using indicative monthly averages published by Statistics Canada — drawn from an older normals period, so treat them as a rough guide rather than a forecast — October average daily temperatures sit above the 5 °C floor almost everywhere: Toronto near 8.9 °C, Halifax 8.3 °C, Ottawa 7.8 °C, Vancouver 10.1 °C, and even Calgary and Winnipeg just above at 5.4 °C and 5.3 °C. By November the picture inverts across much of the country. Winnipeg averages around −5.3 °C, Regina −5.5 °C, Edmonton −5.7 °C, Calgary −3.1 °C, Quebec City −0.7 °C, while Vancouver, Victoria, Toronto, Windsor and Halifax stay nearer the line.
The practical consequence is a working window that differs by roughly a month depending on where you live. A reader in Vancouver and a reader in Saskatoon doing the same walk on the same October weekend are on genuinely different clocks, and that is the strongest argument for doing this in early October rather than late November.
None of which means cold-weather roofing is impossible — only that it is different. IKO's own cold-weather instructions call for shingles to be installed between roughly 4 °C and 26 °C, stored warm so they are not brittle, and hand-sealed when conditions are cold: six nails instead of four, and three quarter-sized dabs of roofing cement under each tab, because the self-sealing strip is heat-activated and will not bond on its own in the cold.
Important
If a contractor proposes a shingle repair in November or later and does not mention hand-sealing or warm storage, ask about it directly. The sealant strip will not activate at those temperatures, and a tab that is nailed but not bonded is a tab waiting for the first winter wind.
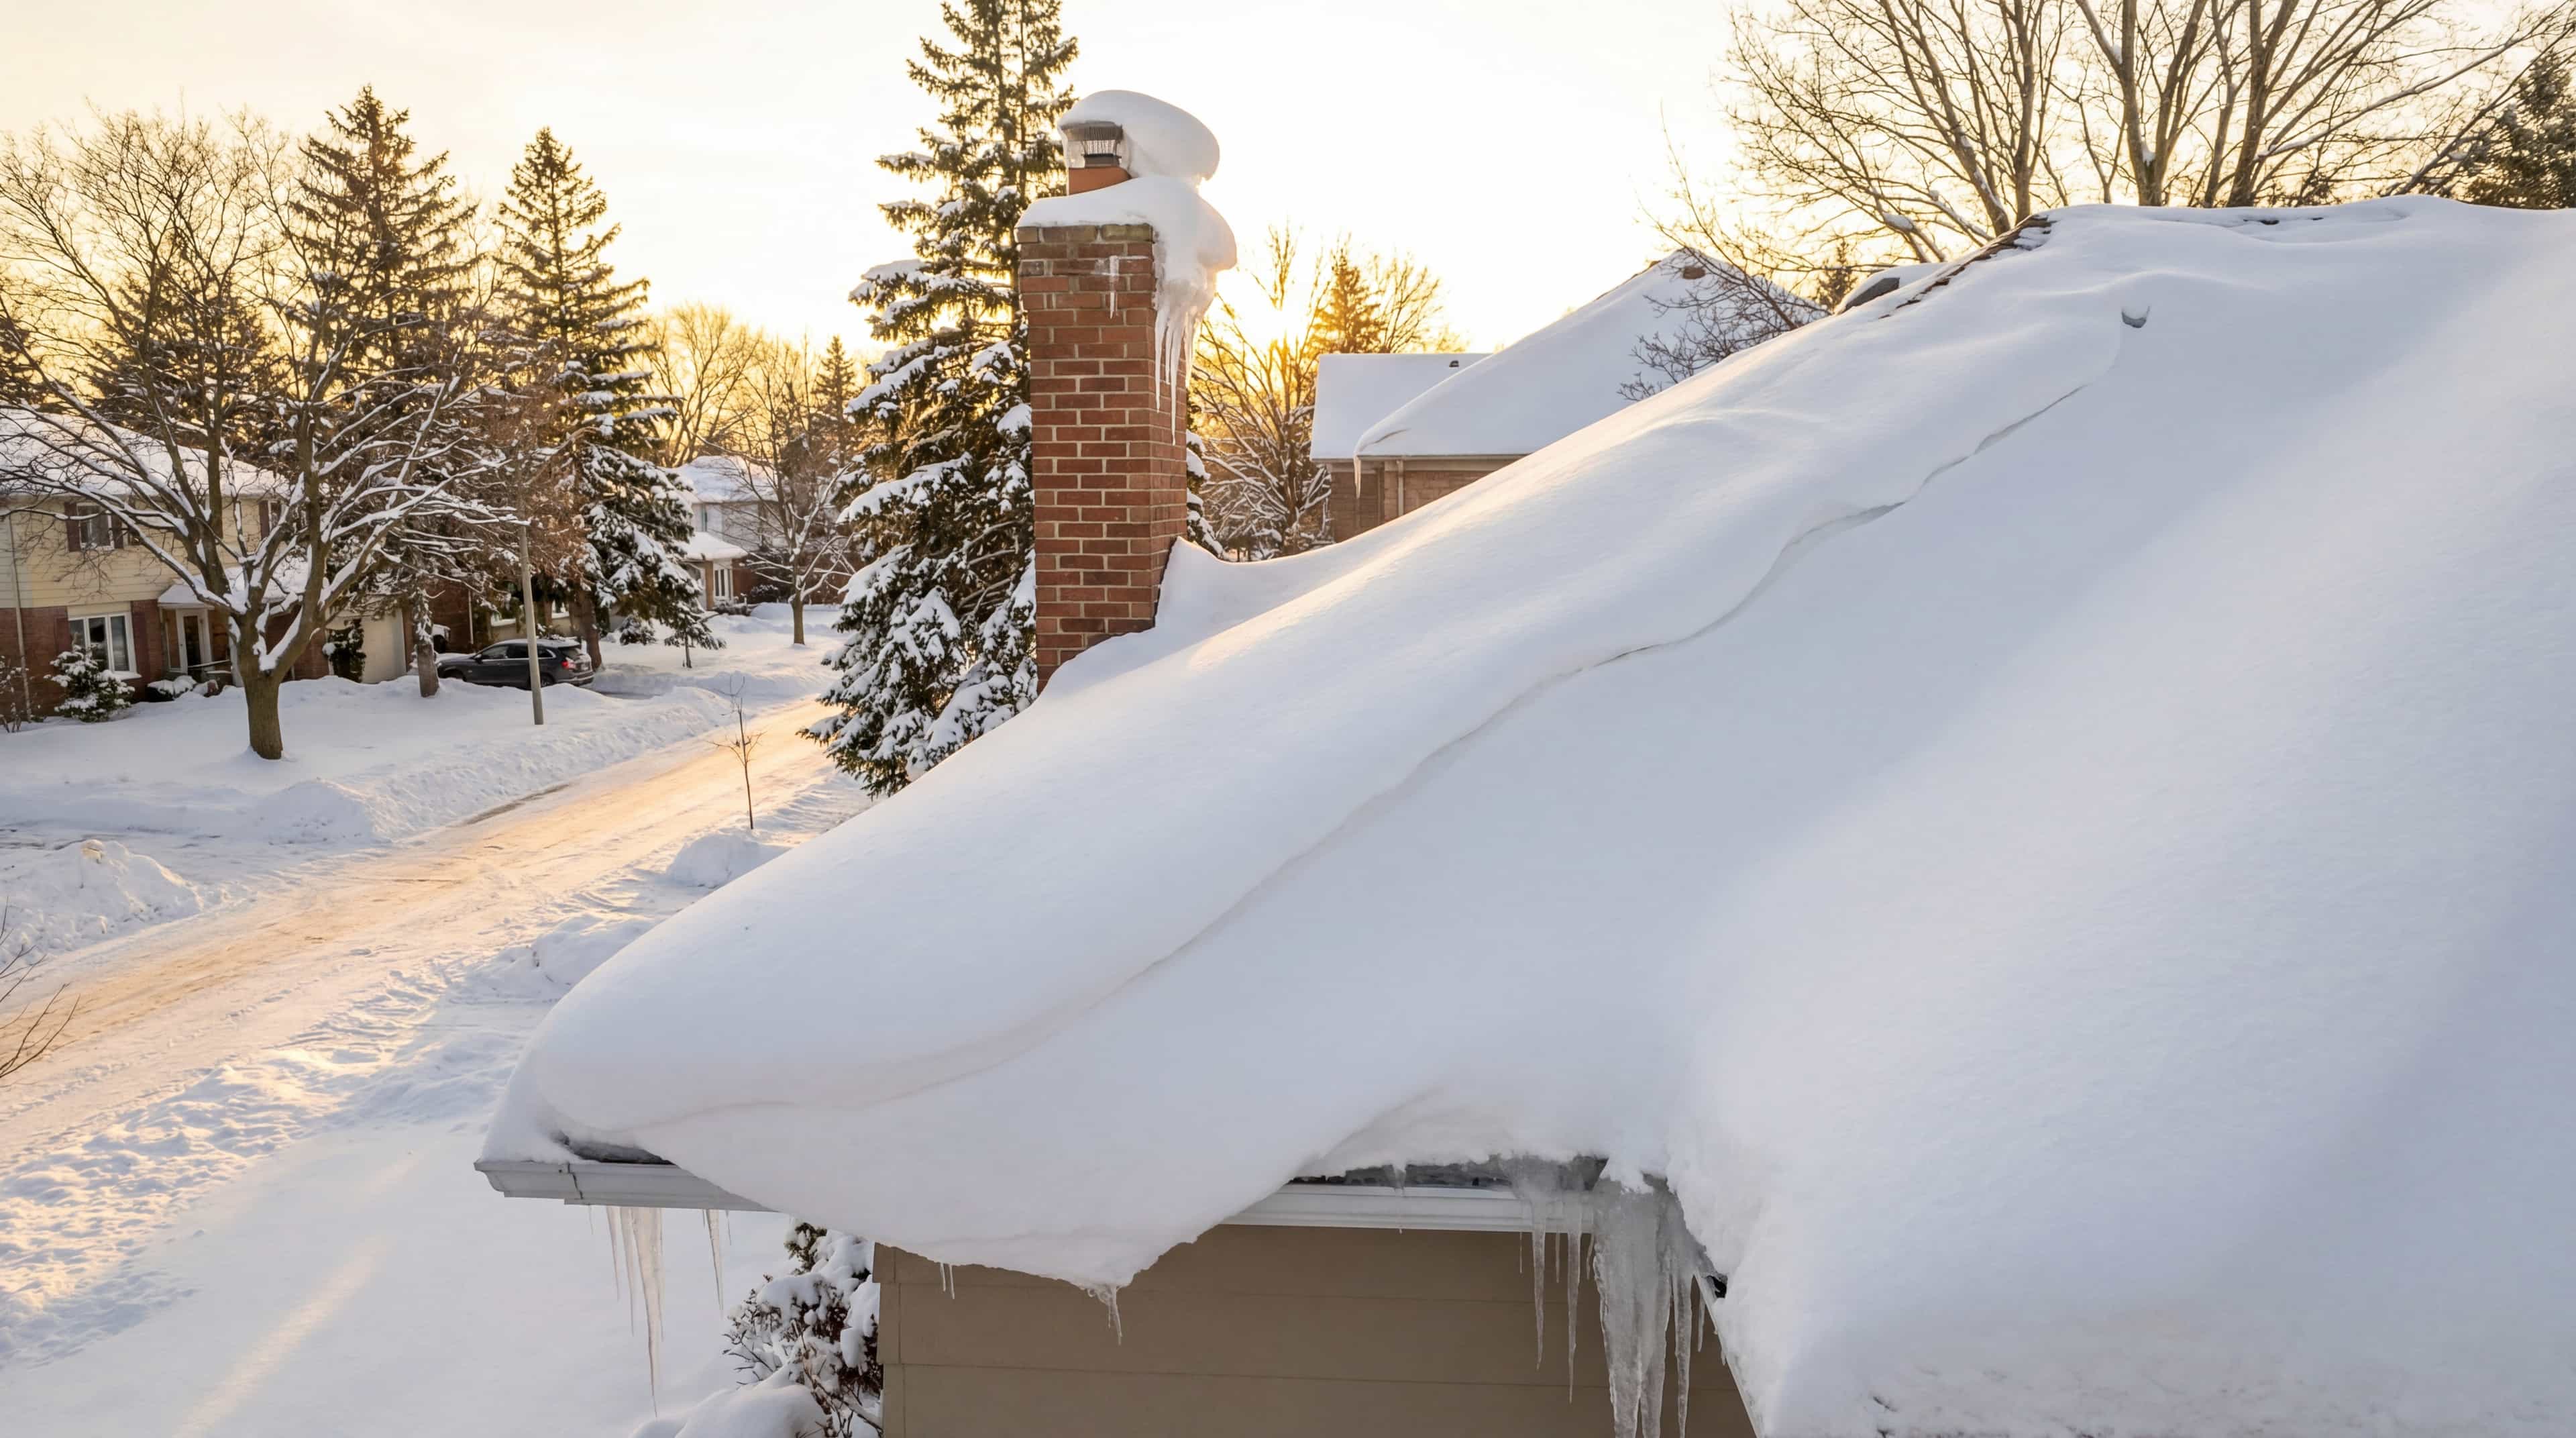
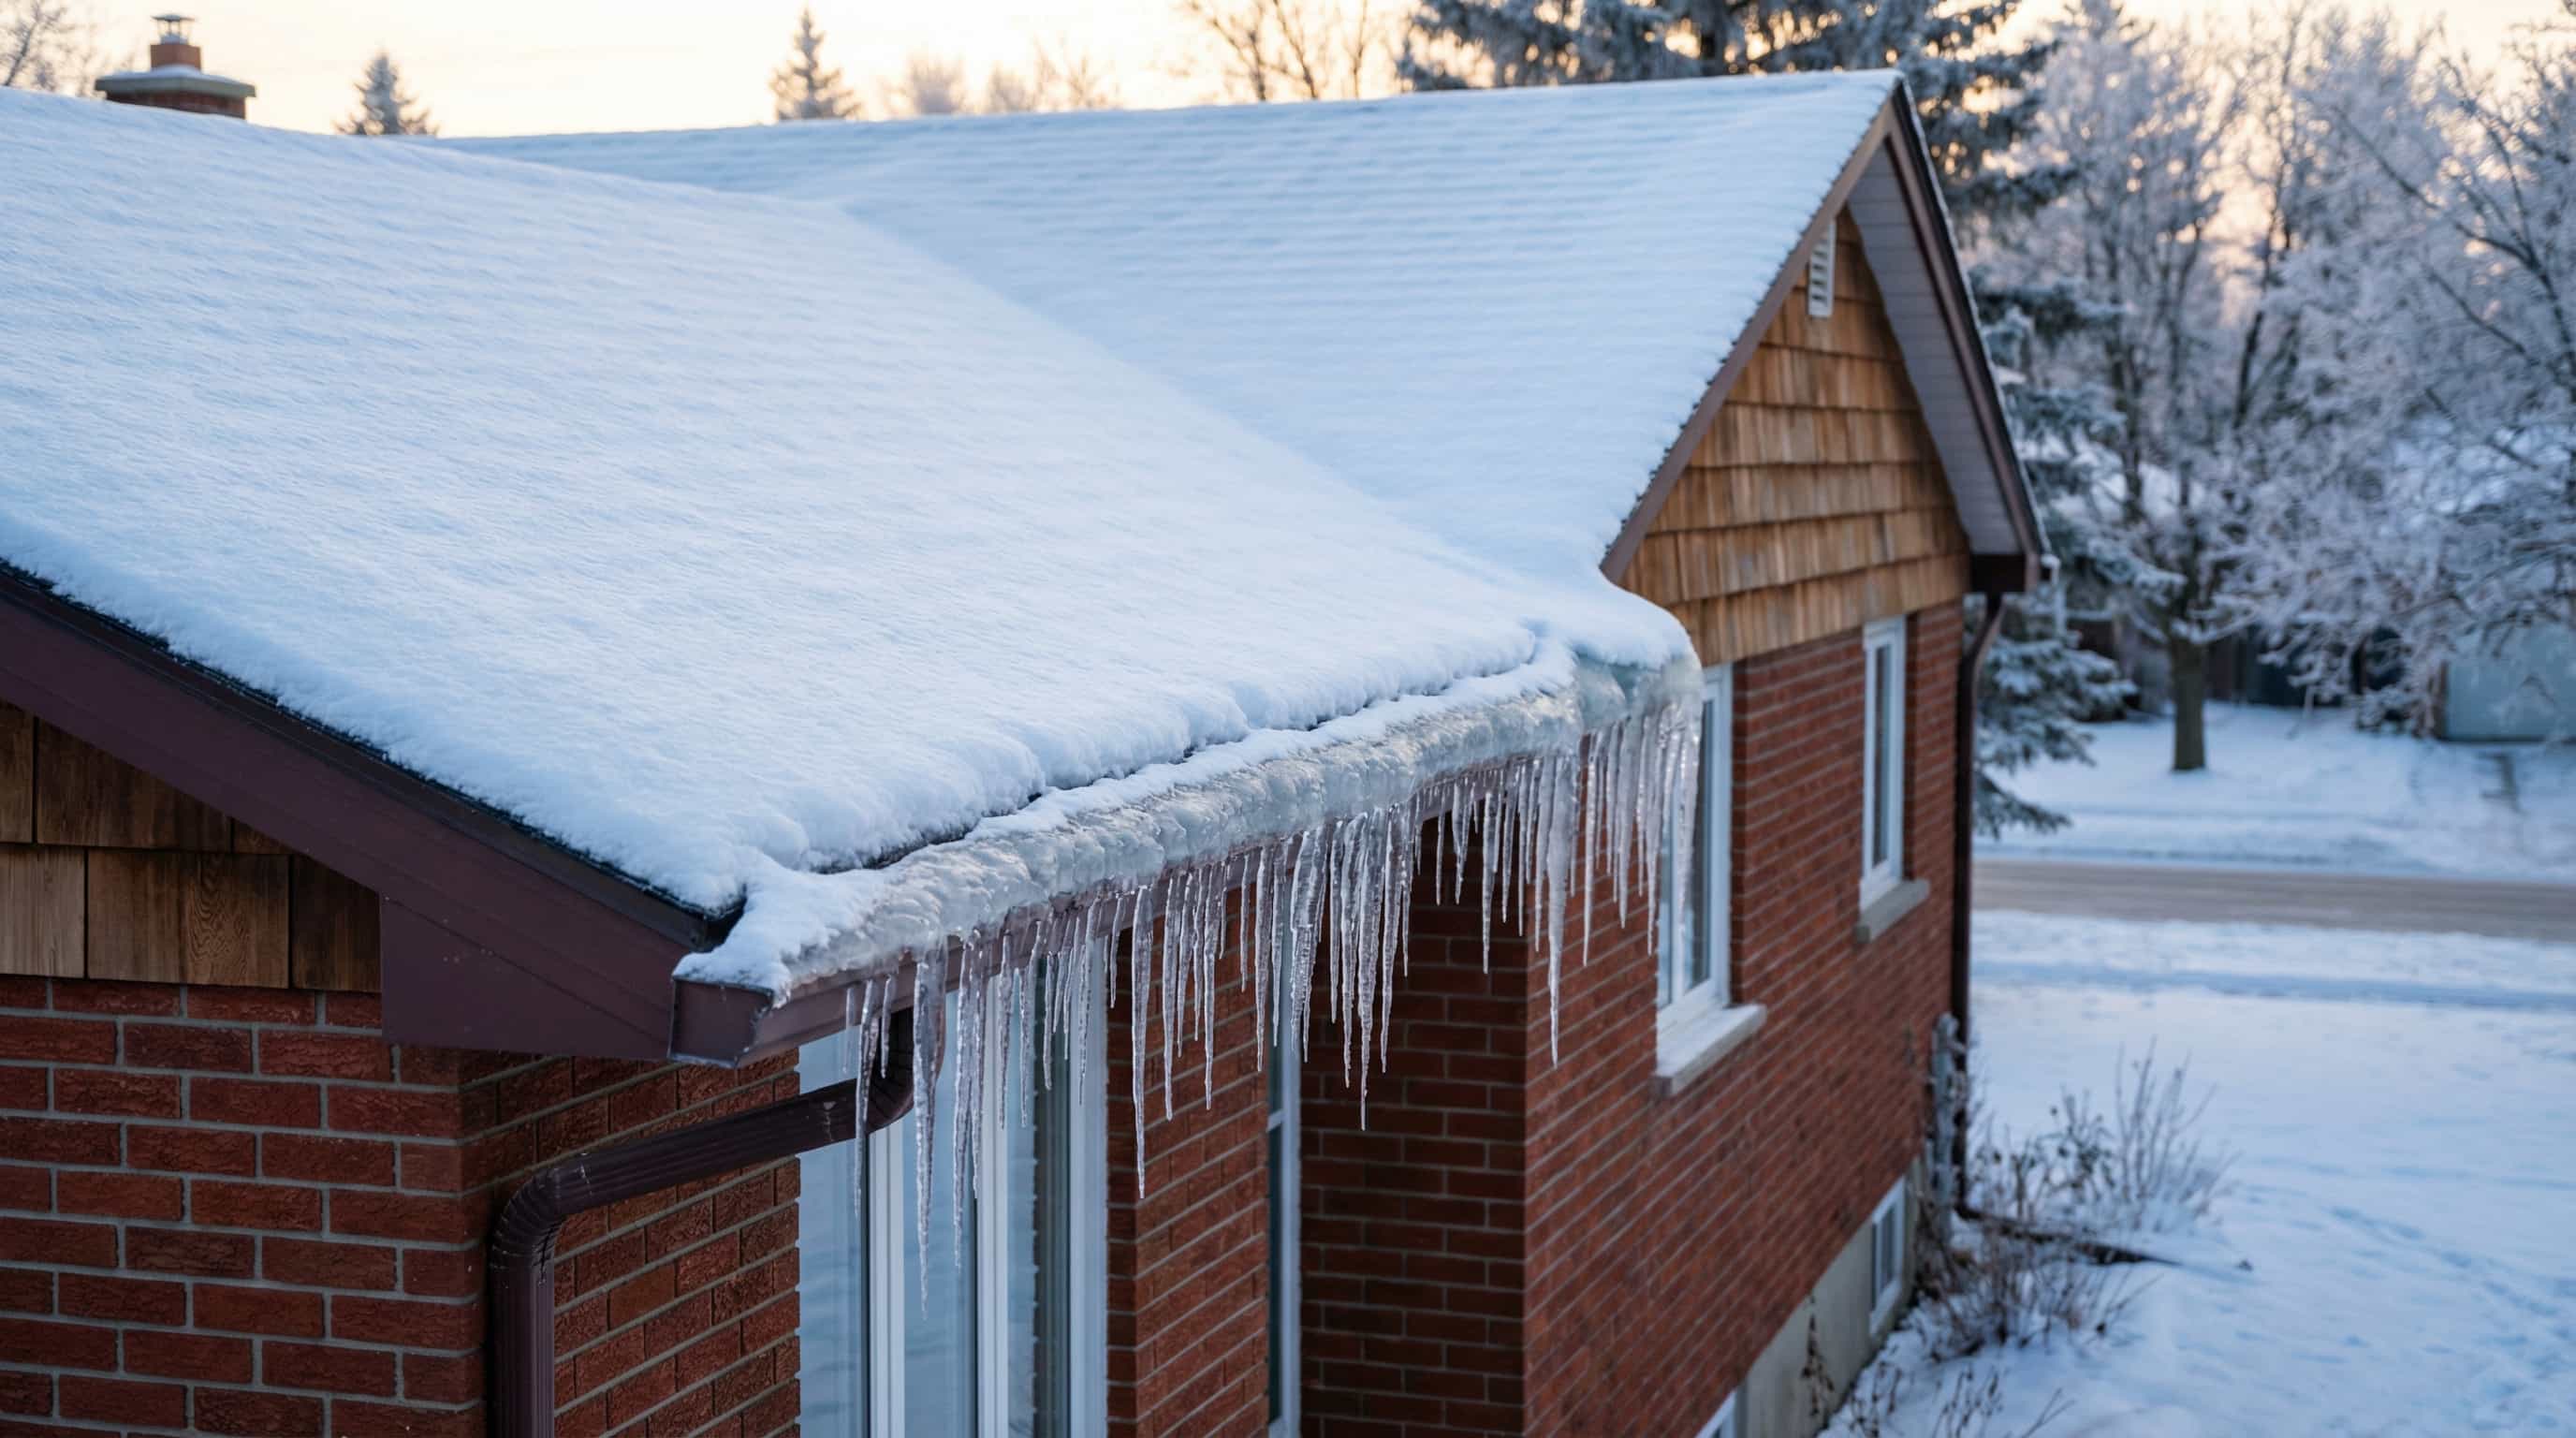
For everything that follows this check — snow load, ice dams and the winter roof generally — our guide to preparing a Canadian roof for harsh winters picks up where this one leaves off. One small note in the meantime: IKO states that damage caused by snow removal is not covered under its limited material warranty, so the enthusiasm for a roof rake in February deserves the same restraint as the ladder in October.
What the Ground Cannot Settle
An honest method needs honest limits, and these are worth stating without hedging.
You cannot see underlayment condition, deck rot beneath intact shingles, fastener corrosion, the state of sealant inside a chimney reglet, whether step flashing was woven correctly, or the integrity of a valley detail. You cannot assess anything on a low-slope section that is hidden by the pitch of the roof. And you certainly cannot tell how many winters the roof has left.
That last limit is not a failure of your binoculars. The National Standards of Practice explicitly relieve professional inspectors of any requirement to determine the remaining service life of a component, the causes of a condition or deficiency, future conditions including failure, or compliance with codes and regulations. If someone standing on your roof with twenty years of training is not expected to forecast its remaining life, the expectation was unreasonable from the driveway too.
So what does escalation look like? The Roofing Contractors Association of British Columbia is refreshingly candid on this point: an inspection by a qualified roofing contractor or roof inspector is the best way to determine the condition of your roof, and while inspectors and consultants charge for their services, the result is generally an unbiased assessment. That is the roofing industry's own association noting the incentive difference between a paid inspector and a free look from someone hoping to sell you a roof. It is worth weighing when you make the call.
Your fifteen minutes have not replaced that inspection. What they have done is far more valuable than it sounds: you now know whether you need one, which specific things to point at when the inspector arrives, and — just as importantly — which of your worries you can let go of entirely. Our guide to professional roof inspections in Canada covers what a proper inspection includes and what it should cost.
Ryan is the founder of Homeowner.ca and a proud Canadian homeowner based in Guelph, Ontario. Over his 25-year career in digital publishing, he has focused on transforming complex information into clear, practical guidance that helps people make confident, well-informed decisions.
There is no published number, and any article giving you a percentage threshold has invented it. Shingle manufacturers apply surplus granules deliberately during production, so shedding is expected. The meaningful test is on the roof rather than at the downspout: look for patches where bare asphalt is visible as a darker, smoother area against the surrounding granular surface. Even colour across the roof means the shedding is normal, whatever is collecting at the splash block.
A phone with a good optical zoom works well, and it has the advantage of photographing what you see so you can compare next spring. Be aware that digital zoom degrades quickly — if the image goes soft and pixelated as you zoom, you have passed the optical limit and are no longer seeing real detail. Binoculars in the 8x to 10x range give a cleaner view for the same money, but the best tool is whichever one you will actually use.
Almost certainly not. Black streaking is algae, and the shingle manufacturers' association states there is no scientific evidence it damages asphalt shingles. It is an appearance problem. If it bothers you, it can be cleaned with a diluted bleach solution and low-pressure rinsing — never a pressure washer, which strips granules and can cause the premature failure that the algae itself would not have.
These are separate conditions that get routinely muddled together. Cupping and clawing describe different shapes of edge distortion with different causes. Buckling is different again — ridges or waves across the shingle field, which the roofing manufacturers' association attributes primarily to roof deck movement or wrinkled underlayment rather than to the shingles, with straight evenly spaced lines pointing at the deck and random scattered waves at the underlayment. The cold-weather version is different from all three: manufacturers document a reversible condition called winter curling, where a tab's front edge lifts into a shallow saucer shape when cold and flattens again as temperatures rise. Look again on a warm afternoon before acting on it.
Canadian code requires exhaust ducts to discharge to the outdoors, so a duct ending loose inside the attic clearly fails. The soffit case is more nuanced and is a judgment for your local building authority — but there is a strong practical objection regardless of how the code reads where you live. Soffits are the attic's air intake, so discharging warm, moist house air at a soffit tends to feed it straight back into the space the duct was meant to protect. A termination on an exterior wall or through the roof avoids the problem entirely.
Canada's national roofing association recommends roof inspections twice a year, in spring and fall, plus after any major weather event such as heavy rain, high wind or an ice storm. The fall pass is the more consequential one, because it is the last chance to act before repair temperatures drop below what roofing products can tolerate.
It is a reasonable option, but go in with your eyes open about the incentives. The Roofing Contractors Association of British Columbia notes that while independent roof inspectors and consultants charge for their services, the result is generally an unbiased assessment. A free inspection from a company that sells roofs is not worthless, but a paid opinion from someone with nothing to sell you is a different thing.
It depends on what you found and where you live. Roofing cement carries a published minimum application temperature of 5 °C and requires a dry surface, so patch repairs become unreliable once daily temperatures sit below that. Anything creating an open path for water — cracked or missing shingles, a split vent pipe boot, failed flashing, or active indoor staining — should be addressed anyway, with a contractor who uses cold-weather methods such as hand-sealing. Ventilation issues, moss and cosmetic findings can generally be scheduled for spring without risk.
Some frost is expected after a cold snap. Natural Resources Canada gives a useful threshold: build-up of 10 mm (3/8 in.) or more is the point at which you should check that ventilation is present and not blocked by insulation. Heavy frost means household moisture is reaching the attic and not leaving it, which is worth addressing during the winter rather than after, because that moisture eventually lands on the sheathing.
Sources
Canadian Association of Home & Property Inspectors. (2024). National Standards of Practice. Retrieved from https://www.cahpi.ca/
Canadian Board for Harmonized Construction Codes. Provincial/Territorial adoption. Retrieved from https://cbhcc-cchcc.ca/