The point of all of the above is to enable a single, finite, repeatable annual session. Not surveillance. Not paranoia. A working morning with a ladder, a flashlight, a notebook, and a small bag of the right materials. Done well in early fall, it forecloses most of the problem before it starts.
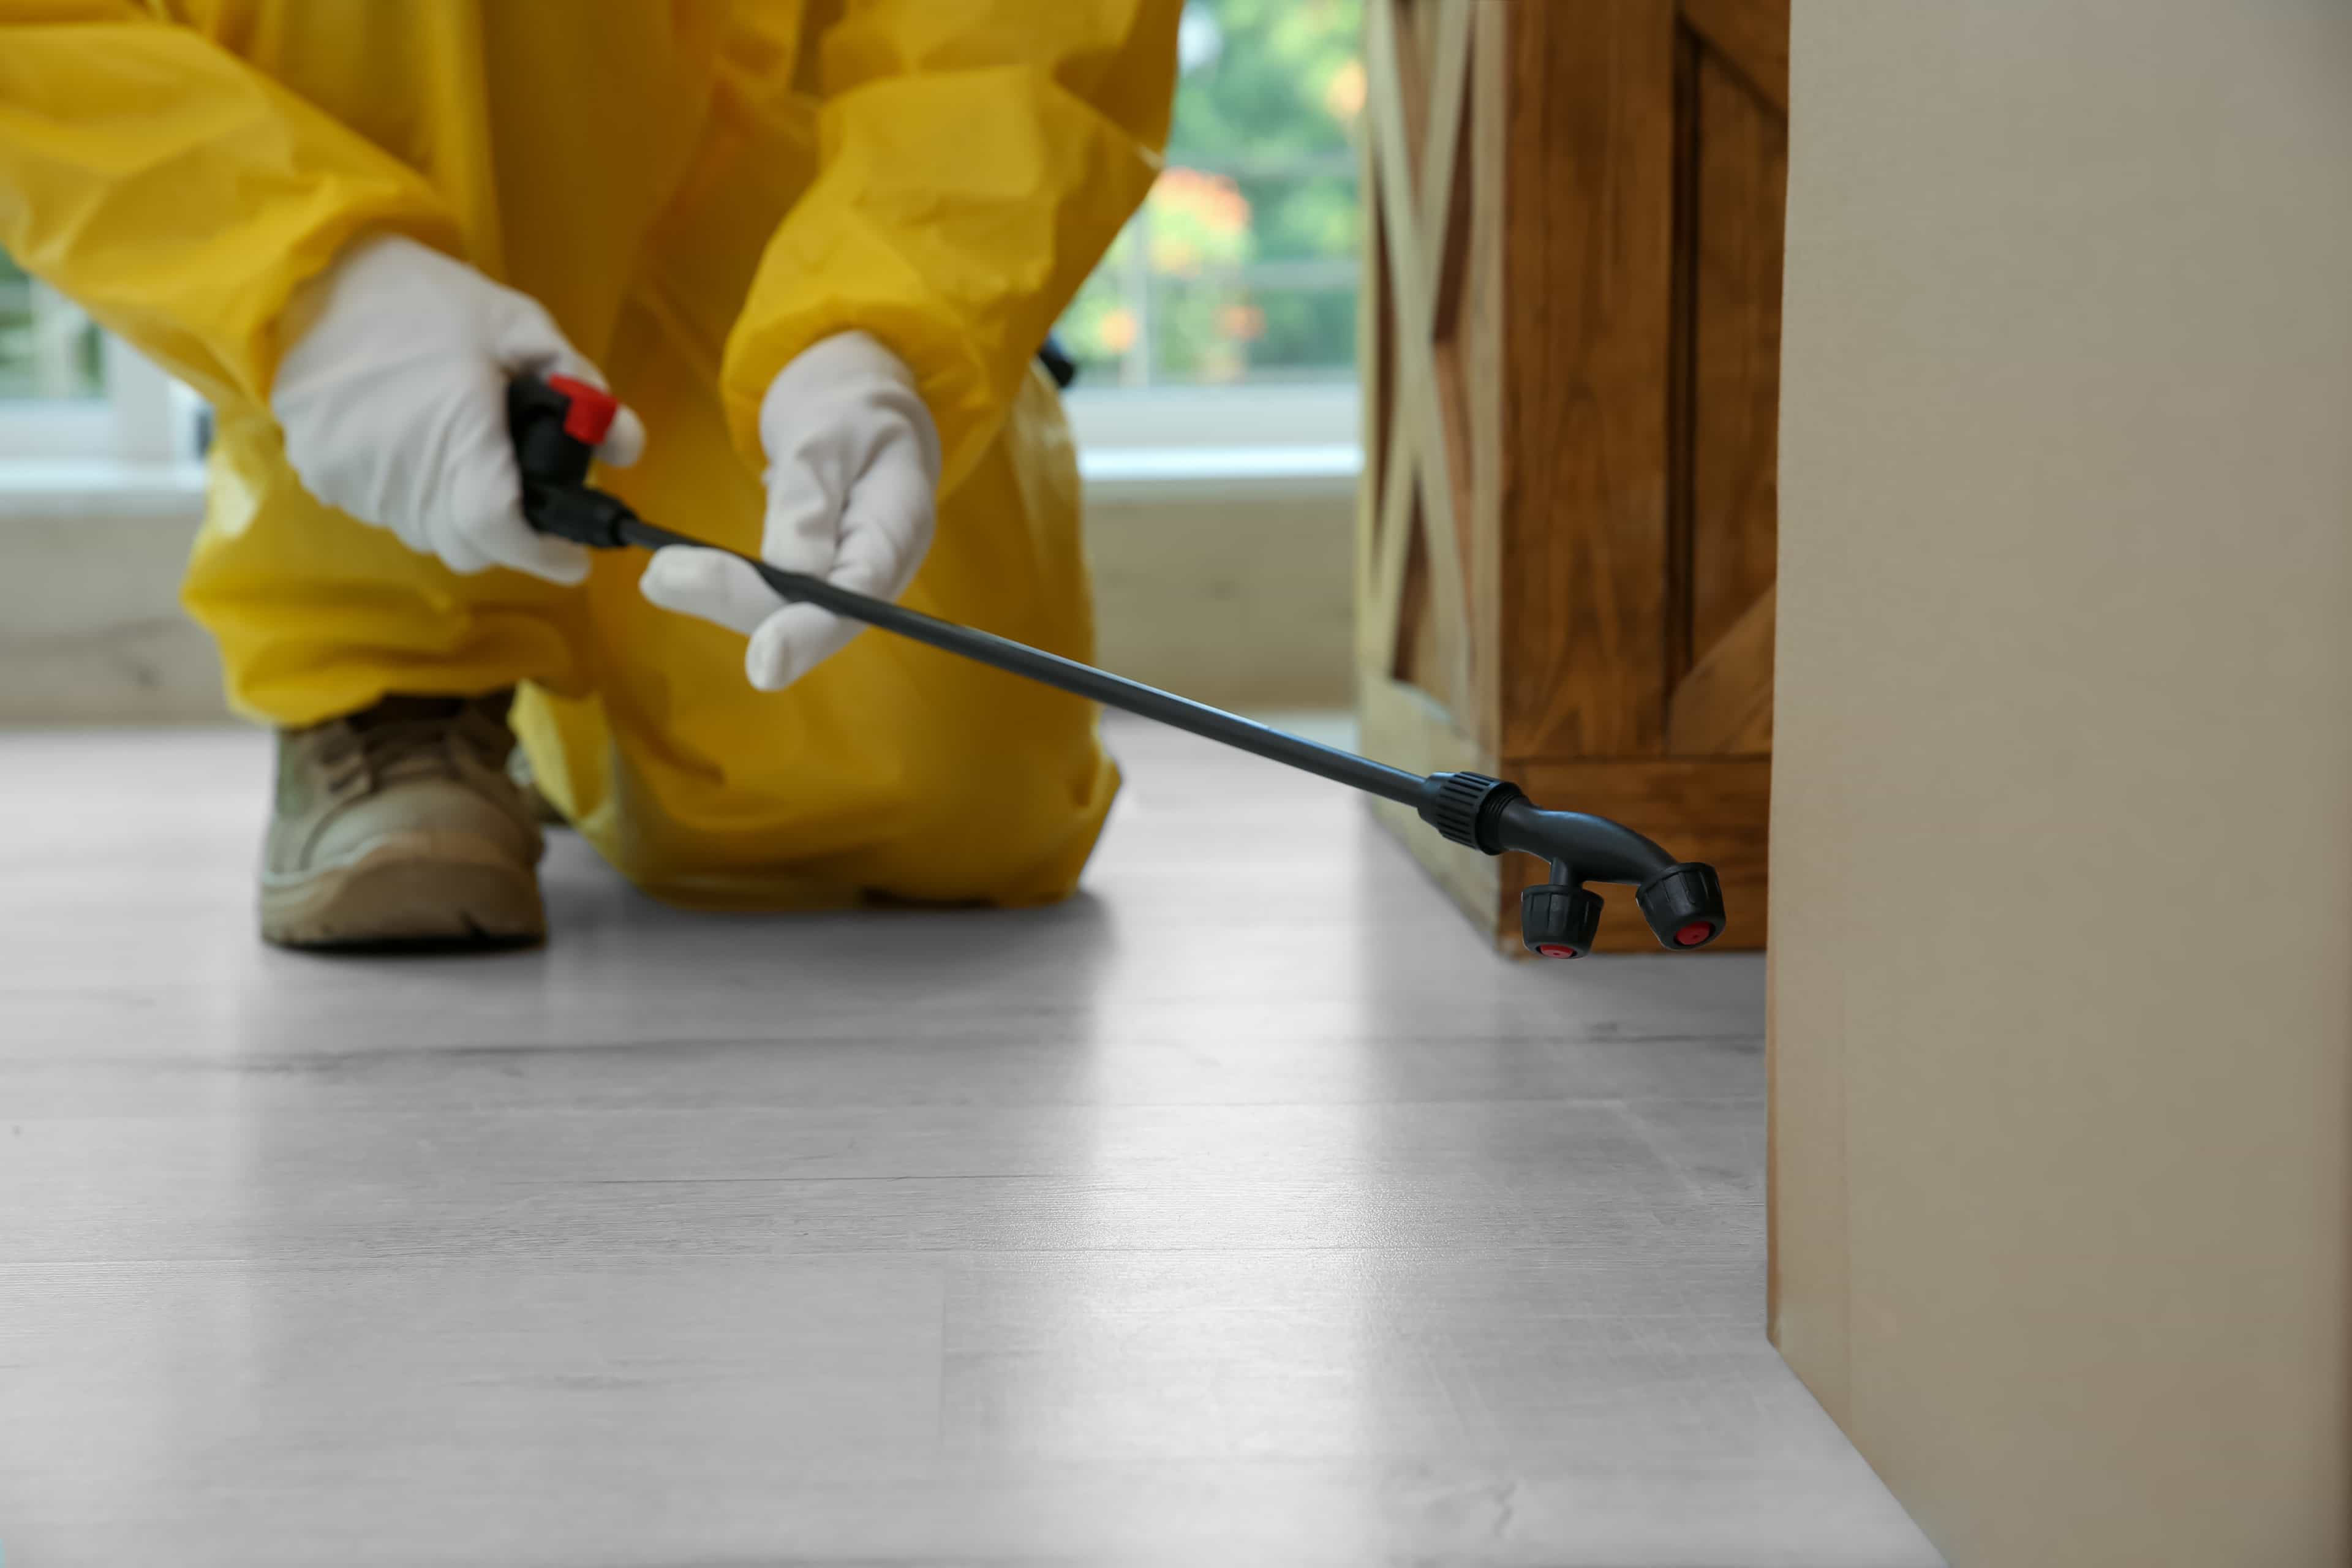
Step 1: Walk the perimeter from the outside, low to high. Start at one corner of the foundation. Move slowly. Use a flashlight at a low angle to make shadows do the inspection work. Note every gap, crack, or compressed seal in a notebook with a rough sketch of the house. Do not seal anything yet — surveying first prevents the rookie mistake of running out of caulk three sides into the house.
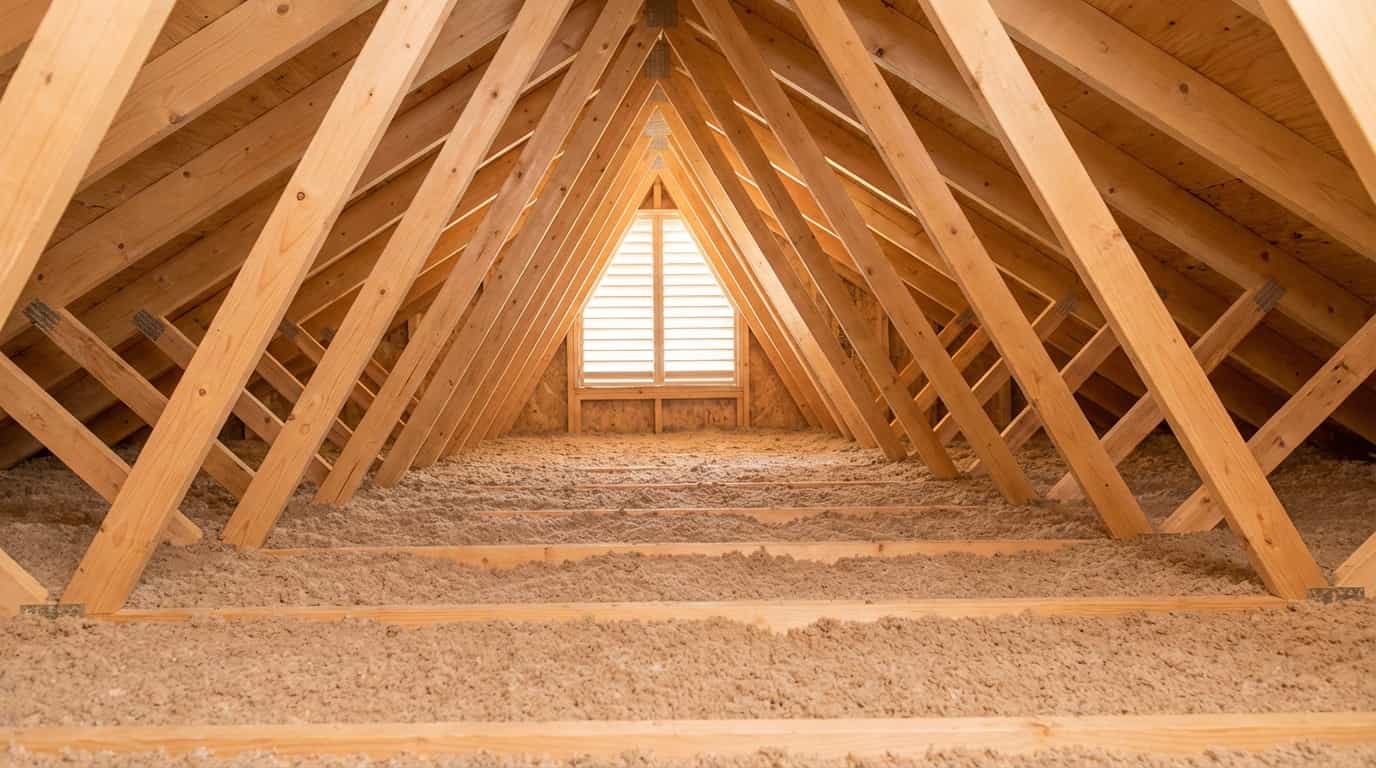
Step 2: Climb the ladder and inspect the roofline. Soffits, fascia, vent terminations, gable returns, roof-to-wall transitions. Touch each vent cover. Look for daylight at soffit-to-fascia joints. Add to the notebook.
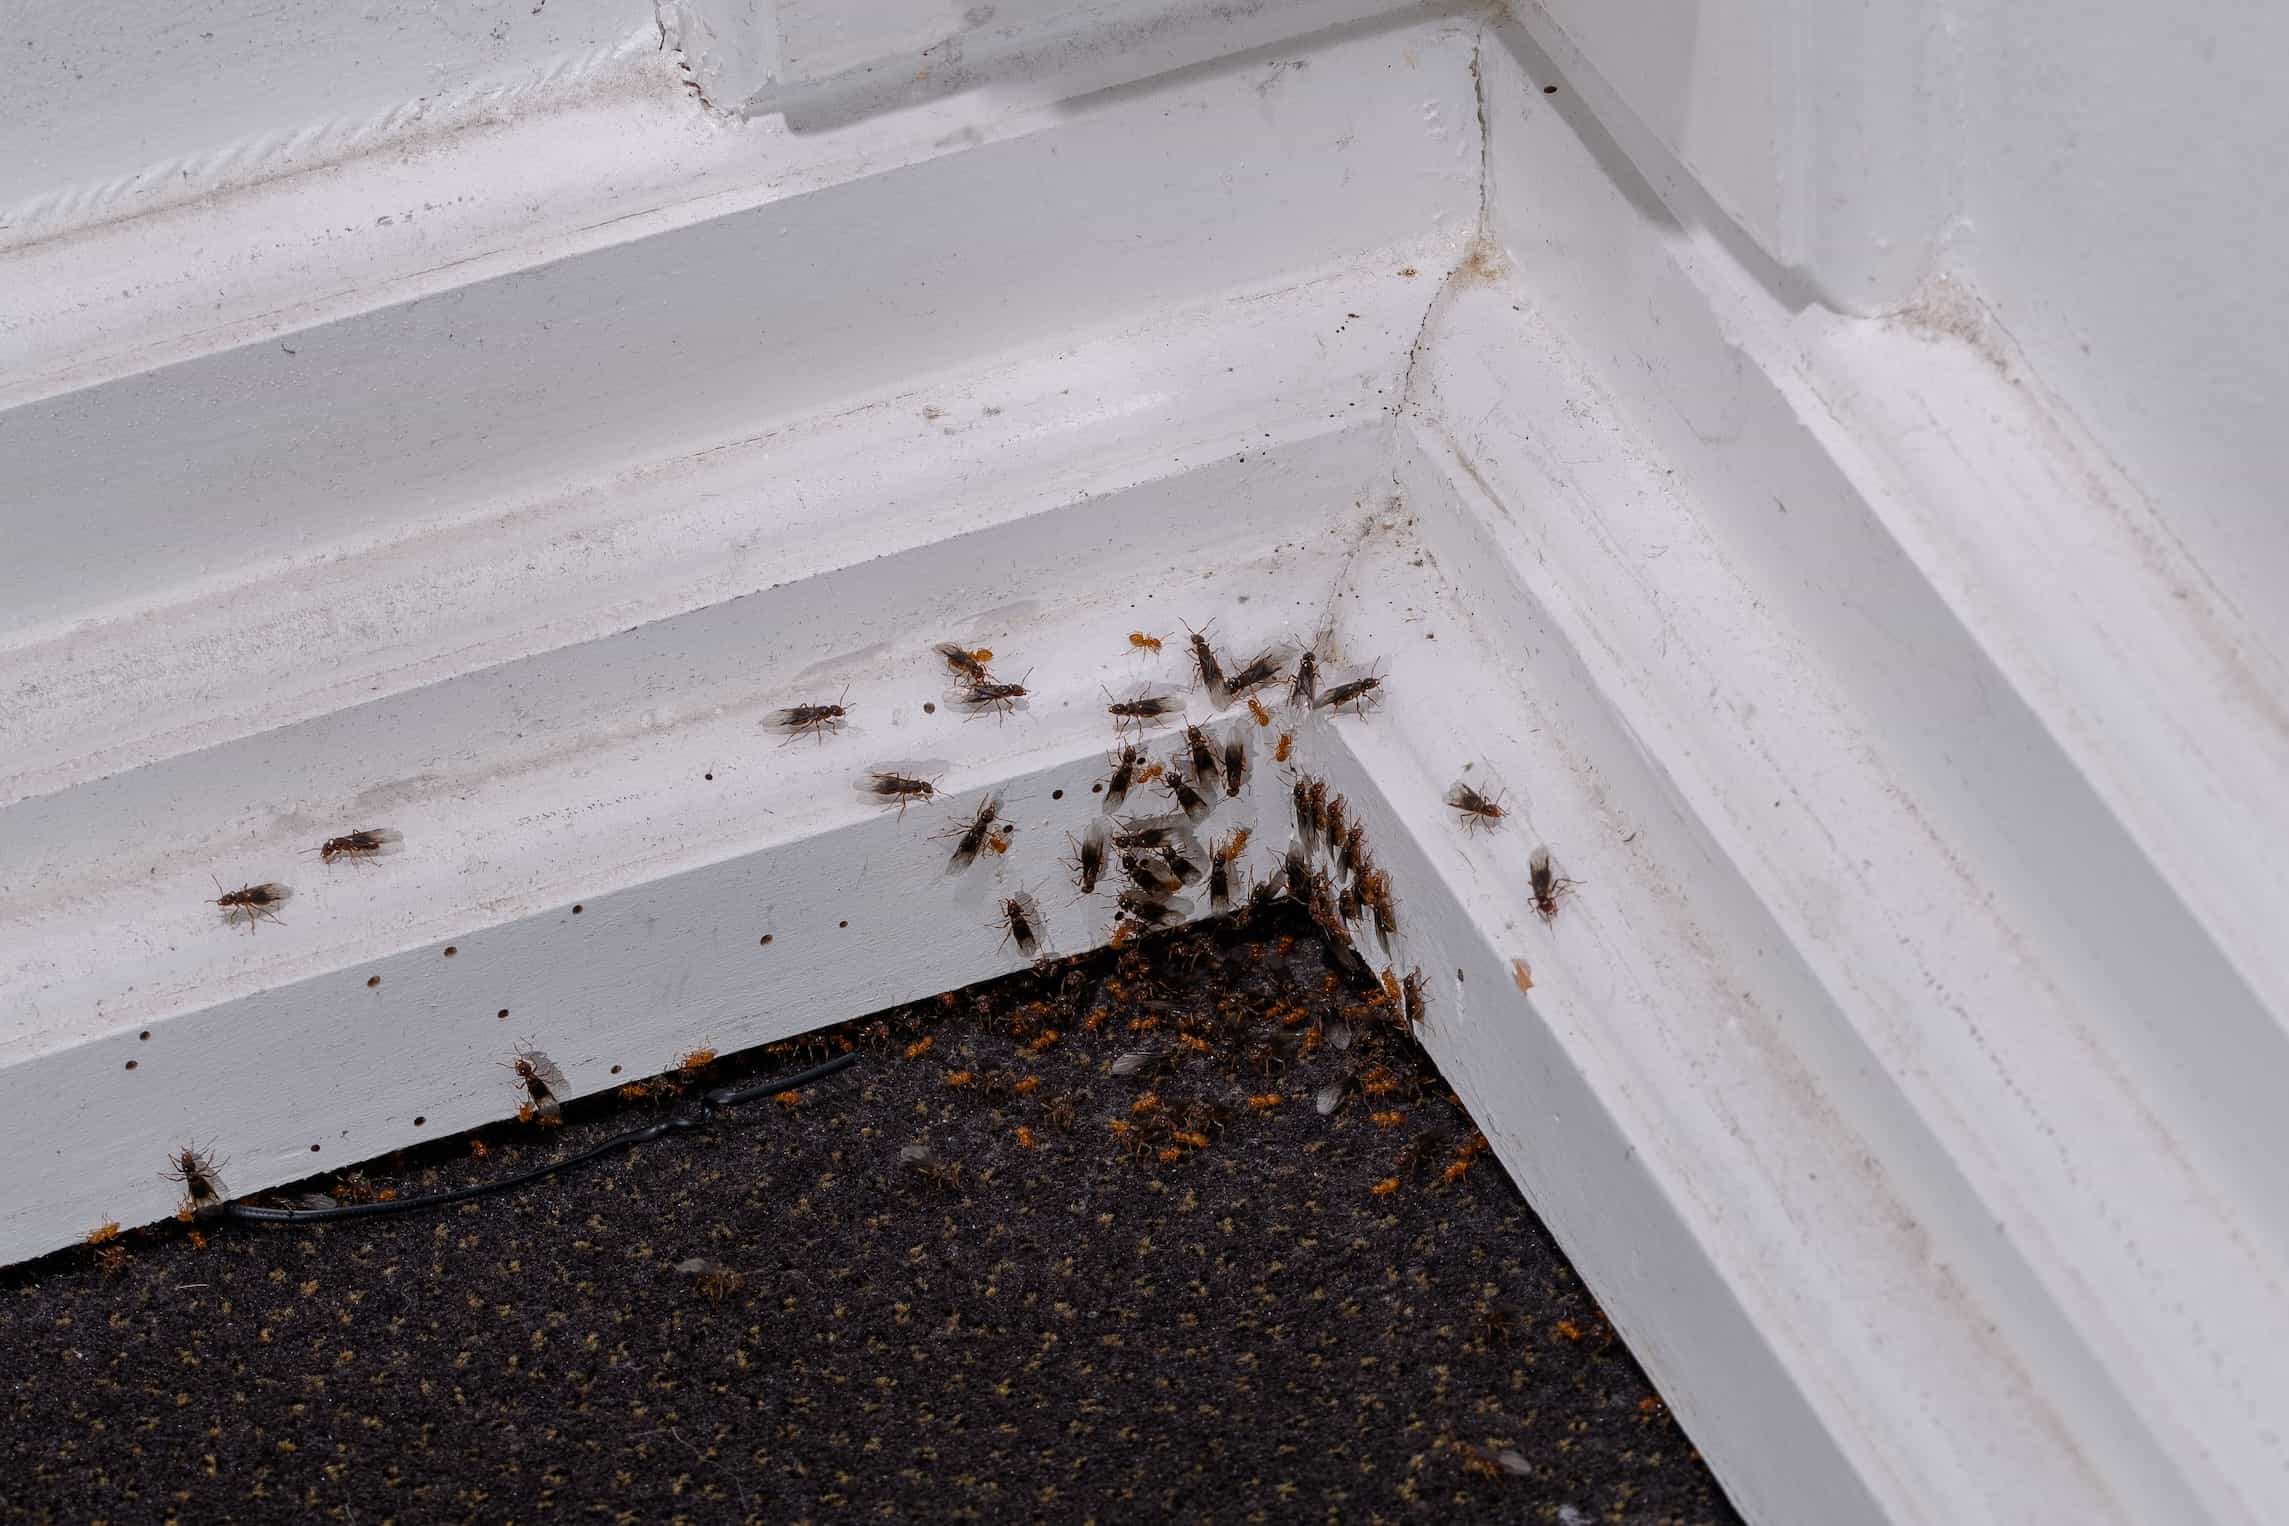
Step 3: Inspect every utility penetration from the inside. In the basement and any utility chase, document every place a service enters the building — water, gas, electrical, communications, HVAC, sump discharge, dryer ducting. Note the existing seal type and its condition.
Step 4: Match each gap to the right material. Use the table below as a working reference.
Natural Resources Canada's home weatherization guidance describes the same caulk-and-backer-rod approach for energy efficiency. The same airtight seal that keeps heat in keeps mice out — two problems, one job.
Step 5: Seal in a single session, on a dry day above the caulk's working temperature. Most exterior caulks have a working range printed on the tube — typically above 5°C. Below that, the caulk does not bond. Pick a dry day in the right window and finish the work in one pass.
Step 6: Reset the exterior conditions. Trim vegetation back from the foundation. Move firewood off the wall. Pull patio cushions out of contact with siding. Clean spilled bird seed. Re-establish the 30 cm vegetation-free strip.
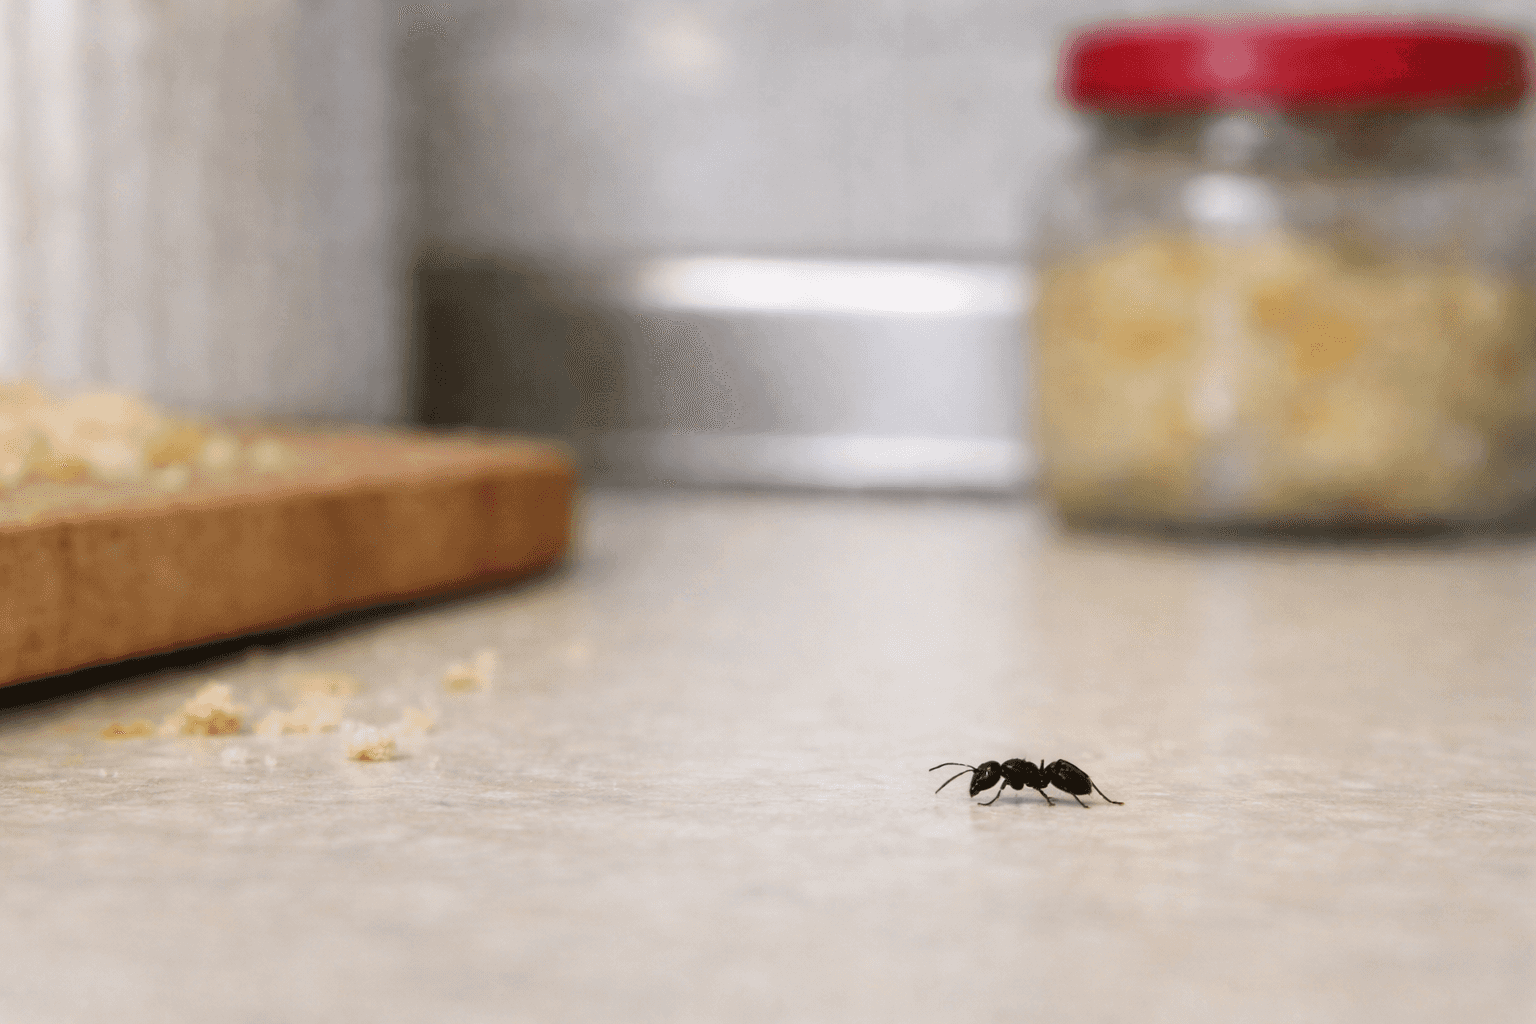
Step 7: Verify in two weeks. Walk the perimeter again. Check the seals you placed. Check for fresh tracks in dust along the sill plate inside the basement. Document anything new.