It’s Not Just The Number On The Sticker
Although SEER is a powerful shorthand, it’s only one part of the decision. In practice, three other factors can easily erase or amplify the benefit of a higher SEER unit:
-
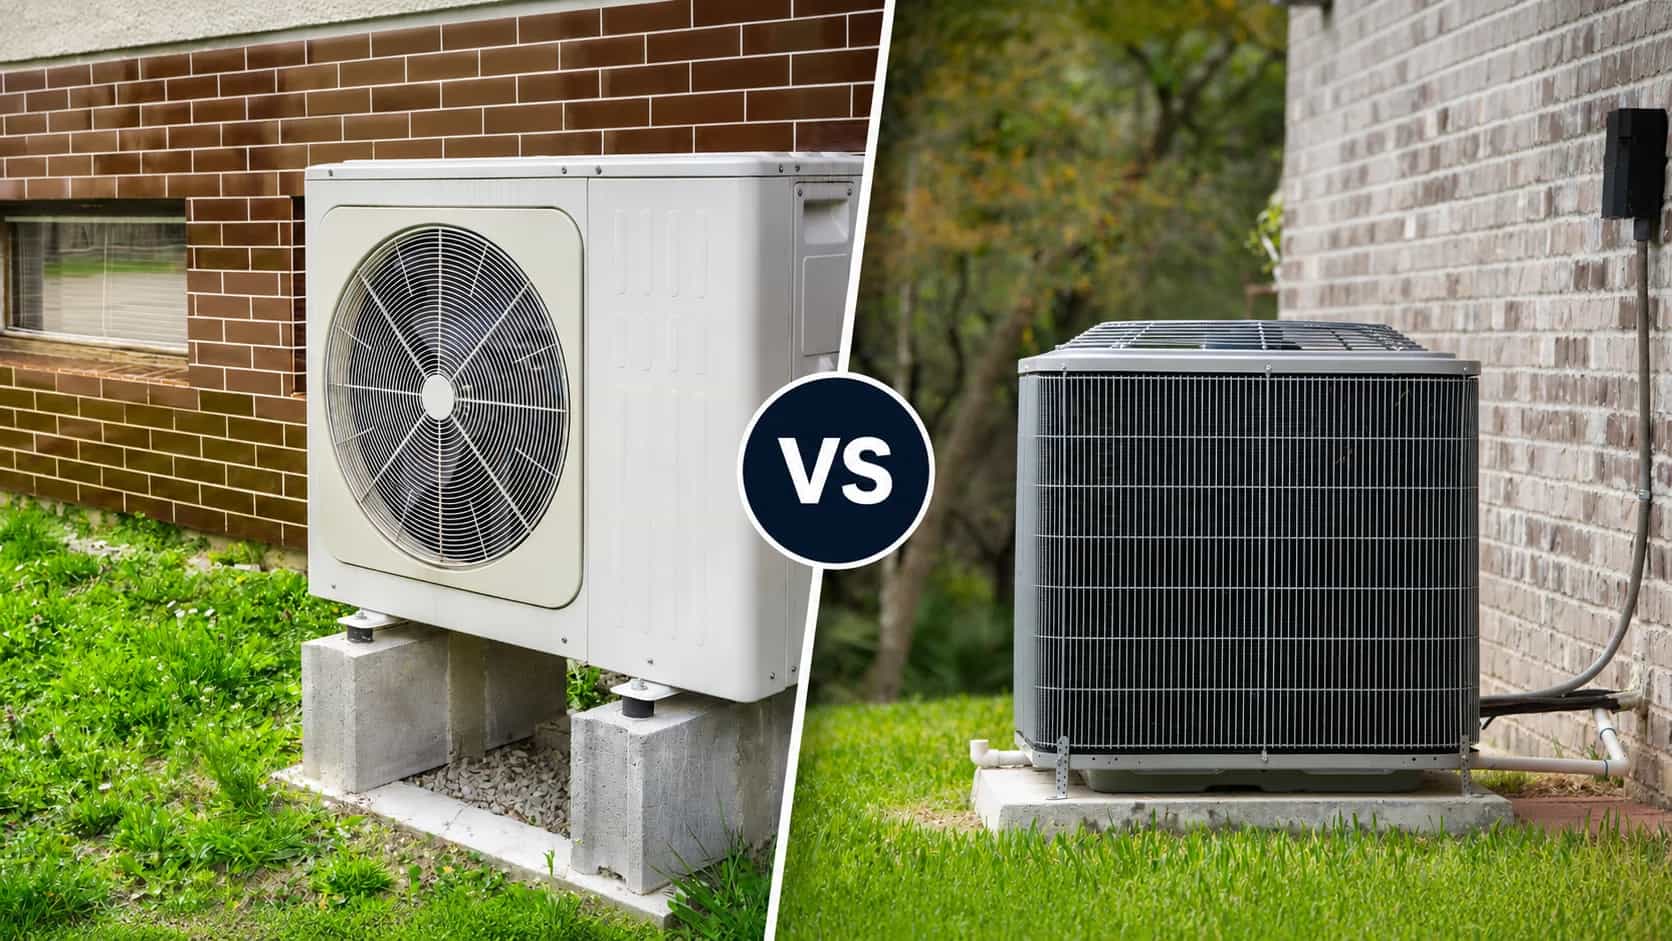
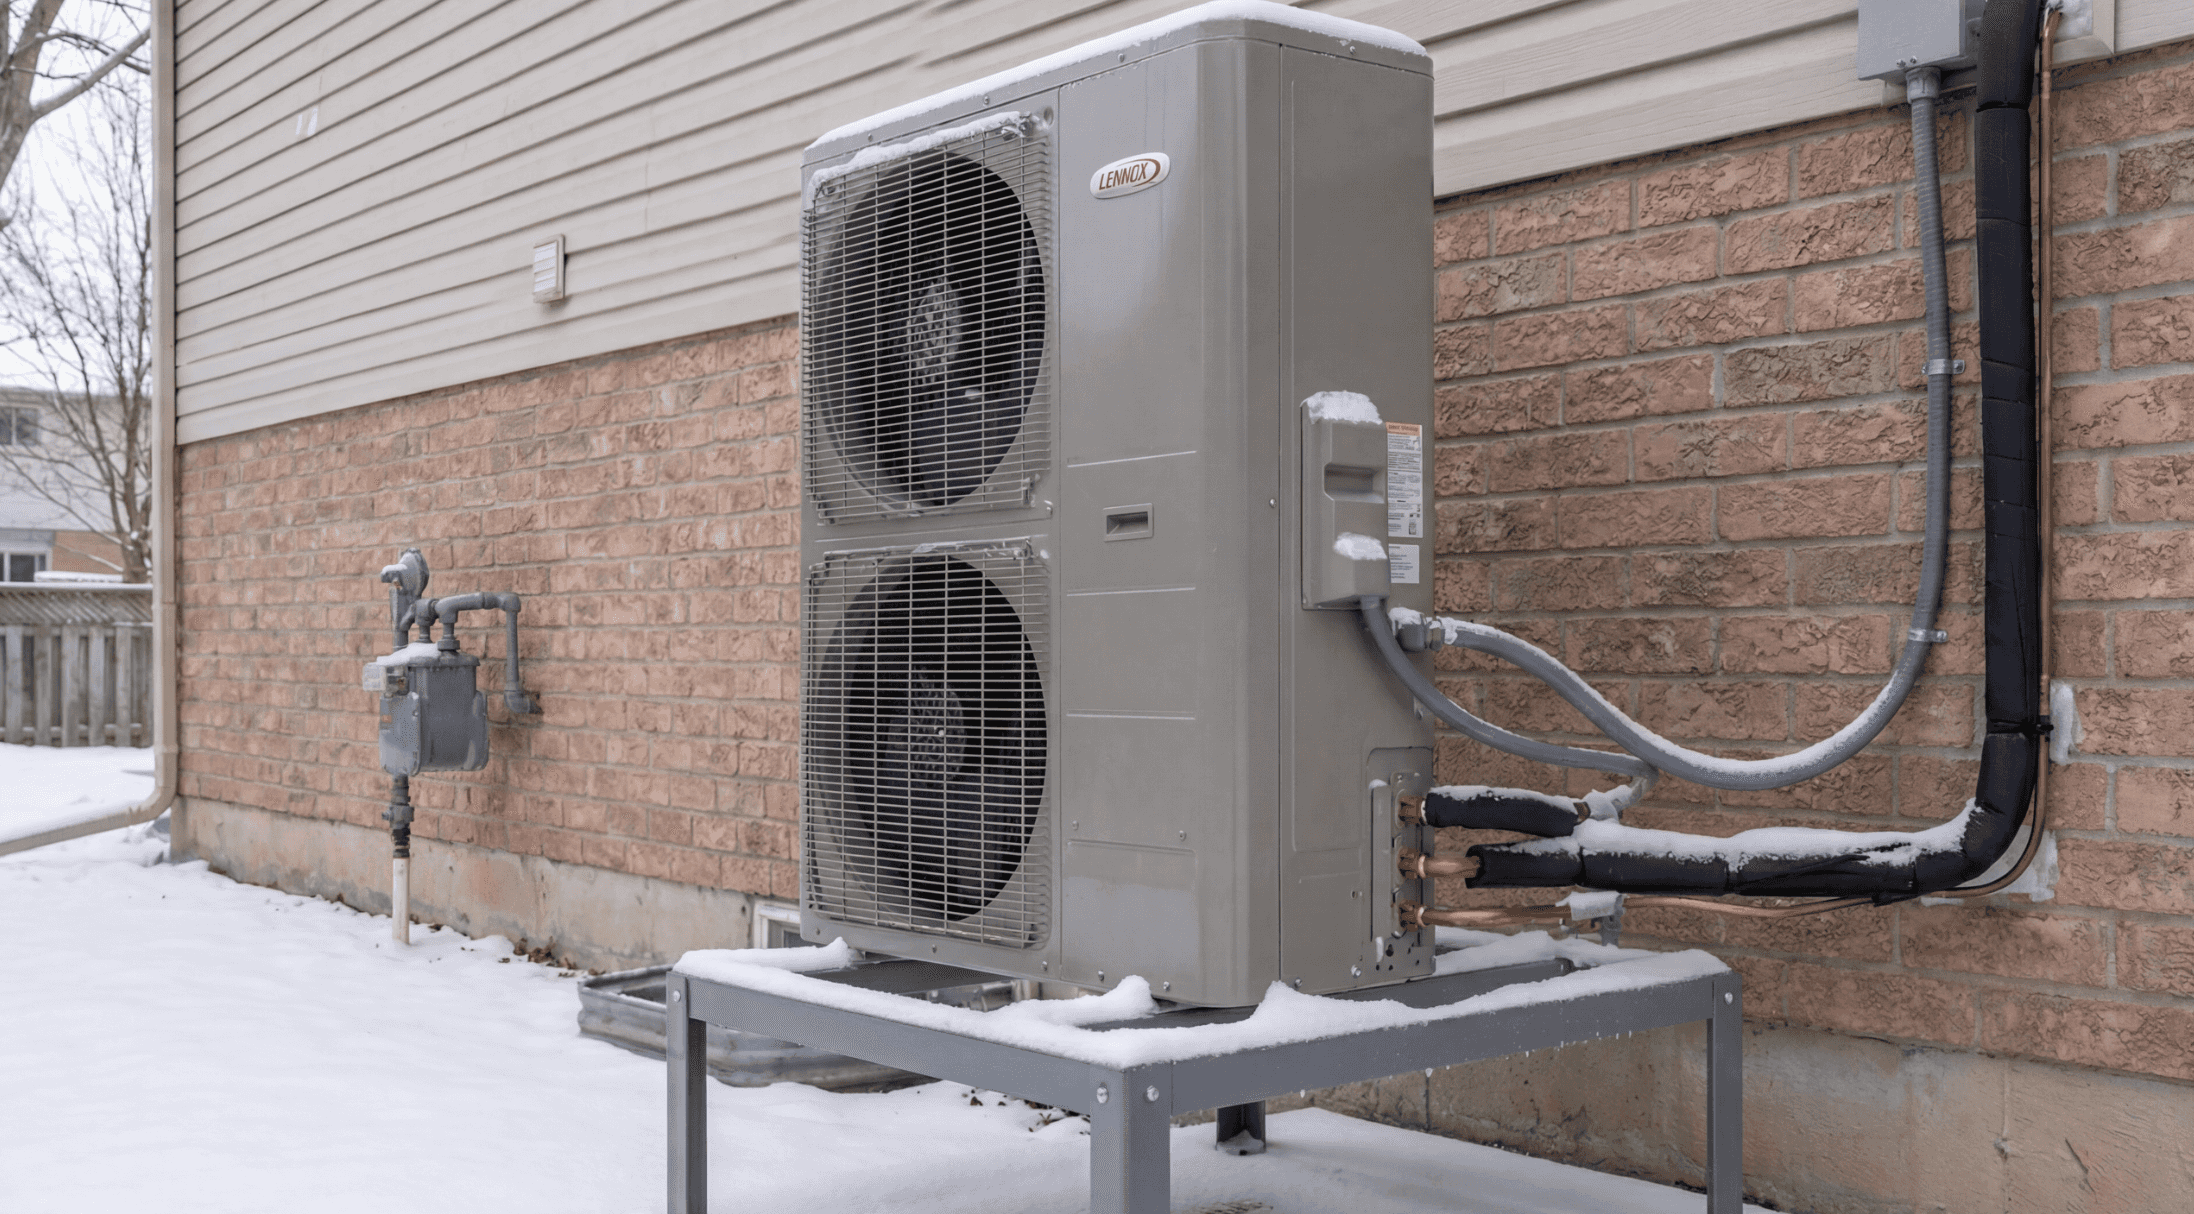
Installation quality and duct design
The shift to SEER2 explicitly acknowledges that old tests understated the impact of real‑world ductwork. The M1 test procedure increases external static pressure by a factor of five to simulate actual installed conditions, as described on the SEER2 program’s About page. If your ducts are undersized, poorly sealed, or badly balanced, you may never see the full benefit of a high‑SEER system.
-
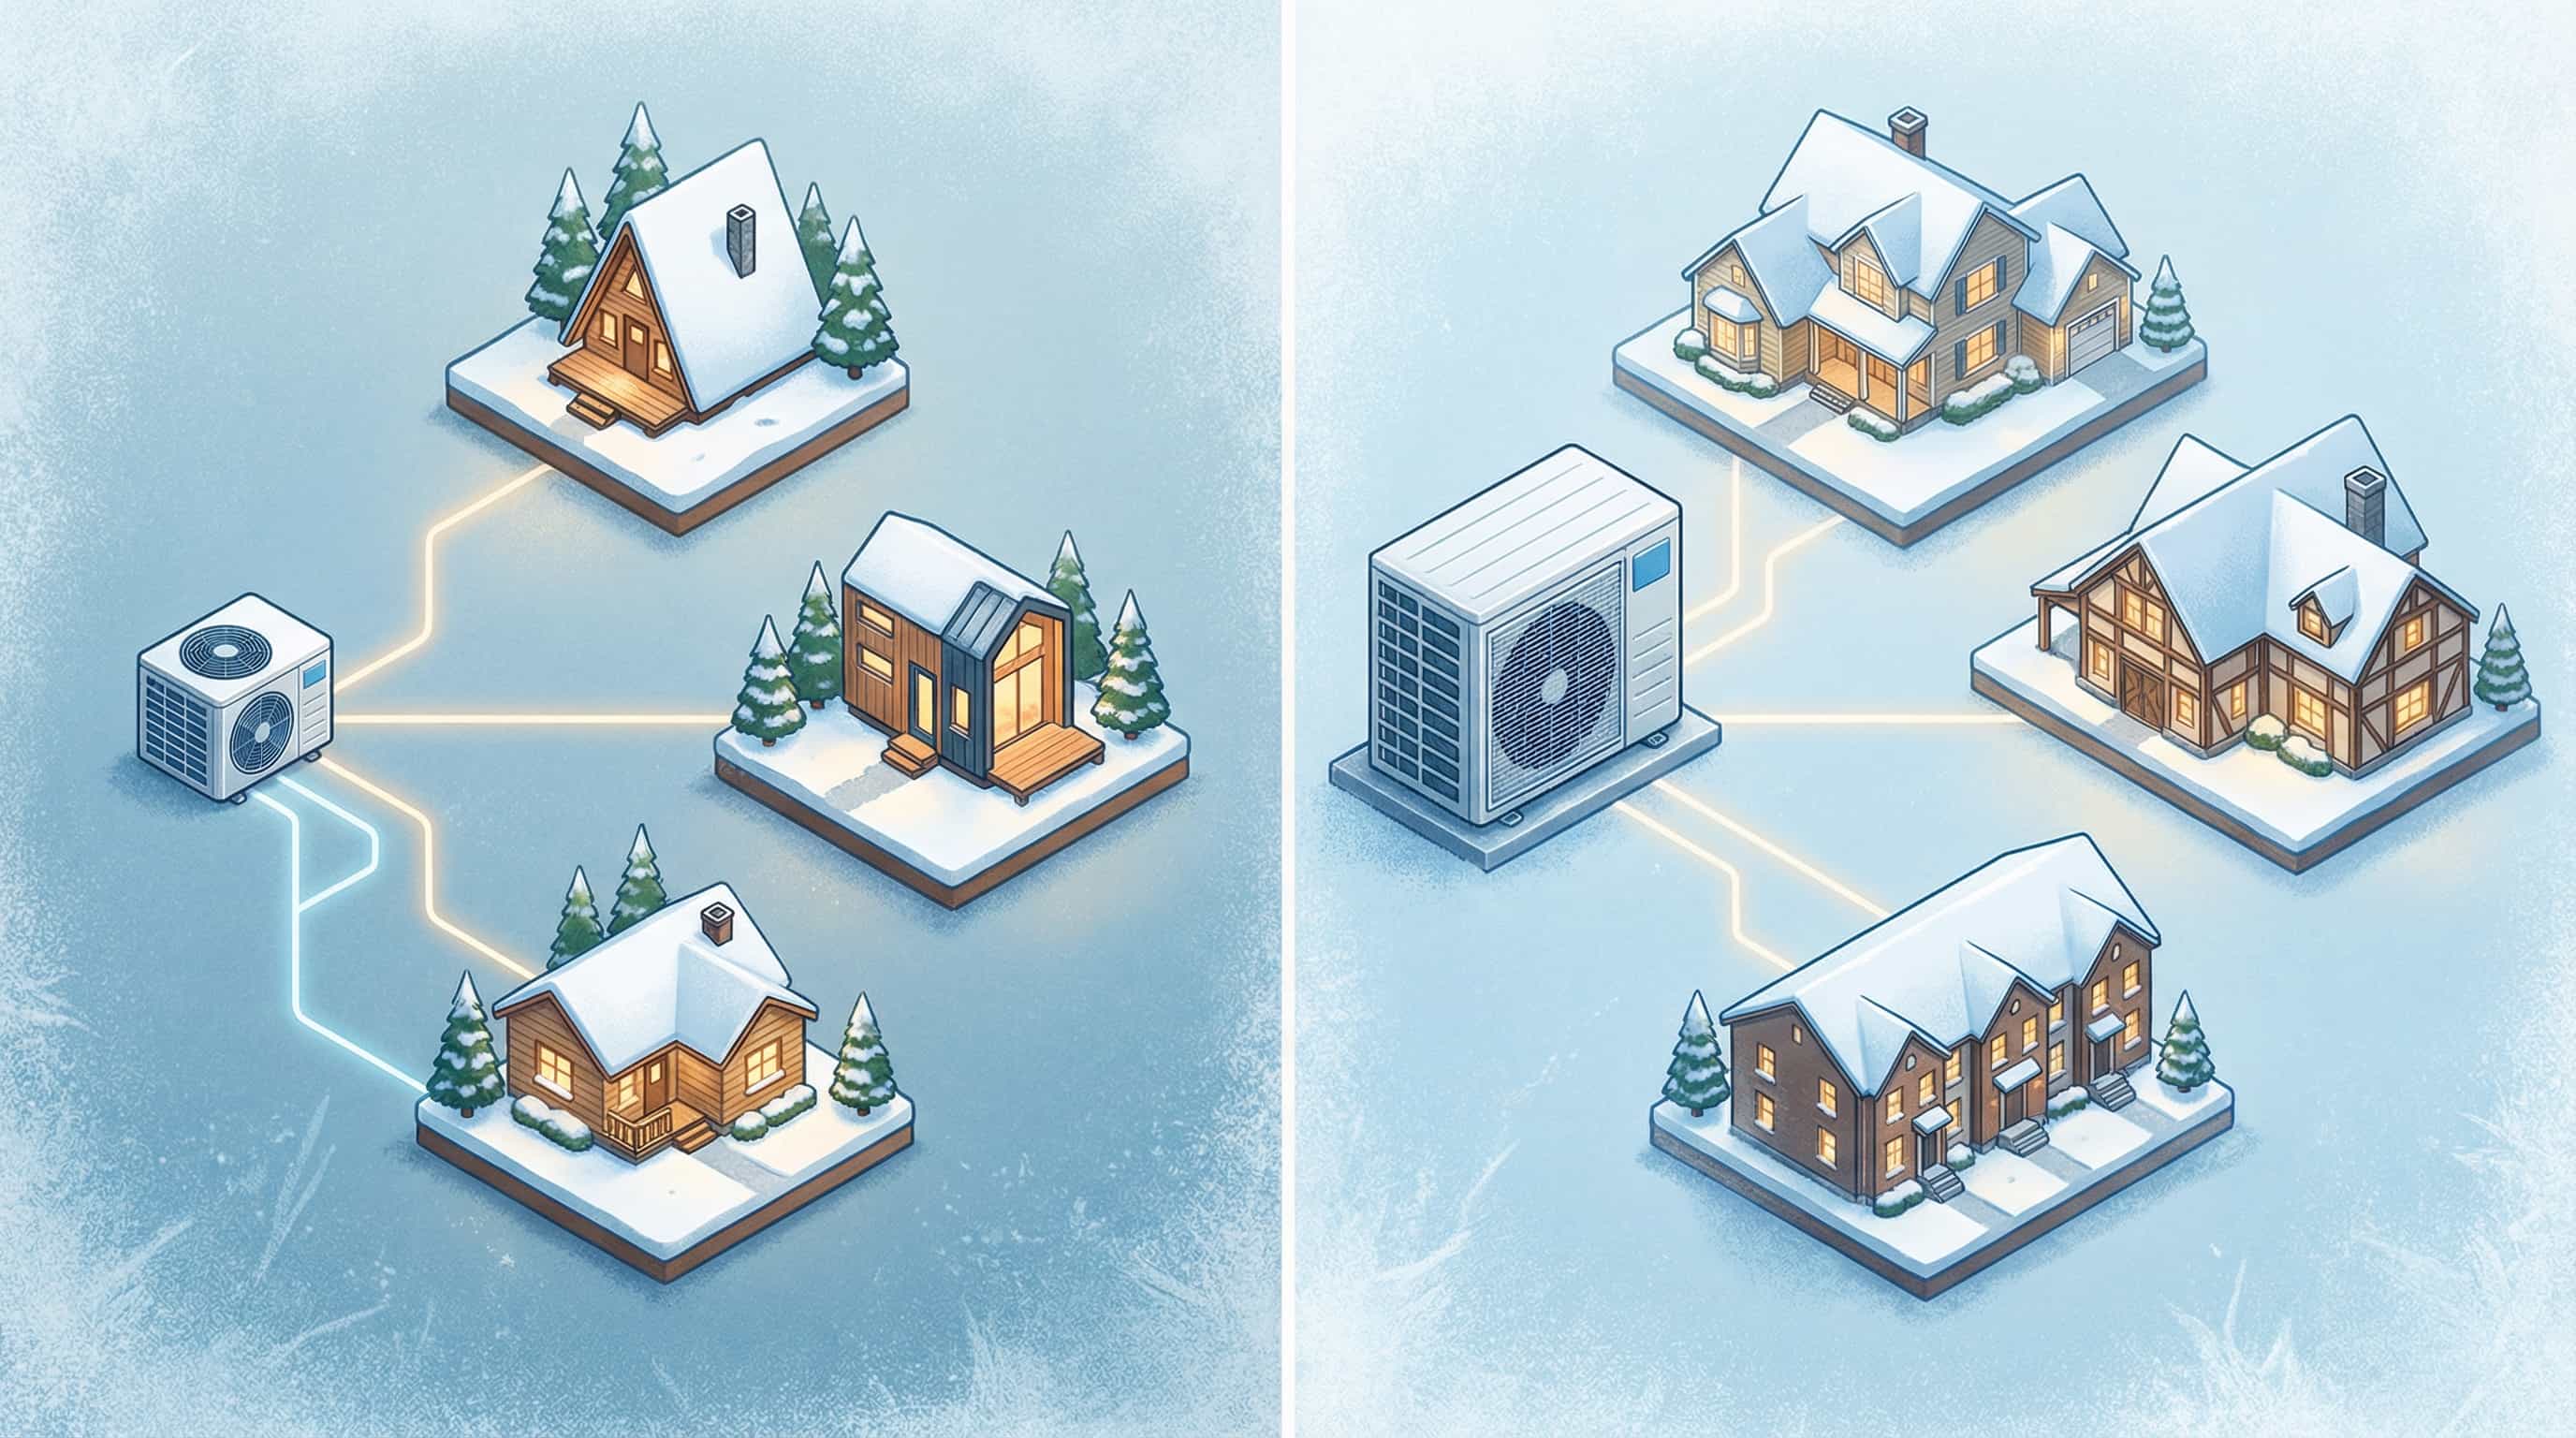
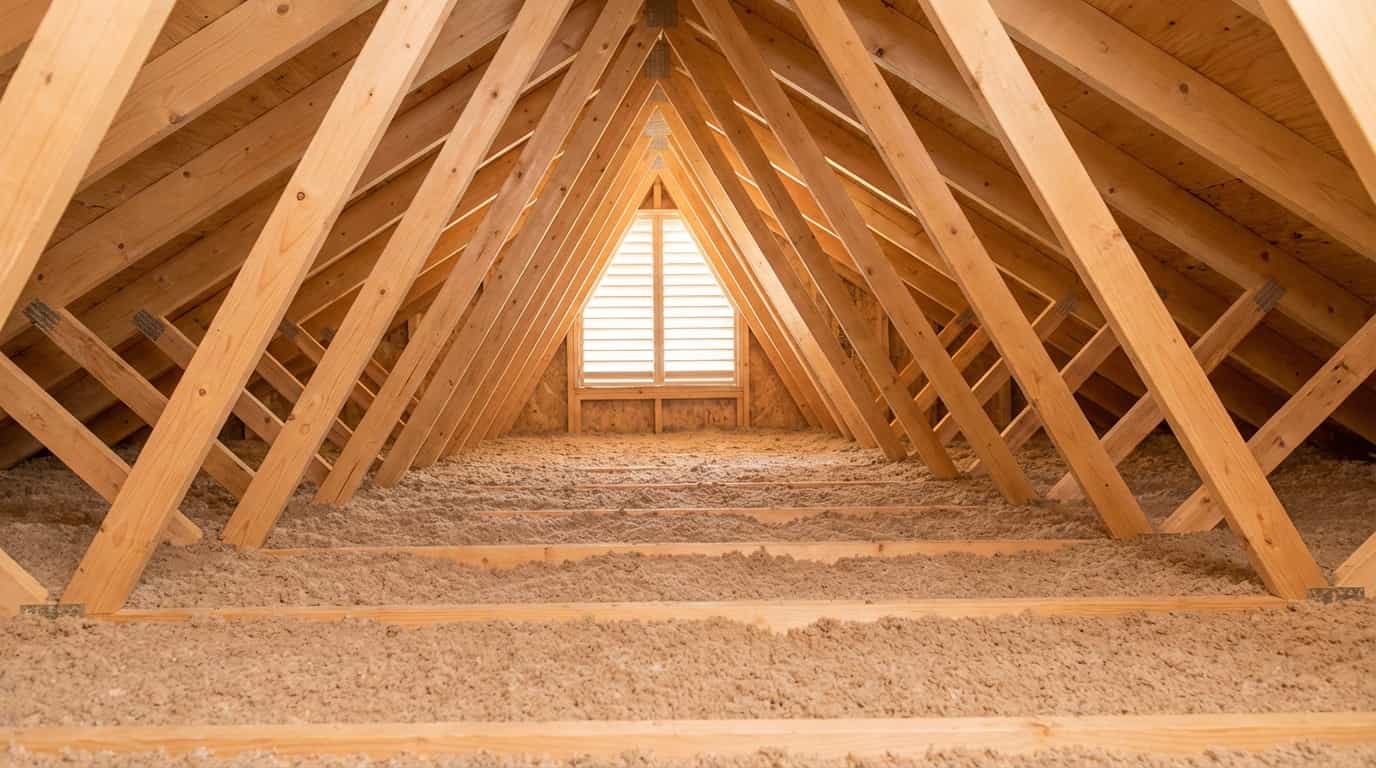
Home envelope (insulation and air sealing)
A high‑SEER system can still run a lot if your attic is poorly insulated or your home leaks air. Improving insulation and air sealing reduces the load on any AC, regardless of its SEER, particularly in climates where both heating and cooling loads matter.
-
System sizing and controls
Oversized equipment tends to short‑cycle—turning on and off frequently—reducing comfort and real‑world efficiency. Right‑sized systems paired with smart thermostats and good zoning can often outperform a higher‑SEER but oversized system.
A Simple Decision Framework For Homeowners
Here’s a practical way to decide how high to go on SEER/SEER2 without getting lost in calculus:
- Estimate your cooling hours.
Think about how many hours per summer your current system runs (or would run):
- Light use: windows open most of the time; AC only on very hot days
- Moderate: AC on for much of July–August; off at night sometimes
- Heavy: AC on most days and many nights through the season
When reviewing quotes, ask each contractor to show their load calculation (e.g., Manual J or equivalent) and to explain how ductwork and static pressure were considered. A high SEER/SEER2 number on paper is no guarantee of low bills if the system is simply dropped into undersized ducts.