Everything above is the catalogue of where leaks happen. This section is the operating procedure: the order to actually run the checks, what to record, and where to draw the line between DIY and a service call. The whole point of this sequence is that each step costs almost nothing and rules out a category before you spend money on the next one.
A Diagnostic Sequence You Can Run This Weekend
The order matters. Skipping ahead to dye-testing the skimmer because you read about it online is how owners burn whole weekends without a clear answer.
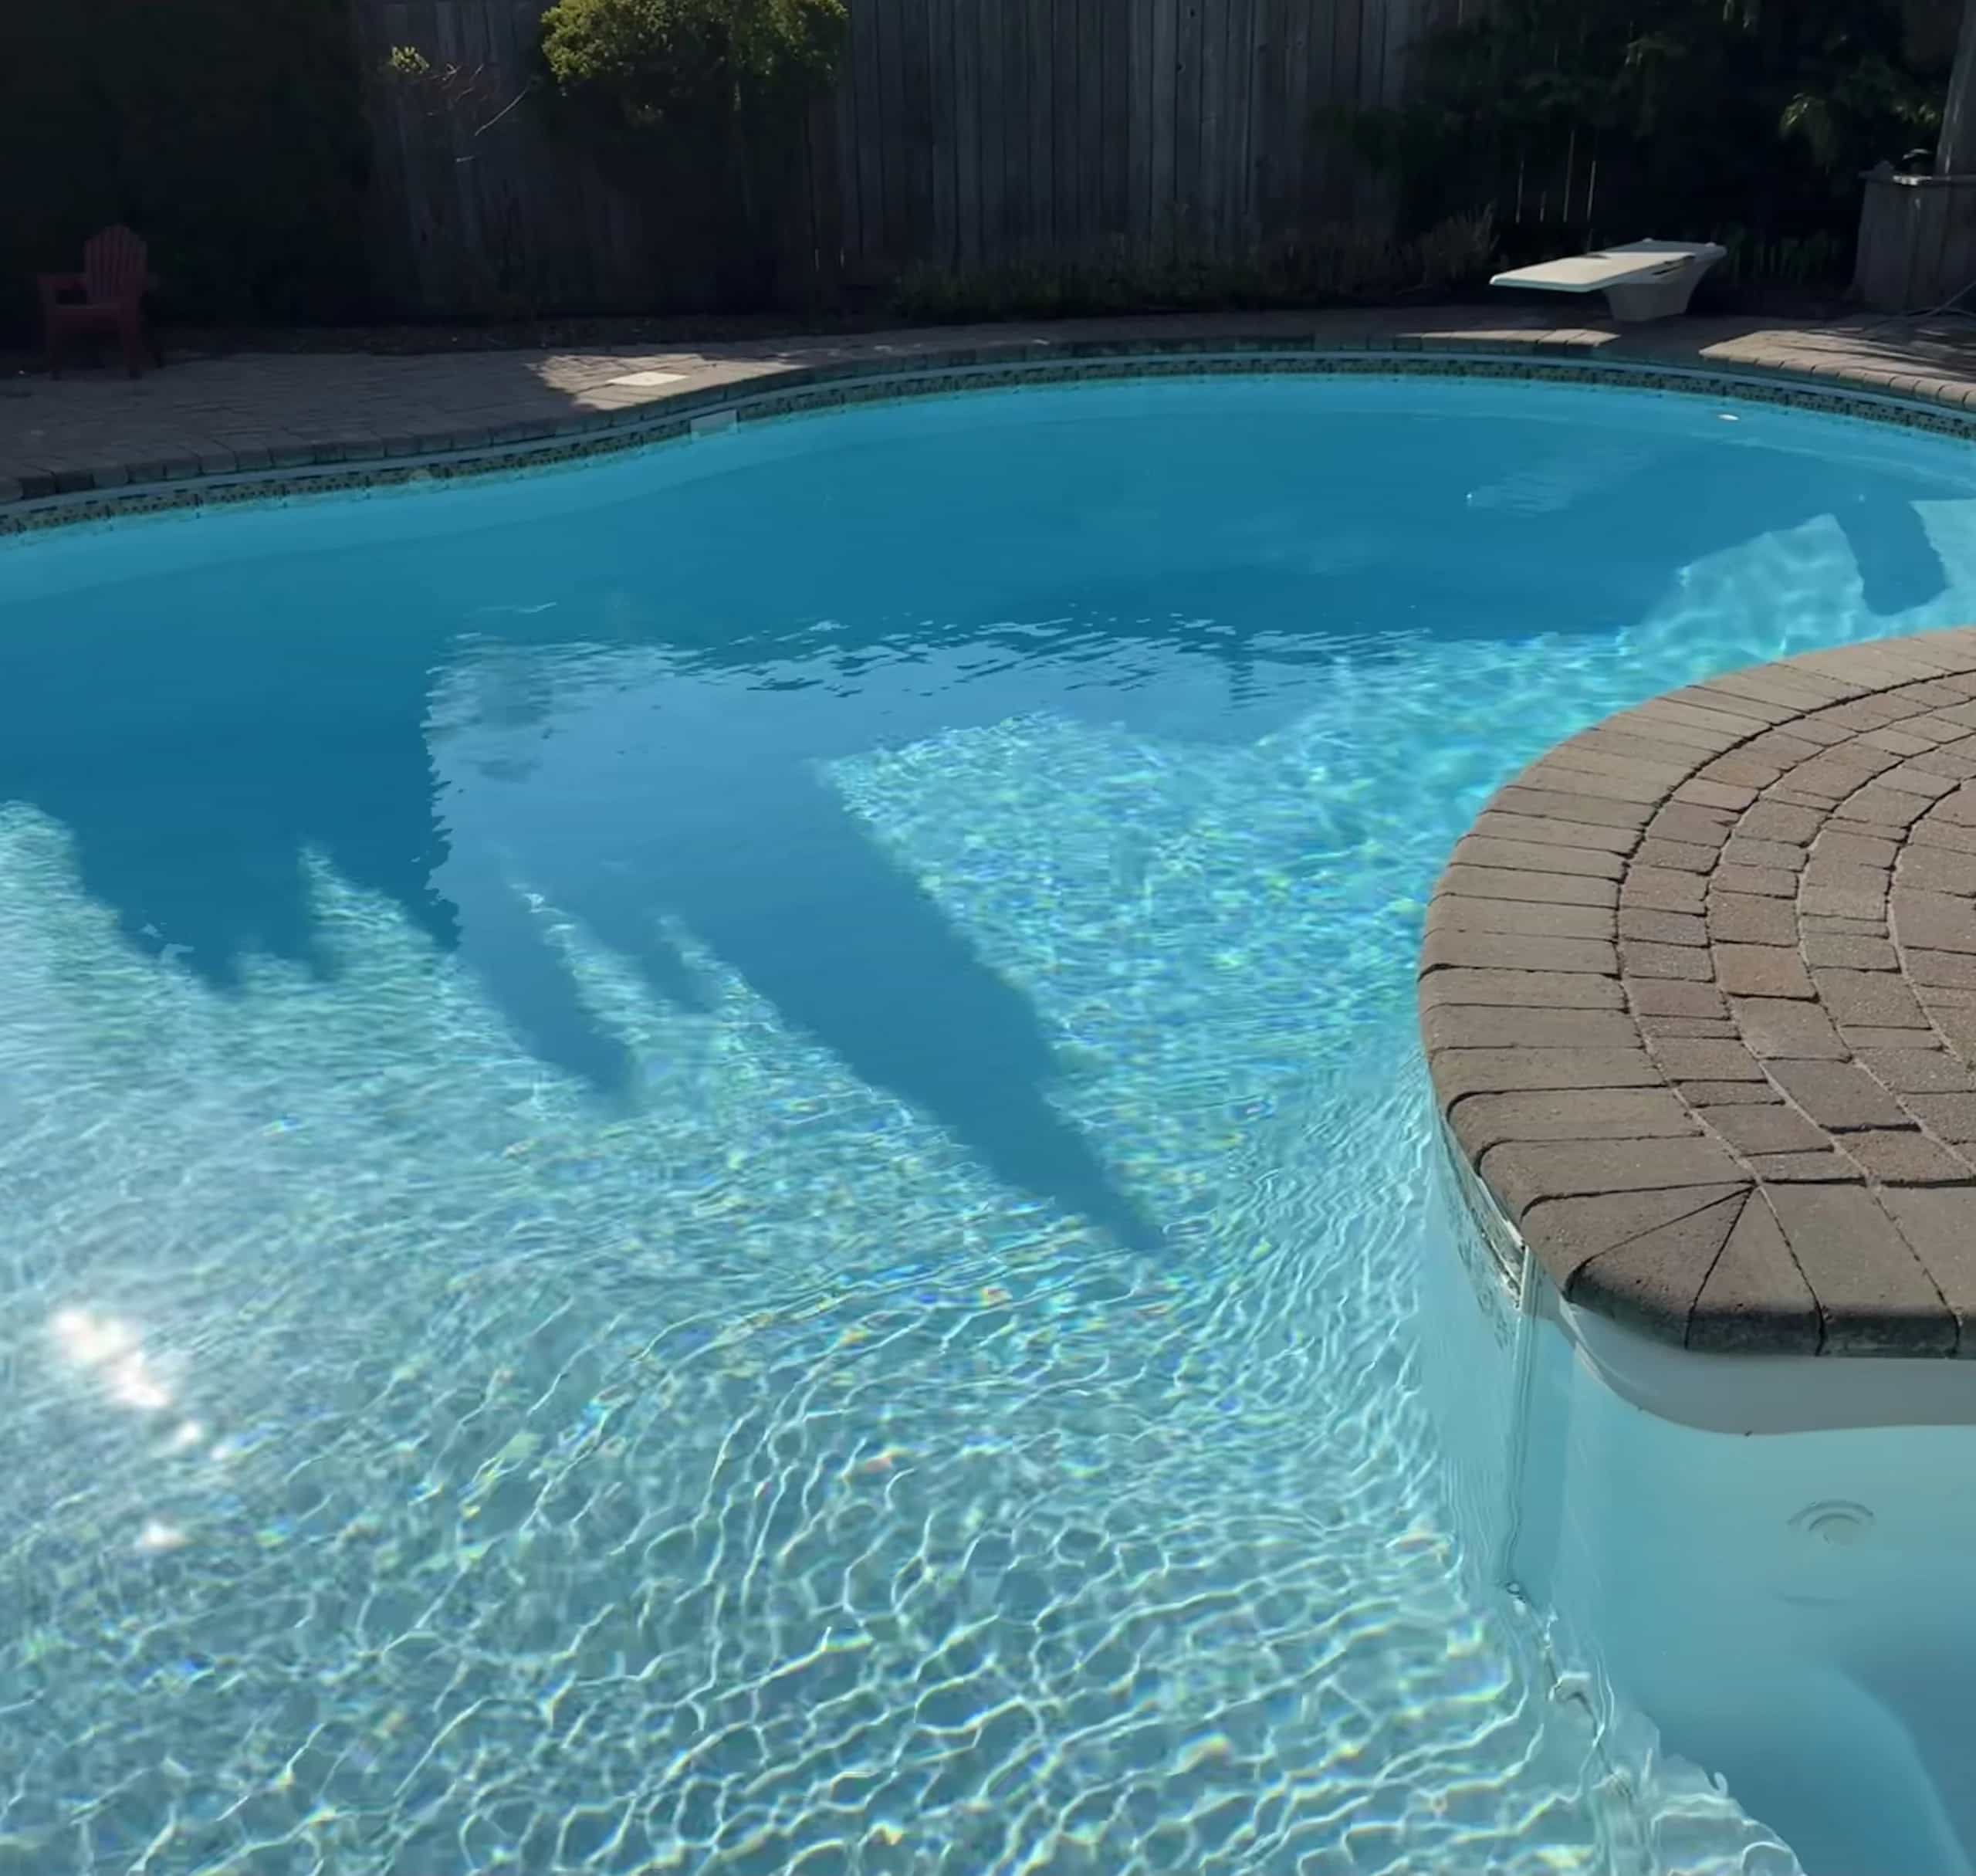
Step 1: Run a 24- to 48-hour bucket test. Mark both levels on tape and compare loss. Equal loss means weather; meaningfully more in the pool means proceed.
Step 2: Walk the equipment pad with the pump running. Inspect under the pump, each union, the filter, the heater, and the multiport. A paper towel against suspected areas catches even slow weeps. Photograph any wet spots.
Step 3: Check the multiport handle and waste line. Confirm the handle is fully detented in filter mode and the backwash discharge hose is dry while the pump runs. Anything coming out means a spider gasket failure.
Step 4: Compare loss with the pump on versus off. Run 24 hours on, then top up and run 24 hours off. More loss with the pump off points to skimmer, main drain, or vinyl liner. More loss with the pump on points to pressure-side plumbing or pad components.
Step 5: Watch where the water stops. Let the pool drop naturally without topping up. The elevation it stops at — skimmer mouth, return fitting, light niche — is where the leak is.
Step 6: Dye-test the suspected elevation. With the pump off and water still, introduce dye near each fitting at that elevation and watch for it to be drawn into the wall rather than diffusing.
Step 7: If loss continues past every visible penetration, call a specialist. That signature — continuous drop past every elevation, no visible source — is the underground plumbing or main drain pattern, and DIY tools can't reliably locate it.
What Pros Test That You Can't
Professional leak detection companies use pressure testing, electronic listening equipment, and sometimes geophone or thermal imaging to locate buried leaks. Pressure testing — capping each plumbing line and pressurizing it to see which line bleeds down — is the single most diagnostic tool in their kit, and it's effectively impossible to do well without the proper plugs, gauges, and isolation fittings. If you're at the point where pressure testing is needed, a $300-$500 service call usually pays for itself by skipping straight to the answer instead of guessing.
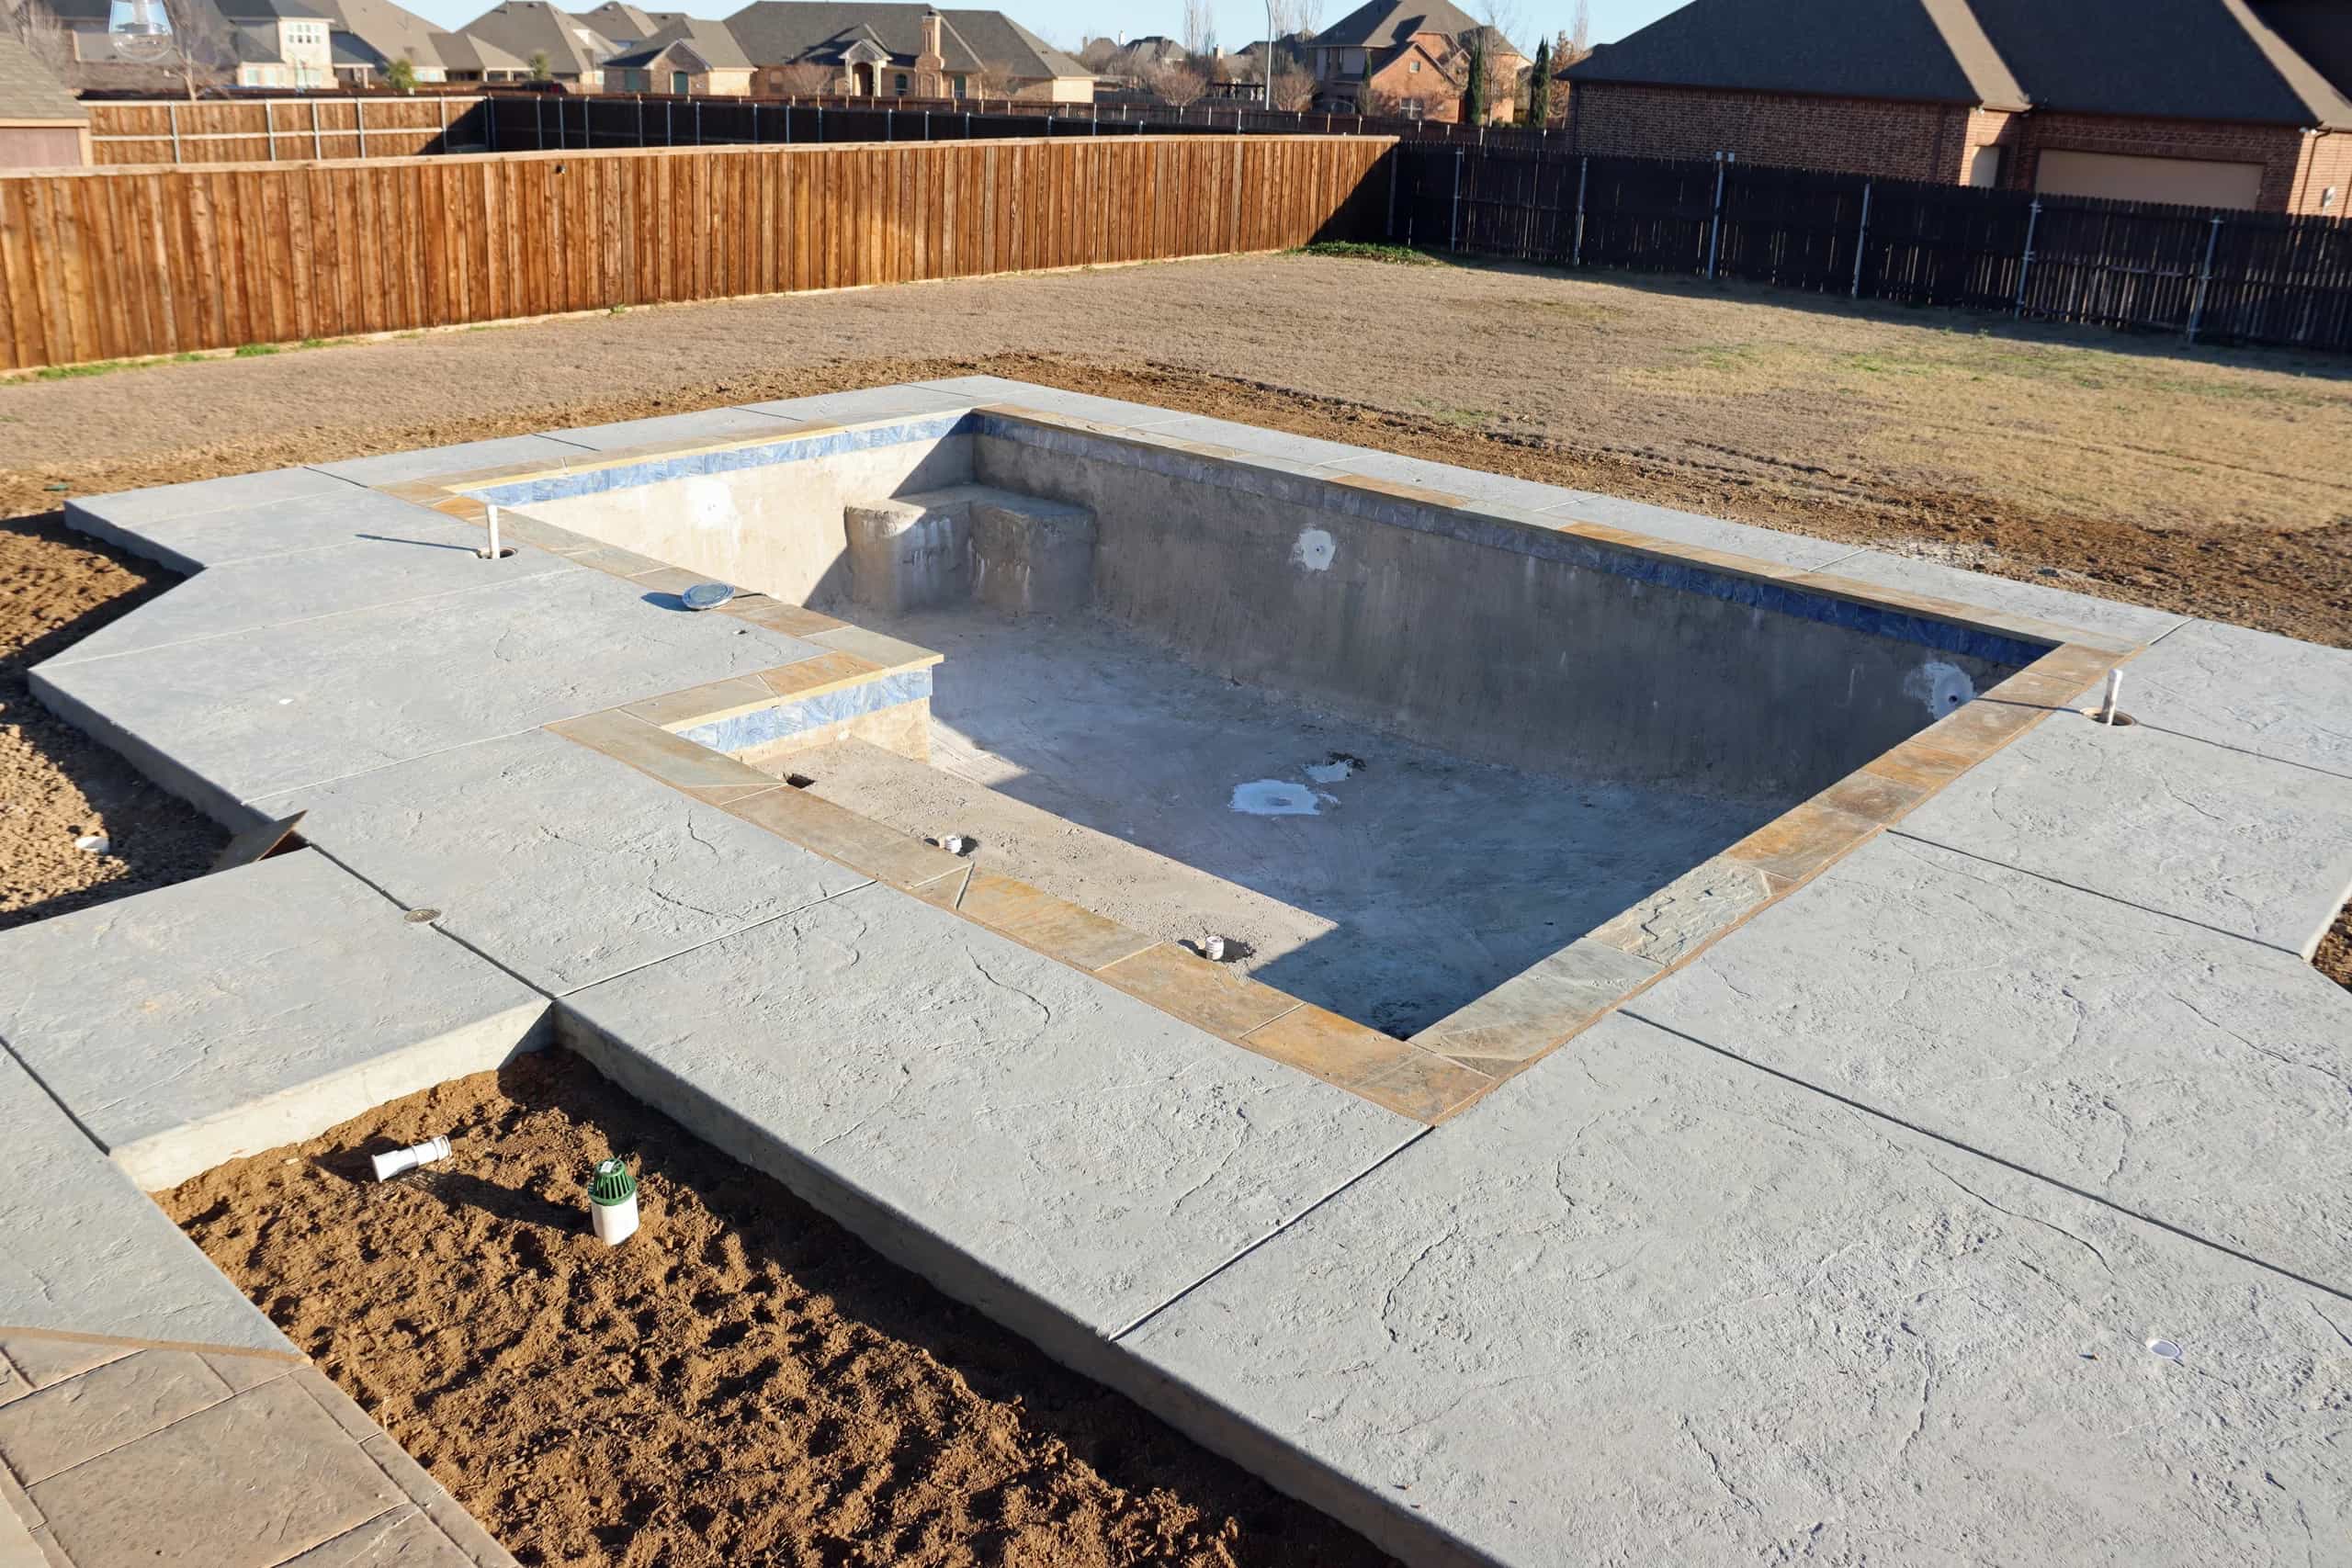
The same applies to under-deck or under-skimmer locating, where pros use cable locators to trace the plumbing routing before they cut anything. Cutting a deck blind to chase a leak you guessed at is how DIY repair budgets triple.
What to Document Before the Service Call
If you've decided to bring in a leak detection specialist, prep work shortens the visit and lowers the bill. Bring: centimetres or inches lost per 24 hours measured against a marked reference; photos of wet spots, soft ground, or damp areas; whether loss accelerates with the pump on or off; the elevation at which loss stops, if it does; recent maintenance from the last twelve months; your bucket test results; and any auto-fill cycle frequency.
That handful of observations gives a leak technician a starting hypothesis before they even pull a hose out of the truck.
If you have a smart valve or auto-fill on the pool, log the fill events for two weeks before the service visit. The volume and timing of fill cycles often tell a leak detection company more than any verbal description of the problem could.