The sequence matters. Doing these steps out of order is the second-biggest reason applications stall.
Step 1: Test for radon properly. Long-term, 90-plus days, using a C-NRPP-certified passive kit placed on the lowest level of the home you regularly occupy. Testing is best in winter, when windows stay closed and radon concentrates more reliably.
Step 2: If the result is above 200 Bq/m³, find a C-NRPP-certified mitigation professional. The Take Action on Radon find-a-pro directory lists certified pros by province.
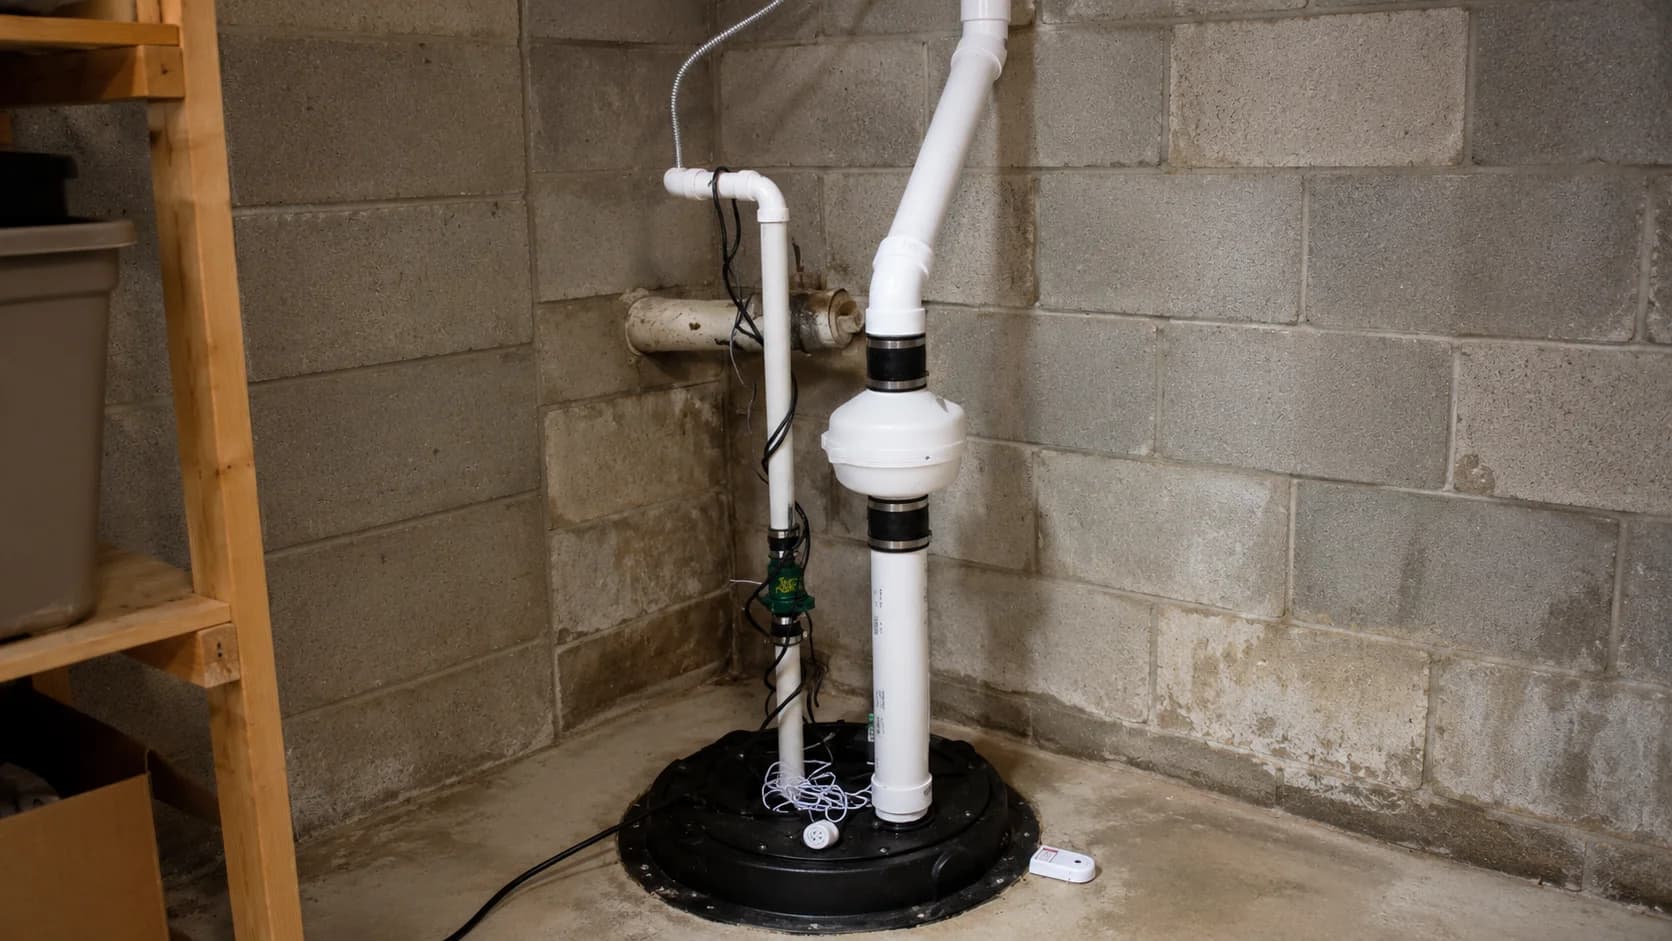
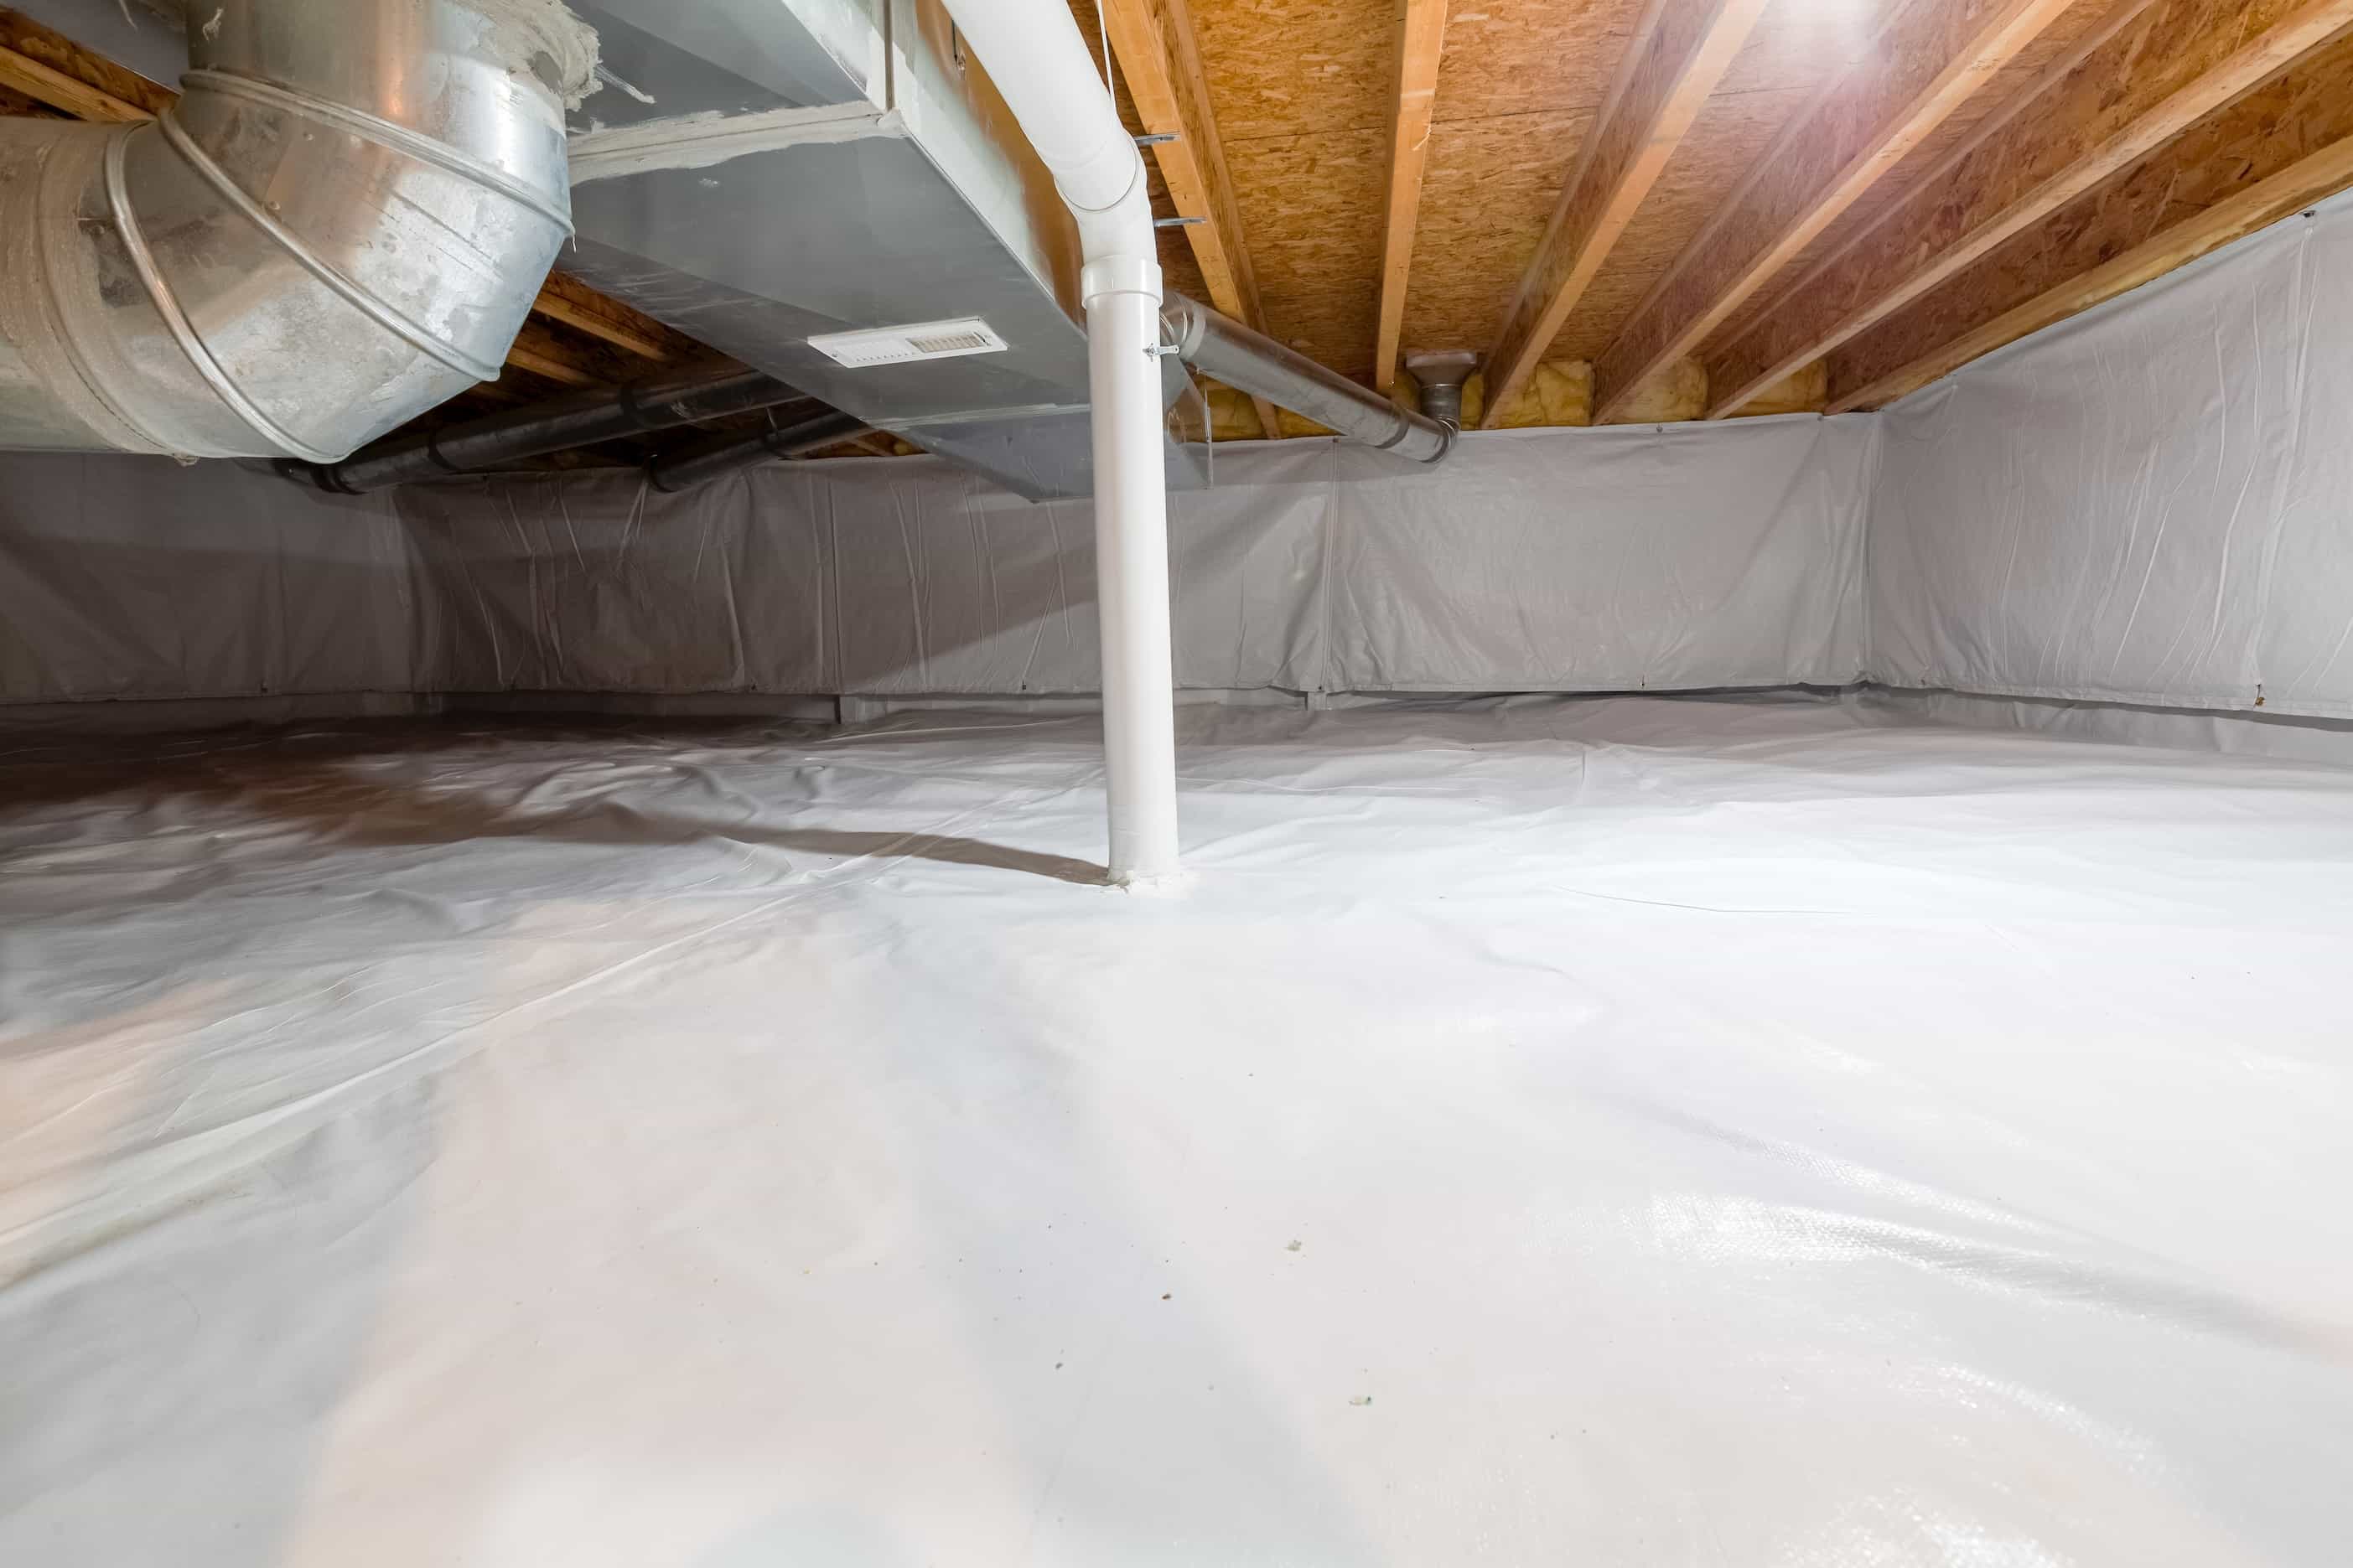
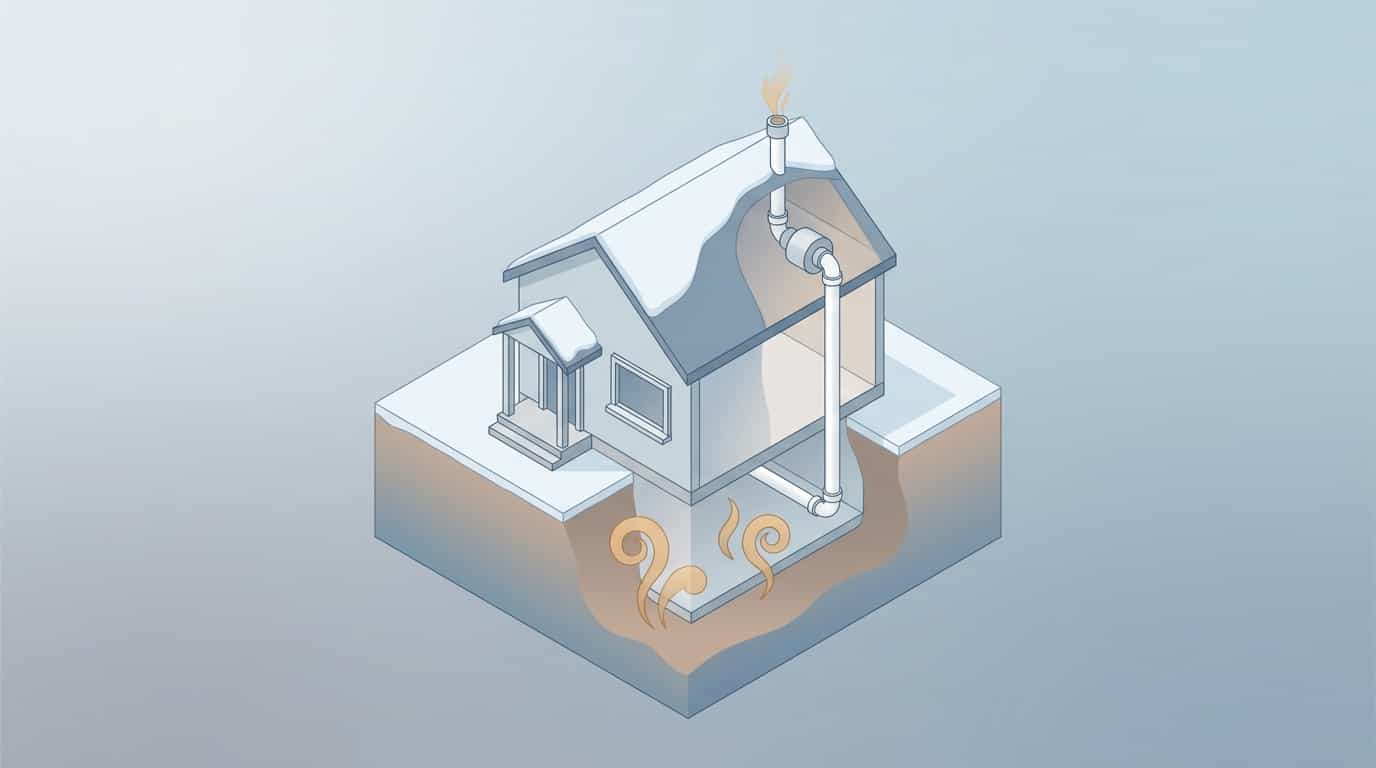
Step 3: Request a written quote from the contractor for sub-slab depressurization, or whichever method they recommend after inspecting the home. Ask for the fan model spec and confirm the contractor is C-NRPP-certified for mitigation, not just measurement.
Step 4: Pull together your supporting documents. NOAs for everyone on title, the test report from the lab, the mitigation quote, and, if applying under the diagnosis path, your lung cancer documentation.
Step 5: Submit the application through the Canadian Lung Association's online form. There is no paper alternative.
Step 6: Wait for the decision before scheduling the install. This is the rule that catches people. The grant cannot be applied to work that is already complete, so even if your contractor has next-week availability, you have to hold until the CLA approves the application.
Step 7: Once approved, schedule the mitigation. Coordinate with the contractor. Keep all receipts and any post-installation radon test reports — provincial programs, covered below, often require these for separate reimbursement steps.
Some homeowners apply to provincial programs (Saskatchewan's Caring Breaths, Nova Scotia's Radon Reduction Grant) at the same time. Where the rules allow stacking, this can meaningfully reduce out-of-pocket cost. Read each program's terms — some explicitly disqualify applicants who receive other funding for the same work.