Only if the unfinished basement is truly a lived-in space (meaning people spend meaningful time there day after day). If it’s mainly storage and mechanical, your main floor is often the better “lowest lived-in level” for an initial test.
A Practical Placement Playbook That Keeps Your Test Valid and Your Results Useful

Modern radon detector sits quietly in plain sight, where placement choices decide whether a long-term test holds. (Credit: Homeowner.ca)
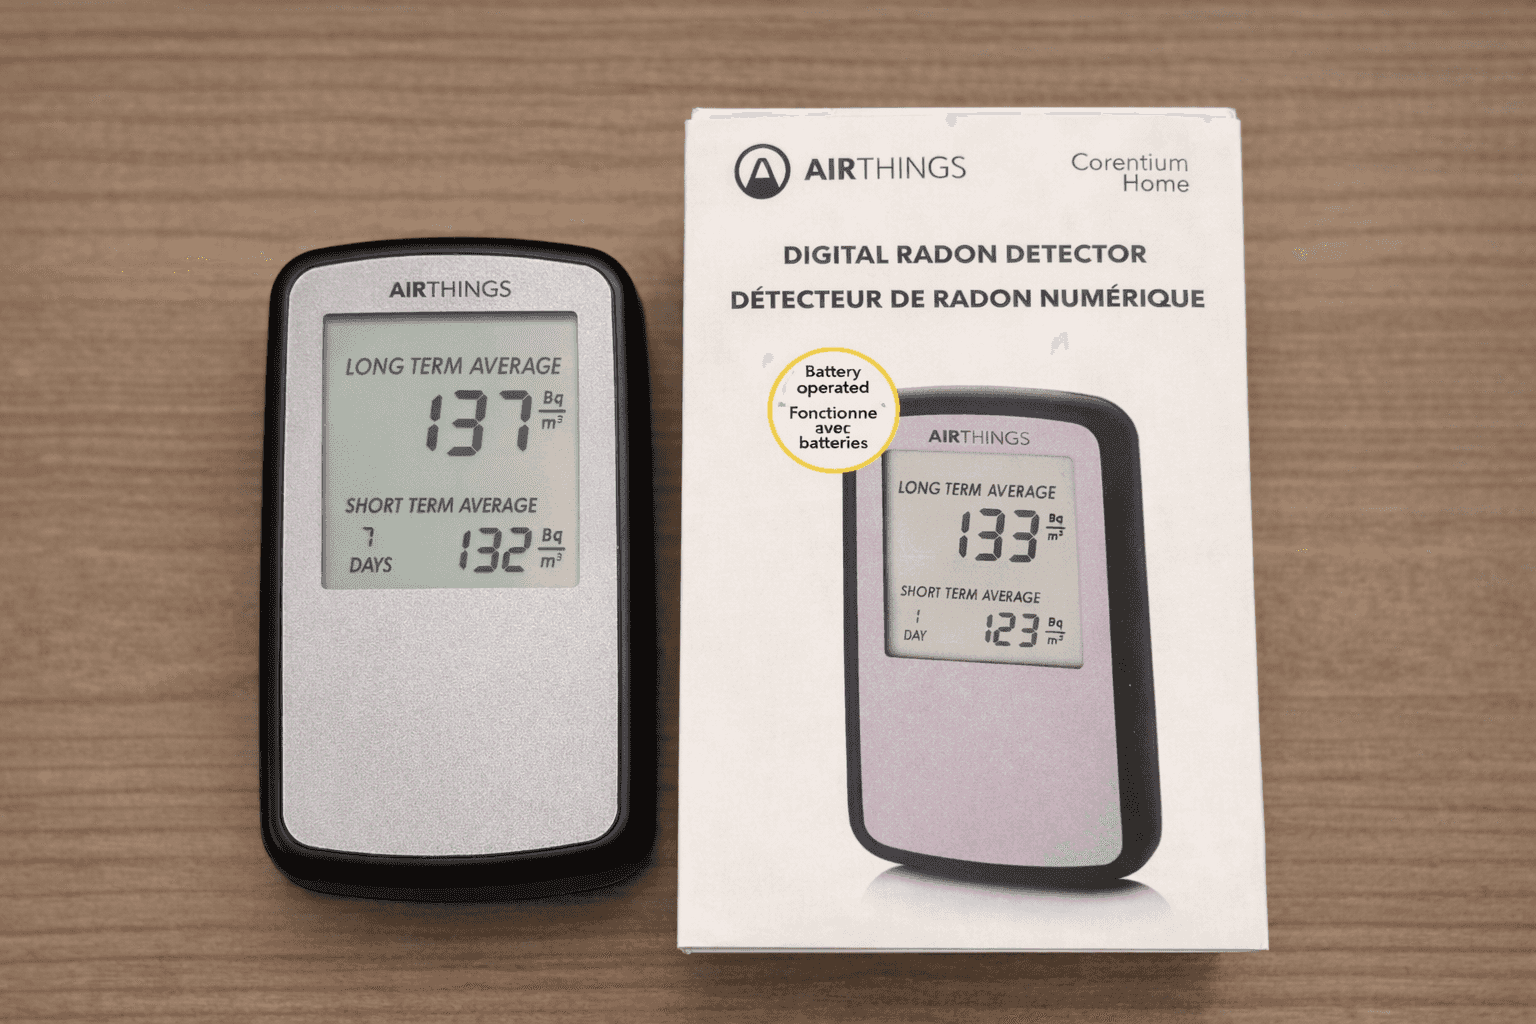
A radon test is surprisingly easy to do—and surprisingly easy to mess up with one small decision: where you put the device. If placement is off, your result can be less representative of what you and your family actually breathe in day-to-day, which defeats the whole point of testing.
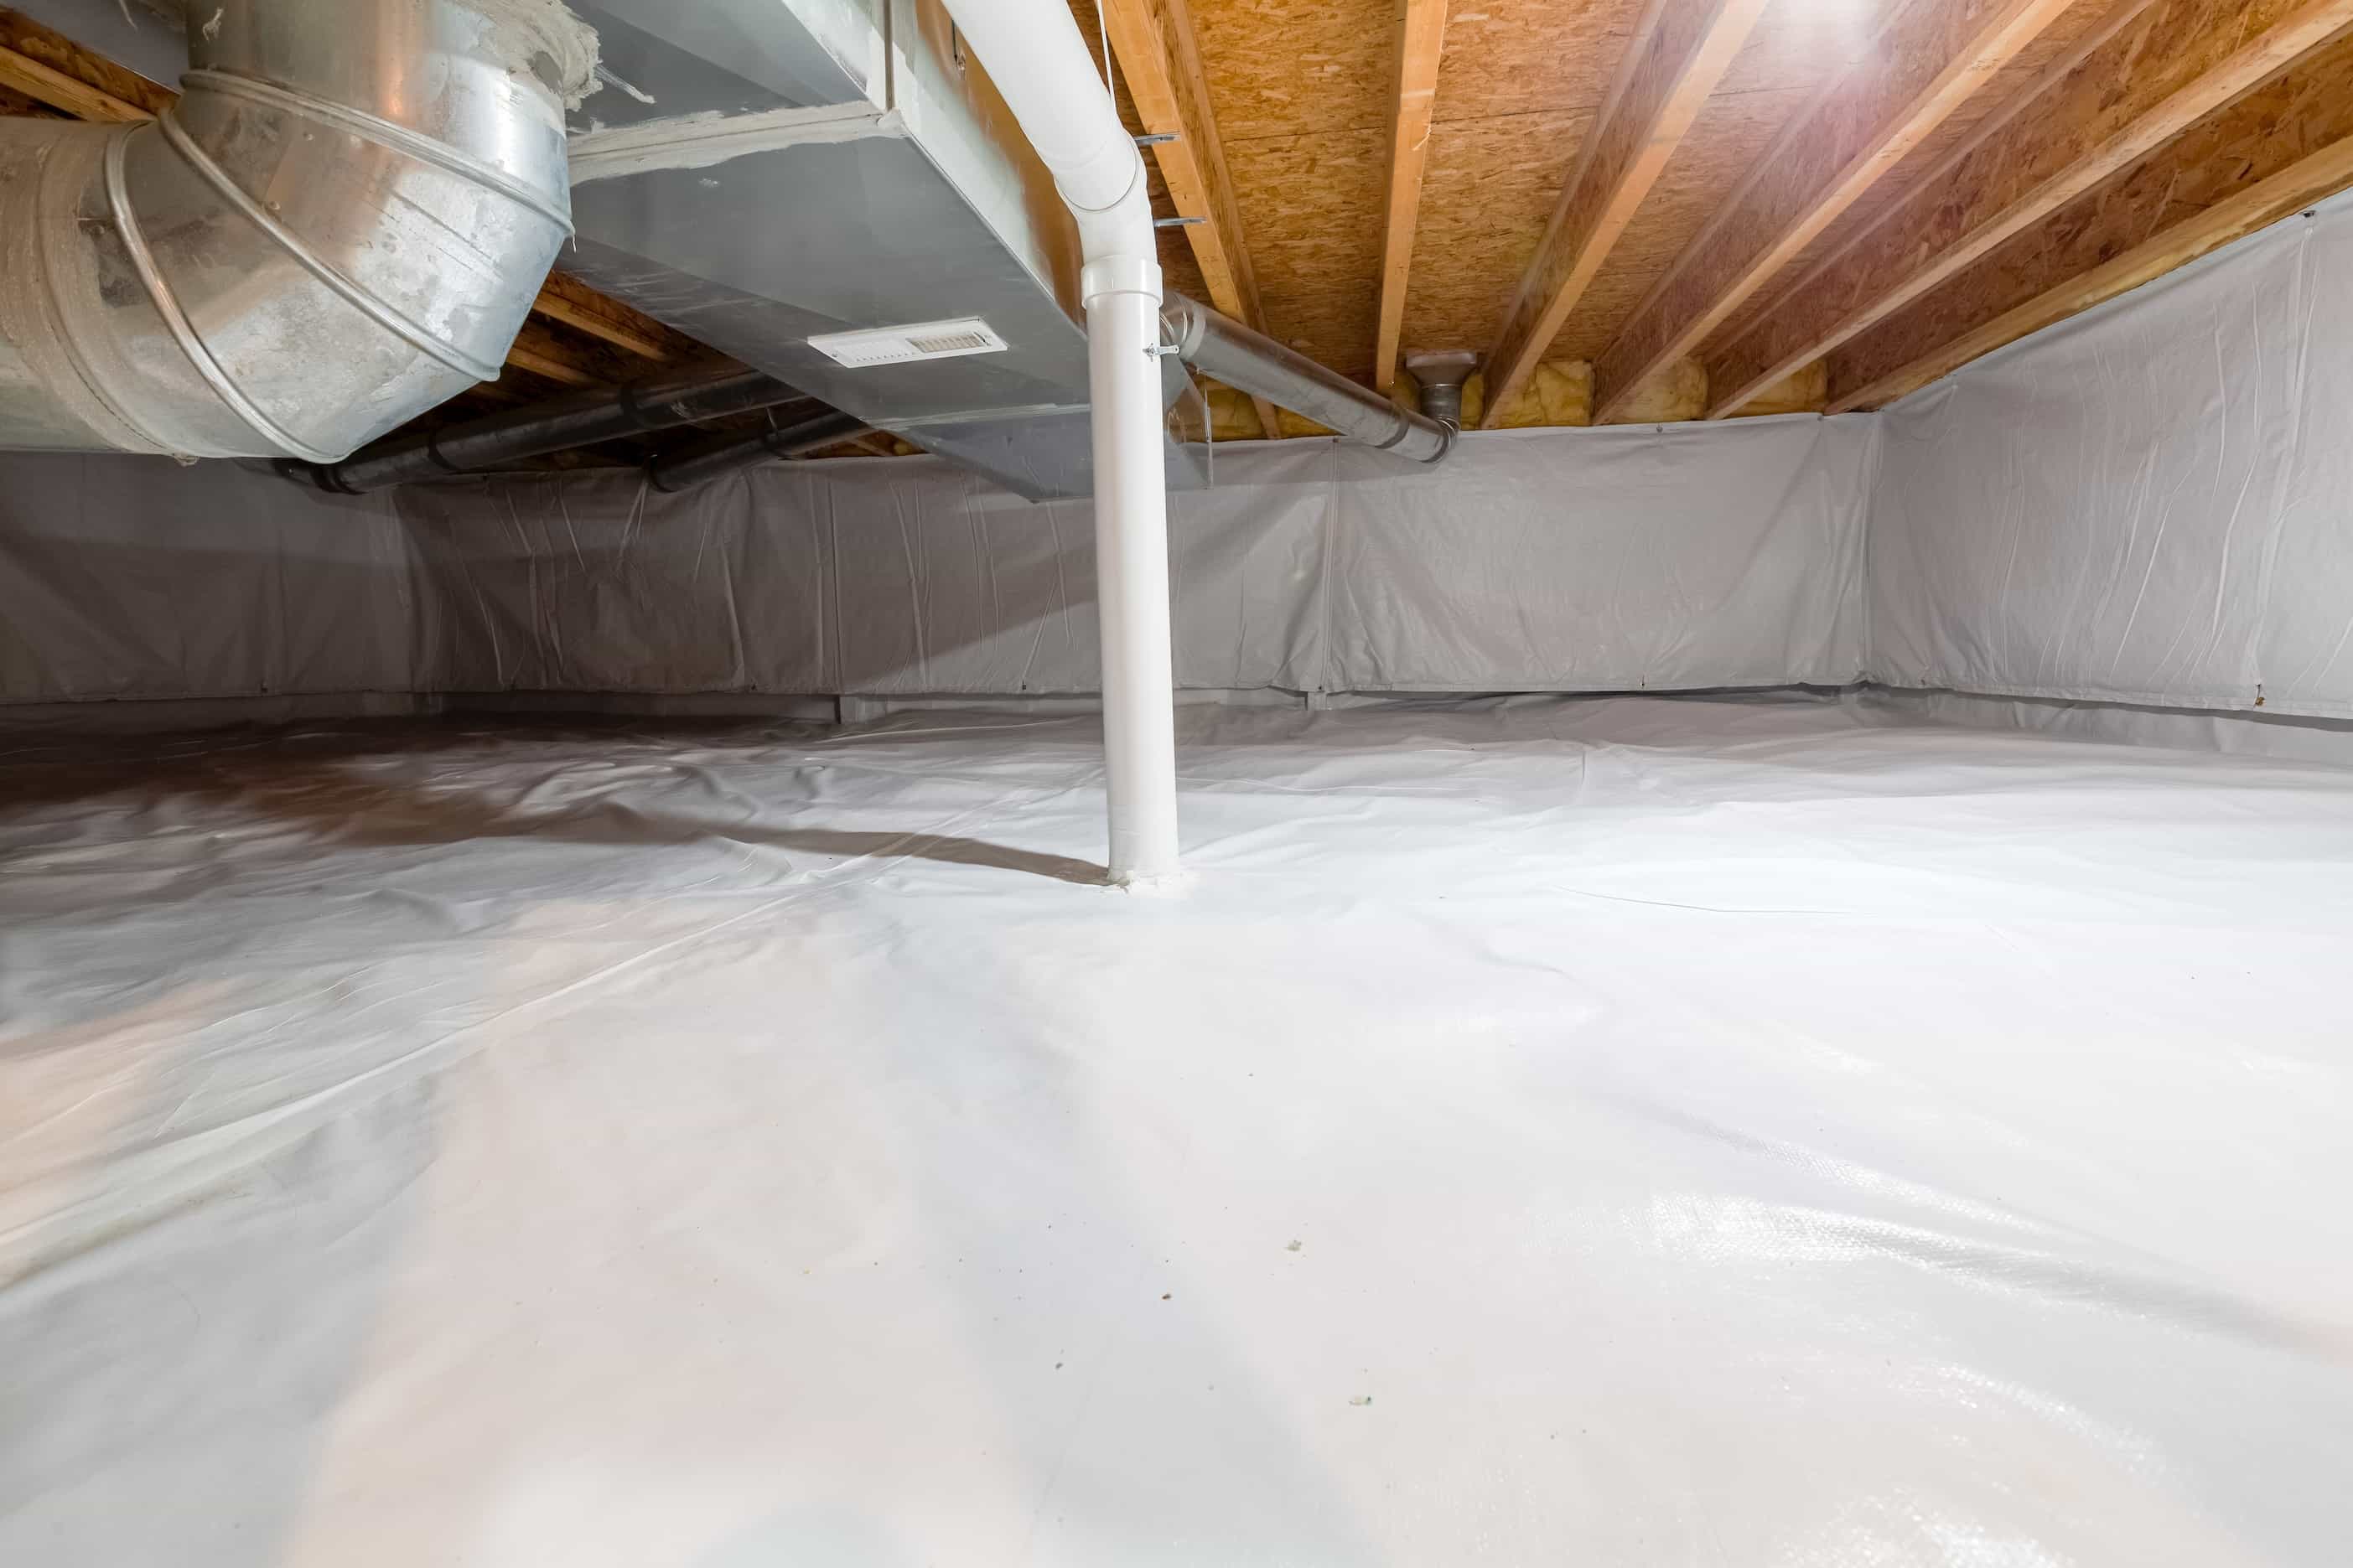
Canadian homes have a few placement traps that show up again and again: finished basements with cozy rec rooms beside mechanical rooms, sump pits tucked into corners, floor drains near the laundry area, and ventilation systems (forced-air furnaces, HRVs, ERVs) that can create strong local air currents. Even “good intentions” like hiding the device from kids in a closet or putting it on a windowsill because it feels out of the way can quietly undermine the test.
The goal of this guide is simple: help you choose a placement that’s valid (aligned with official placement rules) and practical (unlikely to get bumped, moved, or exposed to weird airflow). You’ll get a clear framework you can apply to a finished basement, a partly finished basement, a bungalow with an unfinished lower level, and even condos and townhomes where the “lowest level” question gets fuzzy.
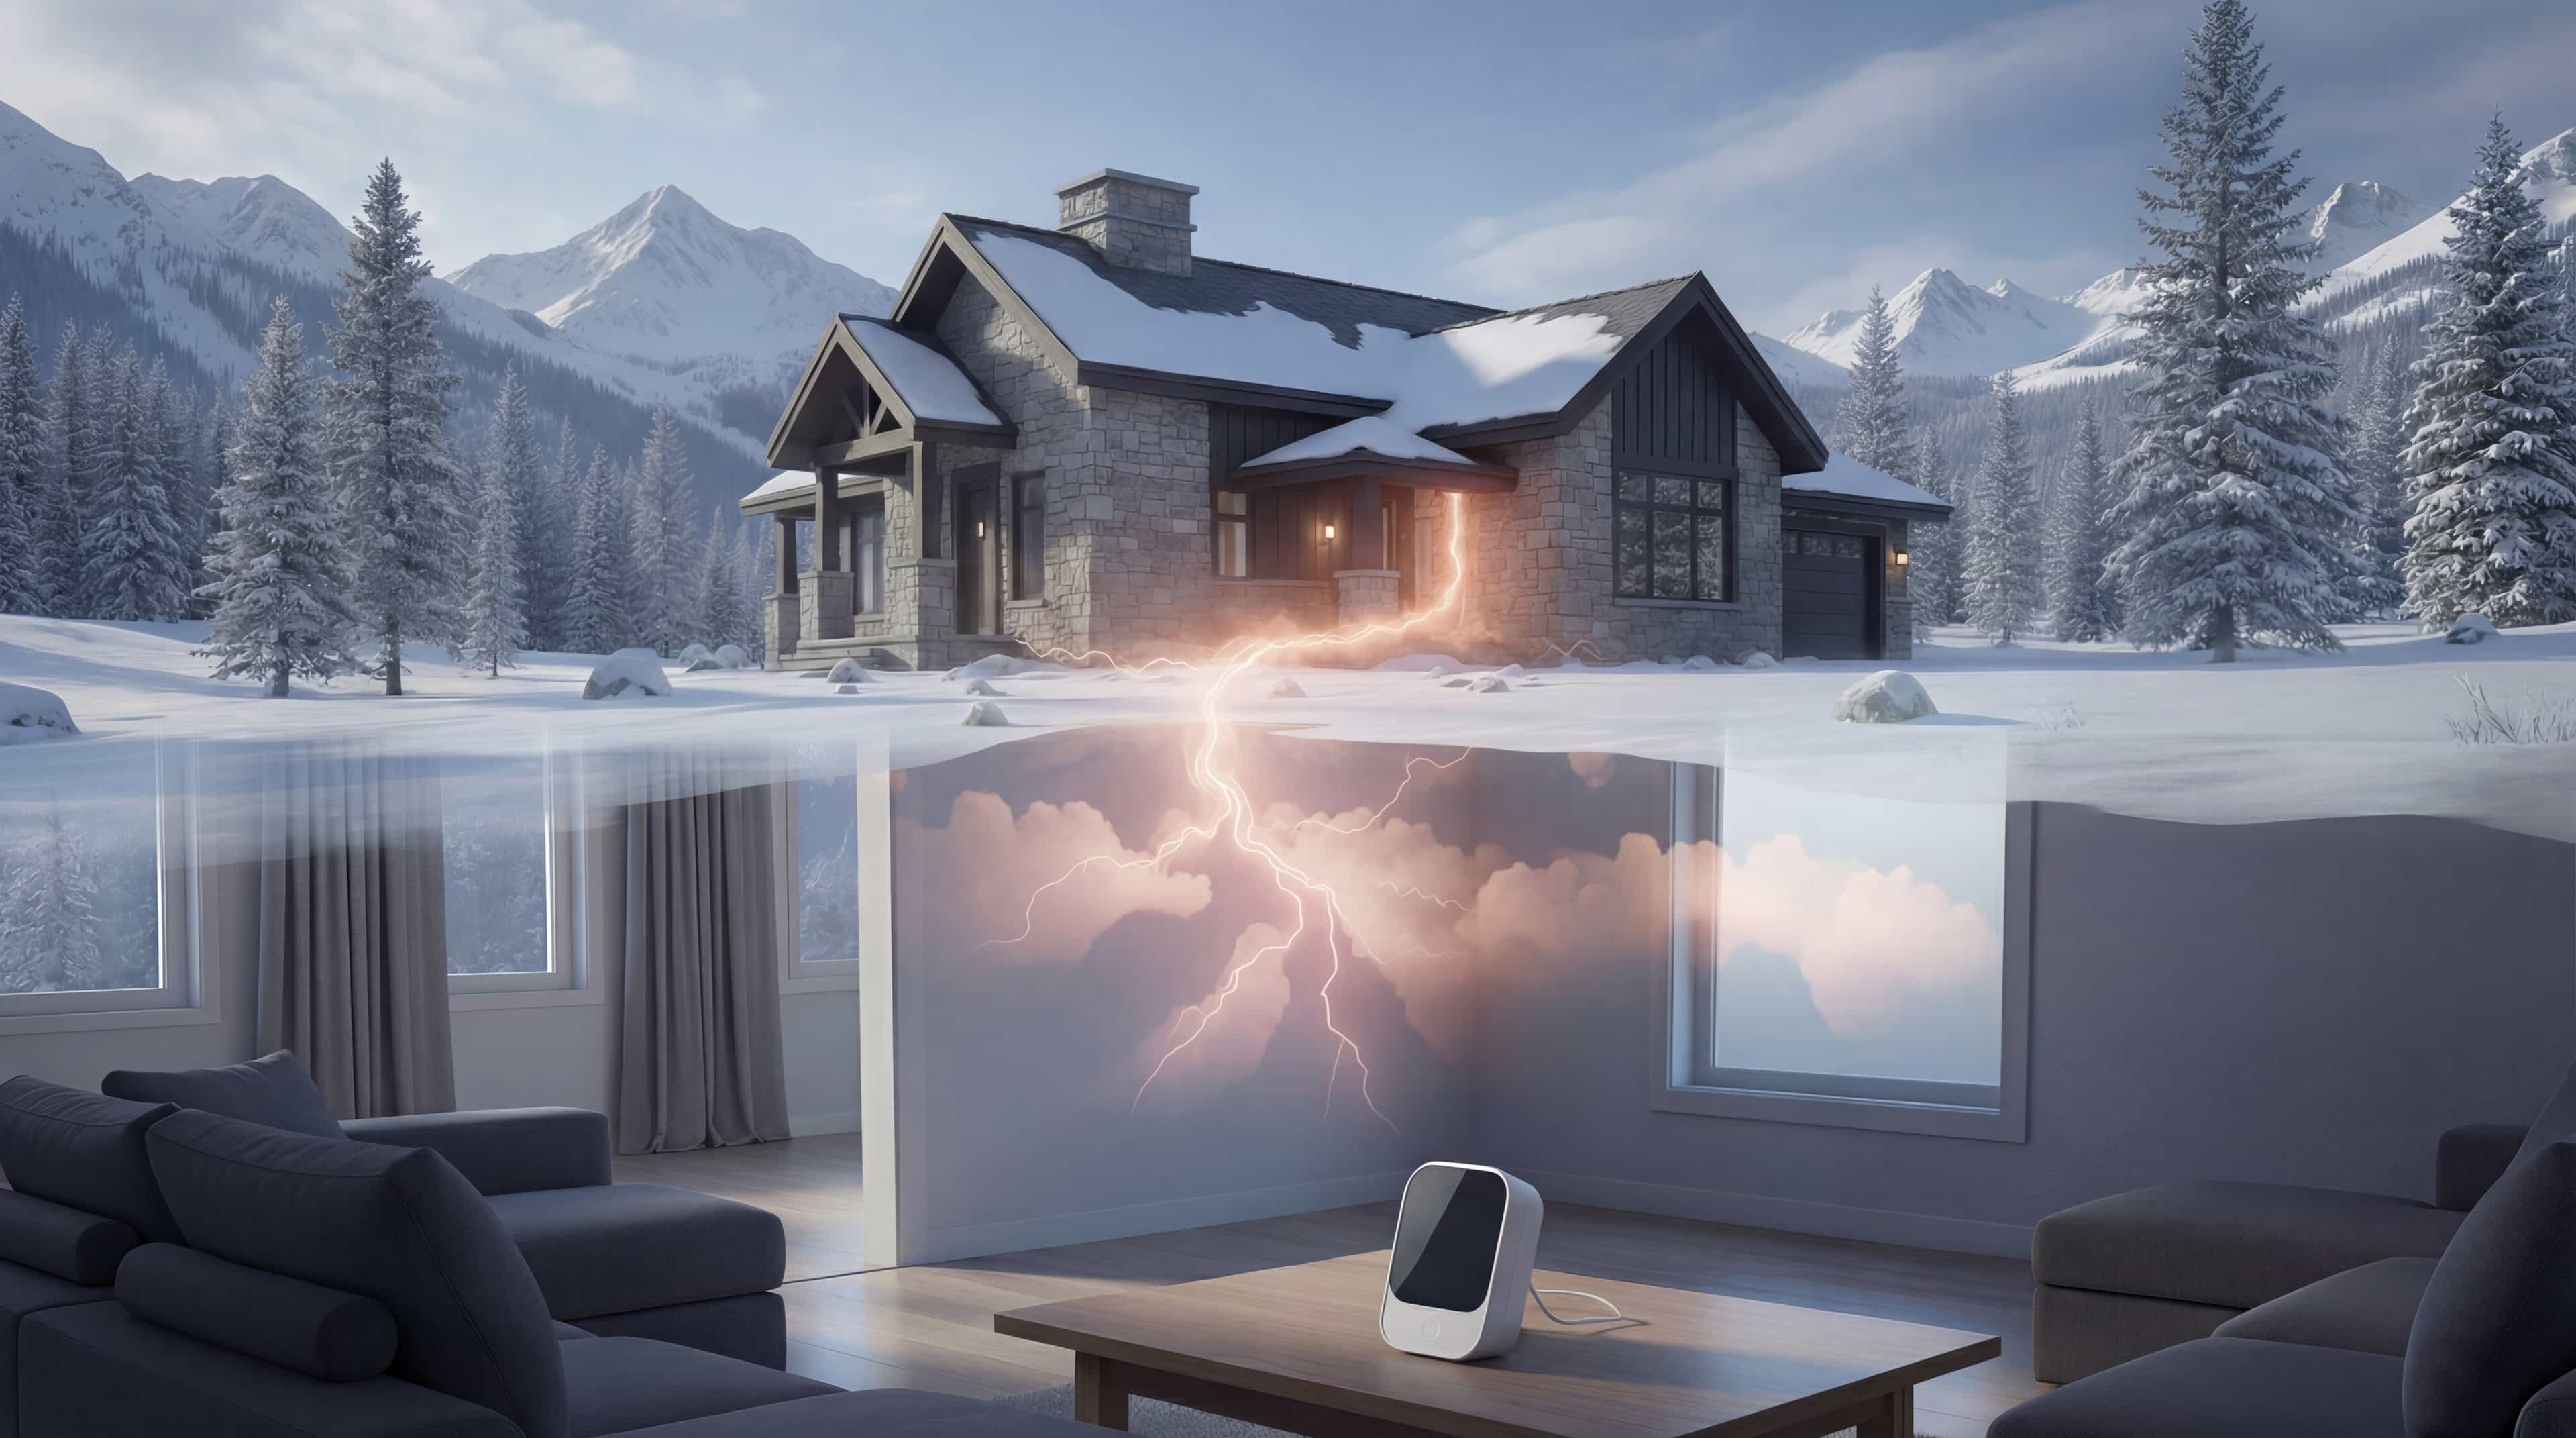
One more reality check before we start: a long-term test is a commitment. In Health Canada’s Radon Reduction Guide for Canadians the recommended approach is a multi-month measurement because radon levels can swing meaningfully over time, which means you’ll want a placement you can leave alone without “optimizing” it mid-test.
If you remember only one rule, make it this: the “best” room is on the “right” floor. In Health Canada’s long-term test instructions the placement direction is to test on the lowest level where someone in the home spends at least four hours a day—think basement family room, den, playroom, or a bedroom if that’s where life actually happens.
That phrasing matters in Canada because “basement” doesn’t always mean “lived-in.” Here’s how to interpret it in real homes:
A useful mental shortcut is to ignore the label (“basement,” “cellar,” “lower level”) and focus on behaviour: where do you spend time breathing the air for long stretches? If the honest answer is “not downstairs,” you don’t gain anything by placing the device beside the water heater “because it’s the basement.”
If your basement is mostly unfinished but you do spend time down there (home gym, workshop, WFH desk), use your best judgement on whether that space truly represents four-hours-a-day living. If it doesn’t, you’re usually better off testing the main floor first, then following up with more targeted testing later.
Once you’ve chosen the correct level, choose a room that reflects normal daily life. In Health Canada’s guide for radon measurements in residential dwellings the emphasis is on placing the device in a normally occupied room (bedroom, living room, office, playroom) and in a spot where it won’t be moved during the test period.
This is where many Canadian basements create a “false choice.” Homeowners often stand in the finished rec room and think:
That’s the wrong tradeoff. The measurement is supposed to represent typical exposure, so the best room is usually the one where you can answer “yes” to both:
Practical room picks that usually work well:
If your lowest lived-in level is open-concept (rec room + hallway + bar area), you’re still aiming for the “normal occupancy zone”—the part of the space where people linger.
If you’re worried about kids or pets, think elevation and signage, not concealment. A shelf at an appropriate height that’s not cluttered, plus a small “Do Not Move” note, is usually safer (and more valid) than hiding the device in a closet.
After “which level” and “which room,” the next biggest win is choosing a spot that represents the air you actually breathe—not the air sitting right against the slab or hugging a foundation wall.
In Health Canada’s long-term test instructions the device is meant to sit in the typical breathing zone, roughly 0.5 to 2 metres above the floor, and positioned so normal airflow can reach it.
In a real Canadian basement, that often means:
Avoid the urge to “go low” because radon comes from the ground. You’re not trying to measure a crack in the slab—you’re trying to measure the air in the room where people exist.
A simple way to sanity-check height:
“Breathing zone” is about representativeness, not convenience. A device tucked low behind a couch might feel protected from bumping, but it’s more likely to be sampling a micro-environment that doesn’t match the room.
A lot of basements have a “nice safe corner” that looks perfect—until you remember corners are exactly where air can behave differently (less mixing, more boundary-layer effects, and more temptation to tuck the device tight to the wall).
In Health Canada’s guide for radon measurements in residential dwellings the placement criteria include keeping the device away from contact with floors, ceilings, and exterior walls, and maintaining basic clearances so the reading reflects the room, not the surface.
What this looks like in a typical home:
Canadian basements make this harder because exterior foundation walls can run colder, especially during heating season. Even if your basement is finished and comfortable, the air right against those surfaces can behave differently than the air where people sit and walk.
If your room is tight, aim for “one step out from the wall.” If you can stand where the device sits without feeling like you’re pressed into furniture, you’re usually avoiding the worst corner effects.
You don’t need a pedestal and spotlight—but you do want air to move normally around the device.
In Health Canada’s guide for radon measurements in residential dwellings one practical detail is allowing space around the device (including guidance on keeping it separated from nearby objects) so it isn’t sampling air trapped behind decor, books, or storage bins.
Here are common “looks fine but isn’t” placements:
Better options in the same rooms:
If the device is getting “lost” visually, that’s often a clue it’s too boxed in. The goal isn’t aesthetics—it’s normal airflow.
Basements and lower levels are where Canadian mechanical systems tend to concentrate, and that’s where placement mistakes spike.
In Health Canada’s guide for radon measurements in residential dwellings the placement rules include keeping the device well away from vents, windows, doors, and other sources of direct air currents because airflow can dilute or spike what the device “sees” compared to the room average.
Think in terms of local wind inside the home. Your goal is a spot where the air is mixing naturally, not being blasted by a supply register or tugged by a return.
Common Canadian setup issues (and what to do instead):
Forced-air furnace basements
HRV / ERV systems
Stairwells and doorways
Fans and portable air movers
If you can feel a draft standing where the device would sit, treat it as a “no” by default. Drafty placement tends to produce readings that are less representative of the room overall.
A lot of homeowners place the device where it’s least likely to be touched—and accidentally choose the exact rooms that official guidance warns against.
In Health Canada’s long-term test instructions the “do not place” list includes kitchens, bathrooms, laundry rooms, closets, and unfinished areas of the basement. Those rooms tend to have higher humidity, bigger temperature swings, and less consistent occupancy, which makes them poor representatives of typical exposure.
What this means in real Canadian homes:
And if your main motivation is “I need to keep it away from kids/pets,” be careful not to solve that by placing it in an enclosed space. In Health Canada’s guide for radon measurements in residential dwellings enclosed spaces like closets and drawers are specifically discouraged, along with high-humidity zones and placements near humidifiers or sunrooms.
The most common “invalid but tempting” placements are closets, laundry corners, and furnace rooms. If you’re standing there thinking “no one will touch it here,” that’s your cue to step back into the lived-in part of the level.
Canadian basements often include sump pits, perimeter drains, floor cracks, and sometimes crawlspace access. Those features can feel like the “smart” place to measure because they’re associated with air entry—but that’s exactly why you should avoid them for a representative reading.
In Health Canada’s guide for radon measurements in residential dwellings typical entry points such as sump holes, crawl spaces, and exposed foundation cracks are listed as locations to avoid because placing a device right beside them can artificially increase the measurement and fail to represent the normal breathing zone.
Here’s the practical rule-of-thumb:
A simple basement example:
If you’re worried about the sump specifically, you can still address that concern later with additional testing strategies—but your first priority is getting a representative baseline on the lowest lived-in level.
If the sump pit is the only “open” spot in a cramped basement, don’t default to it. Look for the best compromise in the lived-in zone: a small table, a shelf, or a cabinet top that stays put.
Even in winter, Canadian homes can have surprising hot spots: gas fireplace mantels, baseboard heaters, radiant panels, sunny window wells, and warm-air registers.
In Health Canada’s guide for radon measurements in residential dwellings the placement “do not” guidance includes keeping devices away from heat sources and direct sunlight such as fireplaces, radiators, and windowsills.
The pattern to avoid is localized heating that creates a small convection loop right where the device sits. Common examples:
Better alternatives:
This isn’t about keeping the device “cool.” It’s about avoiding placement where the air behaves differently than the average room air.
It’s tempting to treat a radon device like a mobile sensor: “I’ll try the basement for a week, then the bedroom, then the office.” That impulse is understandable—and it’s usually counterproductive.
In Health Canada’s Radon Reduction Guide for Canadians the guidance emphasizes that levels can vary significantly over time, which is a core reason long-term tests and stable placement are recommended rather than moving the device between rooms or levels.
A practical “make it doable” approach:
Ways to make stable placement realistic in a busy house:
Your placement goal isn’t perfection—it’s consistency. A “pretty good” placement left undisturbed is generally more useful than a series of “better” placements that get moved repeatedly.
Multi-unit living adds one big twist: the building structure may include parkades, common mechanical spaces, and stacked units, but your test still needs to reflect where you live and breathe air.
In Health Canada’s Healthy Home guide the framing reinforces that testing guidance is about the lowest level of the home where people actually spend time, which can be a basement or a first floor depending on how the space is used.
How to apply that in common Canadian setups:
Condo unit (single level)
Stacked townhouse / multi-level townhouse
Ground-floor unit above a parkade or shared space
If you’re unsure where to start—or you want region-specific support—using an official directory is faster than guessing. In Health Canada’s action guide for provinces and territories you can find jurisdiction-specific resources that help homeowners and residents navigate next steps.
In condos, the biggest placement mistakes are usually the same as in houses: hiding the device in a closet, placing it beside a supply vent, or putting it on a sunny window ledge because it feels “safe.” Keep it representative and undisturbed.
Sometimes the rules are clear—but the space is messy. Here’s how to translate the guidance into typical basement archetypes.
Before you place anything, it can help to skim Health Canada’s testing your home guidance so you’re aligned on the overall testing approach and why consistent setup matters.
What you have: TV area and couch, a closed mechanical room, and a sump pit near the utility side.
Placement that usually works best:
What to avoid:
What you have: One open space that blends a workout area, storage, and mechanical equipment.
Placement that usually works best:
What to avoid:
What you have: Basement is storage/laundry/mechanical; main floor is kitchen, living room, bedrooms.
Placement that usually works best:
What to avoid:
Here’s a quick reference table you can use to sanity-check your plan:
When you’re stuck between two imperfect spots, choose the one that best represents where people spend time and is least likely to be disturbed—even if it’s not the “most central” point on the floorplan.
Once you’ve tested, your next questions are usually logistical: who in my area can answer questions, what local resources exist, and how do I interpret next steps without relying on random forum advice?
In Health Canada’s radon action guide for municipalities the intent is to point people toward locally relevant guidance and resources, which can be especially useful if you’re in a condo, dealing with a multi-unit building, or coordinating with property management.
This is also the cleanest way to keep your decision-making grounded in Canadian context rather than copying advice that assumes a different climate, different home construction, or different public health guidance.
This guide is focused on placement—not remediation strategy. If your result raises questions, use official action guides to find credible, region-specific support rather than “DIYing” decisions off social media threads.
Only if the unfinished basement is truly a lived-in space (meaning people spend meaningful time there day after day). If it’s mainly storage and mechanical, your main floor is often the better “lowest lived-in level” for an initial test.
It’s usually a poor choice because mechanical rooms are often unfinished and have atypical airflow. A better approach is placing it in the lived-in area and protecting it from disturbance with elevation and a clear “do not move” reminder.
Generally no. Floor-level placement can reflect a micro-zone that isn’t representative of what you breathe. Aim for a stable surface in the breathing zone instead.
Choose a location away from supply and return registers and out of the “air path” between them. If you can feel moving air at the proposed spot, keep looking.
Avoid that. Entry-point placement can over-represent localized conditions and won’t reflect the typical room air where people spend time.
Don’t hide it in enclosed spaces. Instead, place it higher (still within the breathing-zone range) on a stable surface, keep the area clear, and use a short note to prevent tampering.
For a first test, stable placement in a representative room is usually more useful than moving it around. If you want more detail later, plan additional tests as separate, intentional measurements rather than shifting the same device mid-test.
Yes. Window areas can have drafts and direct sunlight that distort conditions around the device. Prefer an interior location in the same room.
Keep the device away from the dehumidifier’s airflow and avoid placing it in a high-humidity “wet zone” like a laundry corner. Choose a stable spot in the lived-in part of the level with calmer air.
It’s typically your unit level, since that’s where you live and breathe the air. Place the device in a normally occupied room and follow the same airflow and enclosure rules.
Place the device in the part of the space that best represents where people spend longer stretches—usually the TV/seating area or office zone—while avoiding storage corners and mechanical airflow.
Use official Health Canada action guides for provincial/territorial and municipal resources, especially if you need region-specific contacts or building-level coordination.