Before You Turn On Your AC: The 7 Spring Maintenance Tasks That Prevent Expensive Summer Breakdowns
A Warm-Weather Prep Routine Your Air Conditioner (and Your Budget) Will Thank You For
By
Published: April 14, 2026
Credit: Shutterstock
Key Takeaways
•Your AC has been sitting dormant through months of freeze-thaw, leaf litter, and blowing snow — flipping it on without a spring check is how homeowners turn a $150 tune-up into a $2,000 compressor bill in July
•Six of the seven spring tasks are DIY-friendly and take about an afternoon between them, but the seventh — a professional tune-up — is the one that most directly protects your warranty, your insurance eligibility, and your system's lifespan
•Spring is the cheapest time of year to book HVAC service, with routine tune-ups typically running a few hundred dollars versus hundreds more in emergency surcharges once July heat waves hit and every technician's calendar is booked solid
There's a particular kind of spring ritual in Canadian homes. The first warm afternoon arrives, the house feels stuffy by mid-day, and someone walks over to the thermostat and clicks it from heat to cool. The system kicks on. Everyone exhales. Summer, handled.
That moment is also when most of the year's AC problems start. Your air conditioner has been sitting outside through six to eight months of snow, freeze-thaw cycles, leaf litter, and whatever the neighbour's tree dropped on it in November. Inside, the evaporator coil, condensate drain, and air filter have been waiting quietly for the call-up. Asking all of that to perform on demand — without checking any of it first — is how a perfectly fixable problem becomes an expensive one.
The tasks in this guide are not complicated. Most take fifteen minutes. A few take an hour. One of them needs a professional, but the other six are things you can do yourself with a screwdriver, a hose, and a willingness to poke around your furnace room for a few minutes. The goal is simple: catch the small stuff now, while the system is cool and quiet and the repair pages aren't fully booked, so that when the first 30°C weekend hits in June, your AC is ready for it.
Replace the Air Filter That Feeds Both Your Furnace and Your AC
The Single Most Important Fifteen Minutes You'll Spend All Spring
Most homeowners don't realize their furnace filter and AC filter are the same filter. Your central air conditioner pushes cooled air through the same blower and ductwork that heated your home all winter, which means the filter that's been trapping dust, pet dander, and drywall particles since November is now the gatekeeper for your summer comfort.
According to Natural Resources Canada's maintenance guide, a dirty filter can increase energy costs and damage your system — and inspecting, cleaning, or changing filters regularly is the single most impactful thing a homeowner can do between professional visits. In practical terms, that translates to checking your filter every month or two during heavy-use seasons and replacing it whenever it looks grey, matted, or simply can't be seen through.
The ripple effect of a clogged filter is what makes this task matter. When airflow is restricted, your air conditioner has to run longer to reach the same temperature, and the evaporator coil inside your furnace loses its ability to absorb heat efficiently. Over time, reduced airflow allows dirt to build up directly on the coil itself — which the U.S. Department of Energy warns can lead to premature system failure as the compressor strains against conditions it was never designed to handle.
Filters are cheap. A decent one-inch pleated filter runs $15 to $40 in Canada, and a high-MERV model for homes with pets or allergy sufferers might hit $60. Against the cost of a compressor replacement, it's the best return on investment in your entire home.
Tip
If you have pets, allergies, or live in a dusty rural area, treat one-month intervals as your baseline rather than the three-month guidance on the packaging. Filters loaded with pet hair and fine dust go from "working" to "blocking" faster than most homeowners expect.
Advertisement — Article Continues Below
Clear and Clean the Outdoor Condenser Unit
The Box Behind the House That Needs a Proper Spring Reset
The outdoor unit — the box that hums behind your house in summer — is your AC's lungs. It rejects the heat pulled from inside your home into the outside air, and it can only do that job if air can move freely through its metal fins.
Over winter, that outdoor unit becomes a magnet for debris. Fallen leaves pack into the base. Grass clippings get sucked against the fins during fall mowing. Cottonwood fluff, dryer lint from a nearby vent, and in some regions small nests or rodent bedding all find their way in. Canada HVAC's spring maintenance guide lays out the basic sequence clearly: shut off power to the unit at the disconnect box or breaker, remove any winter cover, clear debris away from and inside the housing, then gently brush and rinse the coils with a soft spray from a garden hose.
A few things to watch for while you're doing this. If you used a protective cover over the winter — particularly a full wrap that kept snow and ice off the top — you need to take it off before the first time you run the system. Running an AC with a cover on can overheat the compressor in minutes. Trim back any shrubs, grasses, or planter boxes so there's at least two feet of clearance on all sides, and ideally five feet of clearance above. Airflow is what this unit does for a living, and anything blocking that flow forces it to work harder for worse results.
Look at the fins carefully. If you see oily residue, refrigerant stains, crushed or bent fin sections, or puddles of water that don't seem to come from rain, stop and note it. These are signs of problems that need a professional, not a hose.
Warning
Always shut off power to the outdoor unit before touching it. There is usually a weatherproof disconnect box mounted on the wall near the unit — pull the block or flip the switch there, and confirm by toggling the breaker labelled "AC" in your main electrical panel. Never clean or probe a live unit.
Advertisement — Article Continues Below
Check the Condensate Drain Before It Floods Something You Love
The Unglamorous Pipe That Prevents Ceiling Damage
Central air conditioning removes humidity from your home alongside heat, and that humidity has to go somewhere. In a typical system, condensed water drips off the evaporator coil into a pan, then flows through a small white or clear plastic pipe — the condensate drain — to a floor drain, a utility sink, or outside through an exterior wall.
This is the quietest of all the maintenance tasks. Nobody thinks about their condensate drain until it backs up, and by then there's water on the floor, a stain spreading across a ceiling, or in the worst cases, a flooded basement. ENERGY STAR's homeowner maintenance checklist includes inspecting the condensate drain precisely because blocked drains can reduce the system's ability to remove moisture and may trigger an automatic safety shutoff — meaning you might notice the problem as "my AC isn't cooling" before you notice it as "water on the floor."
Give the drain line a visual inspection. Look for algae growth, visible clogs at the drain opening, or a drain pan that shows rust, discoloration, or standing water from last season. If your drain line terminates in a floor drain or utility sink, make sure that path is clear too. Some homeowners flush the line each spring with a half-cup of distilled white vinegar followed by warm water, which helps keep algae and slime from narrowing the pipe over the cooling season.
If your system has a secondary drain pan with a float switch (common in newer installations or upstairs air handlers), test the switch by lifting the float. The system should shut off immediately, confirming the safety is working.
Advertisement — Article Continues Below
Walk Your Ductwork and Vents With a Flashlight
Where Up to a Quarter of Your Cooled Air May Be Escaping Before It Reaches You
Your ductwork is the hidden infrastructure of your home's comfort. It runs through attics, crawl spaces, basements, and bulkheads, and in most homes, it's been working for decades without anyone ever opening a ceiling access or crawl space to look at it. The result is a system where cooled air leaks, rodents get in, and the furnace filter's hard work ends up sealed inside the walls rather than reaching your bedrooms.
Industry duct-sealing guidance suggests that the typical home loses a meaningful share of conditioned air through duct leakage — gaps at seams, disconnected sections, and missing insulation in unconditioned spaces. ENERGY STAR's duct sealing resource recommends sealing air leaks with mastic or metal tape (never cloth-backed duct tape, despite the name) and insulating any accessible ducts that run through attics, crawl spaces, and unfinished basements.
Your spring walk-through doesn't need to be exhaustive. Grab a flashlight and check whatever ductwork you can see — typically in the basement or utility room. Look for visible gaps where sections meet, dust streaks radiating from joints (a classic sign of air leakage), crushed flexible ducts, and insulation that has pulled away or fallen off. Inside the house, confirm every supply vent and return register is open, unobstructed by furniture or rugs, and free of heavy dust buildup on the grille.
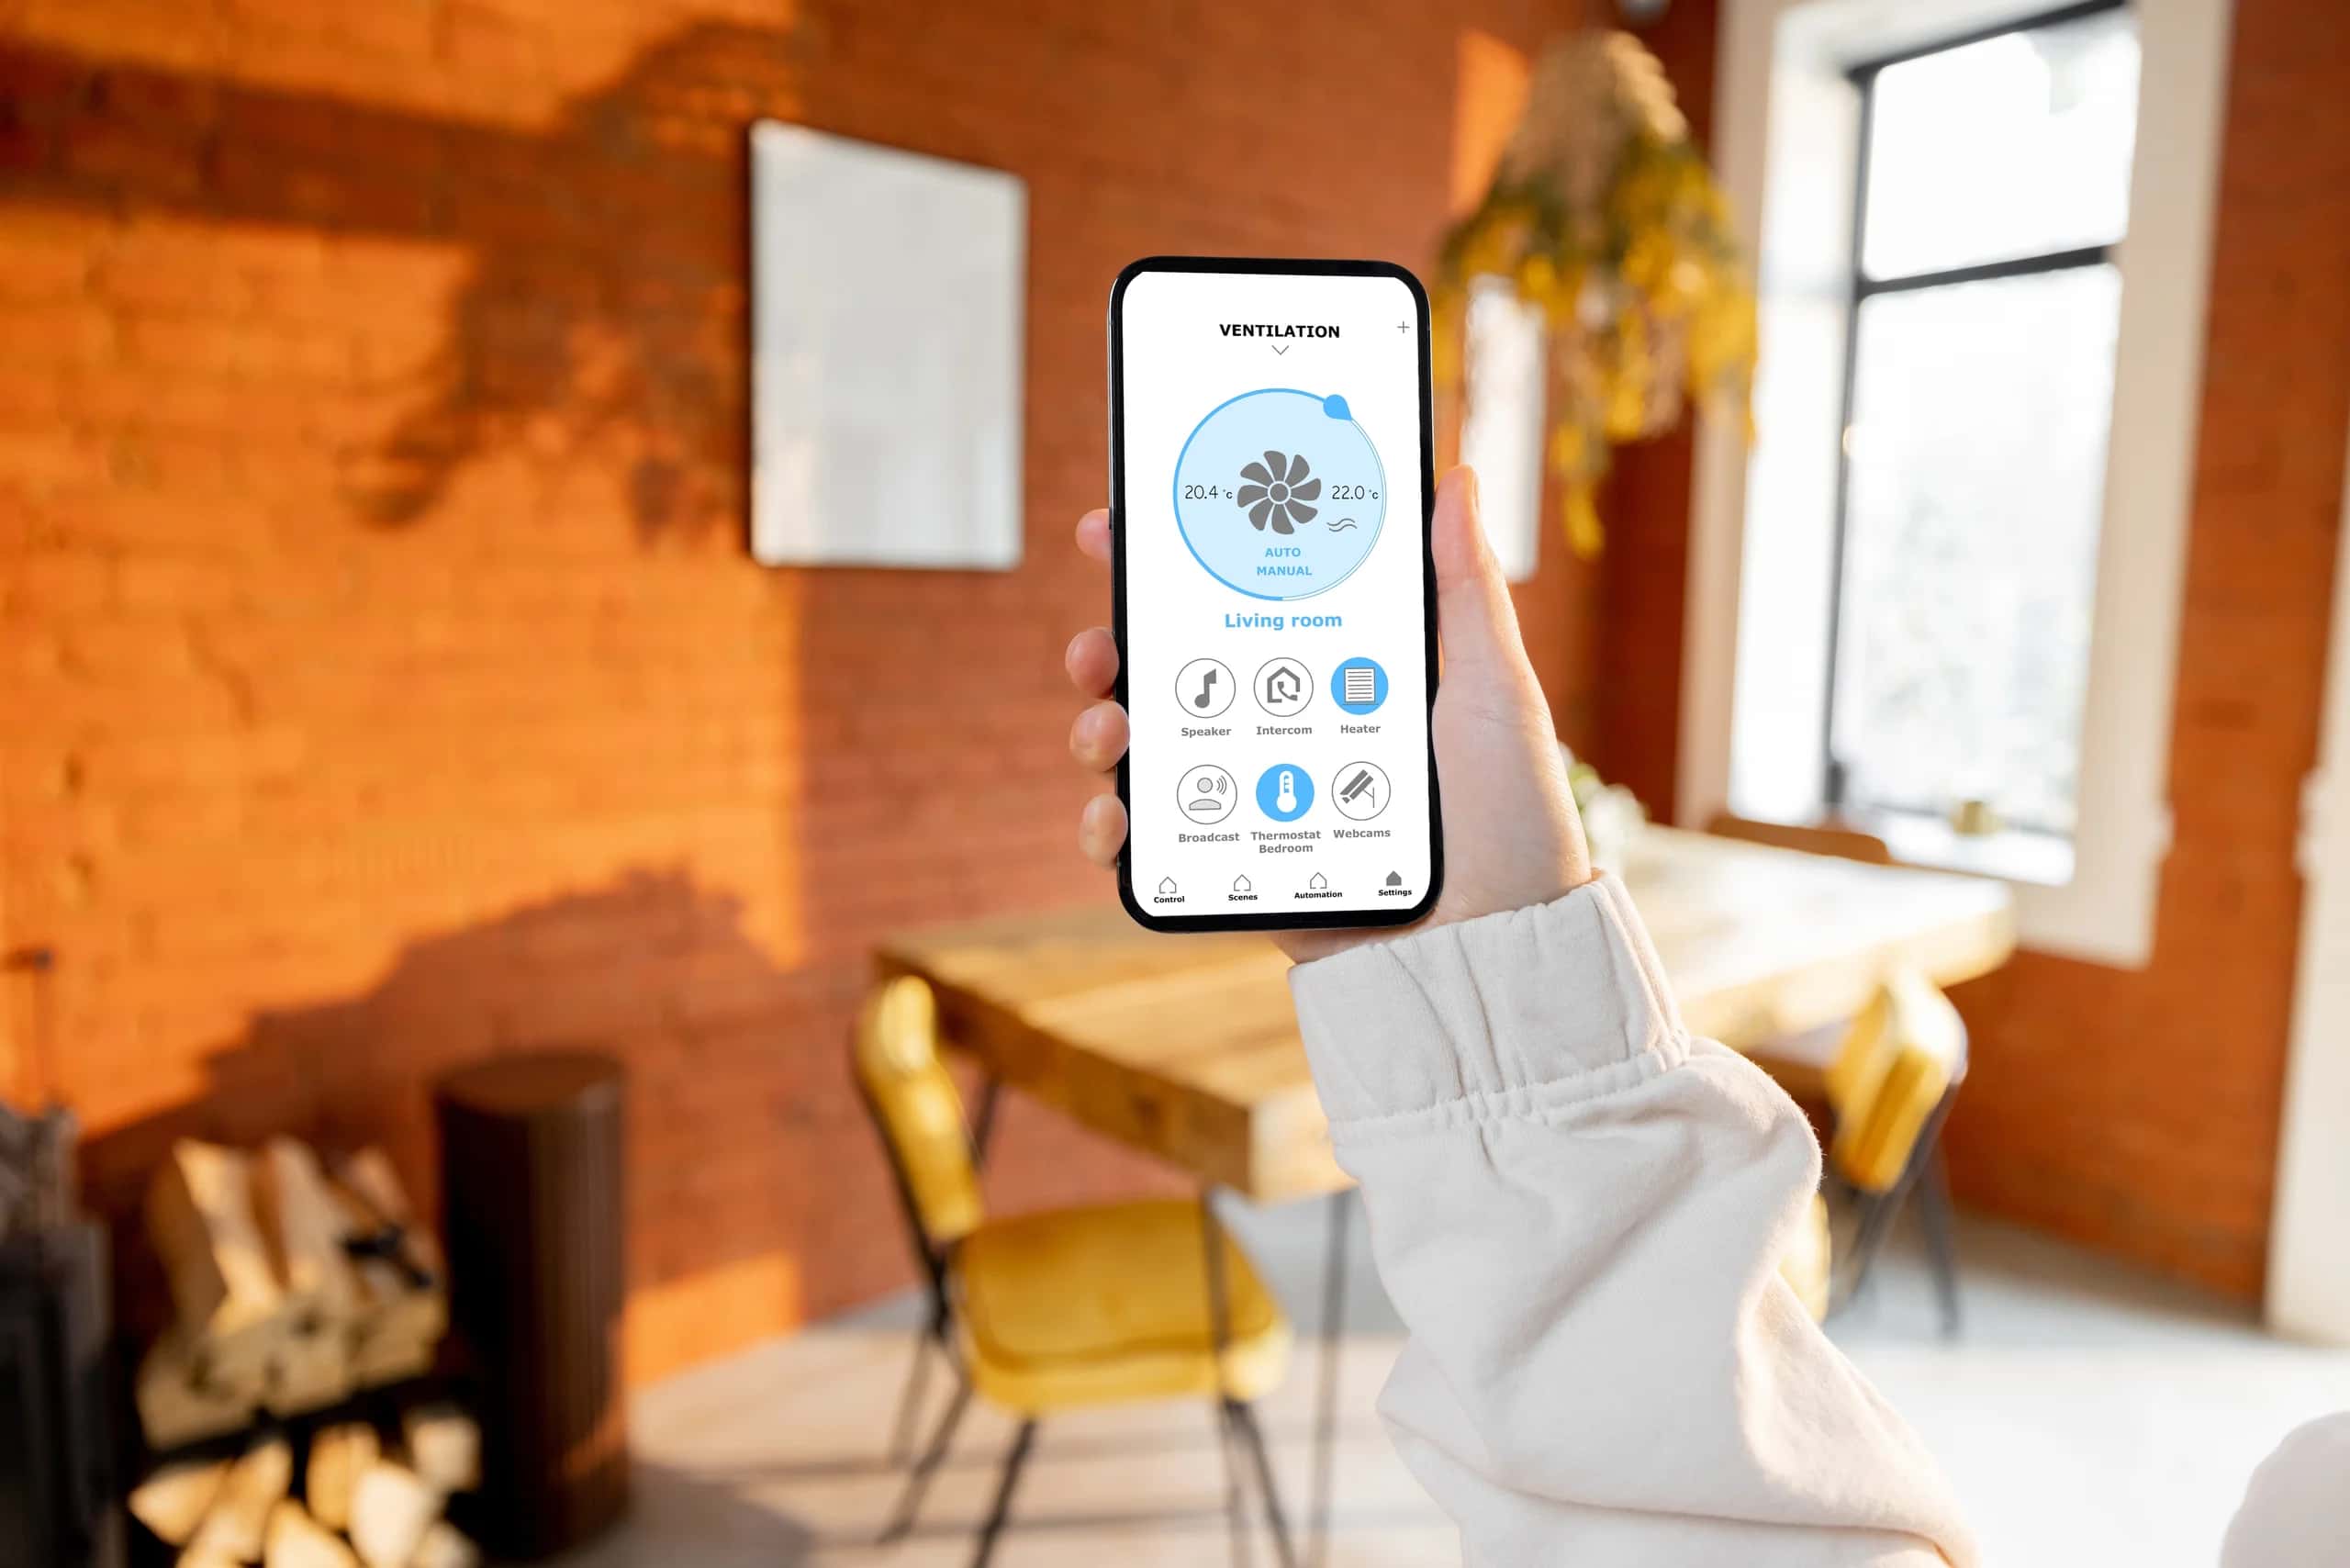
If you're ambitious, this is also a good time to vacuum dust off register grilles and wipe them down with a damp cloth. Five minutes of cleaning makes a measurable difference in perceived air quality once the system is running daily. If your home has an HRV or ERV system, its spring service overlaps with AC prep in useful ways — our guide to how HRV and ERV systems work in Canadian homes covers the filter, core, and drain checks that pair naturally with this walkthrough.
Note
If you suspect significant duct leakage — rooms that never cool properly, big differences in temperature between floors, unusually high summer electricity bills — consider booking a blower-door and duct-leakage test with a certified energy advisor. The diagnostic cost is modest, and the insulation or sealing upgrades that follow often qualify for provincial efficiency rebates.
Advertisement — Article Continues Below
Test the Thermostat Like You Mean It
A Ten-Minute Check That Catches the Ghost Failures
Thermostats are the smallest component in your HVAC system and the most often blamed for problems that aren't actually their fault. They're also where your test of the system should start.
Begin with the batteries. Many thermostats — even hardwired models — use a small backup battery that quietly dies over winter while the heating mode is doing all the work. A failing battery can cause intermittent shutoffs, incorrect temperature readings, or a thermostat that simply doesn't trigger the AC when you switch modes. Replace it even if the display still looks fine.
Now do a proper cooling test. Set the thermostat to cool mode and drop the target temperature at least four or five degrees below the current room temperature. Within a minute or two, you should hear the outdoor unit start up. Place your hand near a supply vent and confirm you feel noticeably cool air within a few minutes. If you don't — or if the system short-cycles, running for 30 seconds and shutting off — that's a diagnostic clue your technician will want to know about during the tune-up.
If you've upgraded to a smart thermostat, now is also the time to check your schedule settings, make sure geofencing is working, and confirm it's learning your routine correctly after a winter of heating-mode behaviour. A smart thermostat that hasn't been rechecked since fall is often set for a completely different household rhythm than the one you'll have in July.
Advertisement — Article Continues Below
Inspect the Refrigerant Lines and Listen for Trouble
The Part You Can't Recharge Yourself — But Can Still Spot Problems On
The two copper lines running between your outdoor unit and your indoor air handler are the circulatory system of your AC. One is the larger suction line, wrapped in black foam insulation. The other is the smaller liquid line, usually uninsulated. Together, they carry refrigerant in a closed loop — and they're the one part of your system you should never try to service yourself.
What you can do is look. Walk the length of the lines from the outdoor unit to where they enter your home. Check the foam insulation on the suction line: is it cracked, missing, chewed, or compressed? Missing insulation is one of the easier DIY repairs on this list (replacement foam sleeves are sold at most home centres for under $20) and it pays for itself quickly in efficiency gains, since an uninsulated suction line sheds cold energy before it reaches your coil.
What you should watch and listen for carefully: oily residue on the lines or their fittings, frost or ice forming on the insulation where it shouldn't, or a hissing sound when the system is running. Any of those point to a refrigerant leak, and Sandbox Mutual Insurance's spring HVAC checklist notes that low refrigerant makes the system work harder, drives up electricity bills, and can show up as frost on the refrigerant lines or an AC that runs constantly yet struggles to hit the set temperature.
If you notice any of these symptoms, do not try to top up refrigerant yourself. Refrigerant handling in Canada is restricted to licensed technicians, and the rules have changed recently. As of January 1, 2026, R-410A — the most common refrigerant in residential systems for the last two decades — can no longer be used in newly manufactured equipment in Canada. New systems now run on R-32 or R-454B, both of which have significantly lower global warming potential than R-410A. Your existing R-410A system can still be legally serviced and recharged — the phase-out applies to new manufacturing, not to homeowners running systems they already own.
If your AC is still on R-22 (Freon), which was banned for import and production in Canada in 2020, recharging costs have become steep and reclaimed refrigerant is increasingly hard to source. At that point, your spring inspection is effectively doubling as a conversation with yourself about whether it's time to replace rather than repair.
Important
Topping up refrigerant yourself — even with a kit sold online — can void your manufacturer warranty, damage your system, and in some provinces violate environmental handling regulations. Refrigerant work is the clearest line in HVAC between DIY maintenance and professional service. Stay on your side of it.
Advertisement — Article Continues Below
Book a Professional Tune-Up While the Techs Still Have Openings
The One Task That Actually Protects Your Warranty
If you do one thing from this list that isn't free, make it this. A professional spring tune-up is the difference between a system you hope will hold up in July and one you know will. Carrier Canada advises scheduling an annual AC tune-up each spring specifically because preventative service helps keep utility bills in check, prevents bigger and more expensive repairs later, and keeps the system reliable when summer heat arrives.
A proper tune-up covers the parts of your system you can't safely inspect yourself. Your technician should check refrigerant charge and airflow, inspect and tighten electrical connections, measure voltage and current on the motors, test the run capacitor, clean the outdoor condenser coil and inspect the indoor evaporator coil, clean the condensate drain, and lubricate moving parts. They should also test system startup and shutoff sequencing and confirm the thermostat is calling for cool correctly.
Here's where the timing matters. Spring — roughly late March through early May in most of Canada — is the sweet spot for three reasons. HVAC technicians are between their two busiest seasons, which means appointment availability is better and prices are more competitive. In Ottawa and other major centres, a routine diagnostic visit typically runs in the range of a standard service call, while emergency after-hours visits in peak season often run $250 to $400 or more just for the dispatch — before the actual repair is quoted. And the third reason is warranty: most manufacturers require documented annual maintenance by a licensed technician as a condition of coverage, and skipping or botching that maintenance can void the warranty entirely, leaving you on the hook for repairs that would otherwise be covered.
The tune-up isn't just inspection. It's documentation. Keep your service receipt with your home records, along with the technician's notes on any flagged concerns. That paper trail is what stands between you and a denied warranty claim down the road — and increasingly, it's what insurers look at when evaluating claims for HVAC-related water damage or fires. If you've been watching your insurance premium creep up, documented annual maintenance is one of the small but meaningful levers — our deeper look at why Canada's home insurance rates are rising and how to respond covers the full picture.
Important
Compressor failure is the single most expensive AC repair you're likely to face — typically $1,500 to $2,500 or more once labour and refrigerant are added — and Cielo's breakdown of compressor failure causes is blunt about the fact that dirty coils, low refrigerant, and loose electrical connections are among the most common triggers. Those are precisely the three things a proper spring tune-up catches and fixes before they cascade.
Advertisement — Article Continues Below
When Your Spring Check Reveals It's Time to Replace
Sometimes the most honest outcome of a spring inspection is the one nobody wants to hear: your system is at the end of its useful life. Central air conditioners typically last 10 to 15 years in Canadian homes, and the combination of an aging compressor, a refrigerant leak, and a system still running on R-22 can make repair spending feel like pouring money into a losing bet.
Federal programs around home efficiency retrofits have been in flux — the Canada Greener Homes Loan closed to new applicants in October 2025, and there have been signals of a restart for the Greener Homes Grant. Provincial and utility-level programs such as Ontario's Home Renovation Savings Program have continued to offer meaningful rebates on heat pump upgrades. If your spring inspection points toward replacement, it's worth spending an evening reviewing what's currently open before signing a quote.
Whichever direction you go, maintenance doesn't end once the system is installed — our companion guide to heat pump maintenance across Canadian seasons walks through the year-round checklist that keeps a new heat pump performing the way the showroom brochure promised.
Advertisement — Article Continues Below
FAQ
For most Canadian homes, every one to three months during active cooling or heating season is a sensible baseline. Households with pets, allergy sufferers, or occupants who smoke should lean toward monthly changes. Homes in dusty rural areas, or anywhere near active construction, should also check monthly. Hold the filter up to a light: if you can't see through it clearly, replace it.
Clearing debris, rinsing the fins with a garden hose on a gentle setting, and trimming back vegetation are all fair homeowner tasks. Using a pressure washer (which bends the fins), removing the top grille to probe inside, or attempting anything that involves the refrigerant lines or electrical connections is not. Shut off power at the disconnect box before you touch the unit, and if you see anything oily, iced, or crushed, call a technician rather than investigating further yourself.
Yes. Canada banned the import and production of R-22 starting January 1, 2020, but systems already installed and operating are not illegal. What has changed is the availability and cost of refrigerant. Reclaimed R-22 still exists in limited supply and can be purchased by licensed technicians, but prices have climbed steeply year over year. If your R-22 system develops a leak or needs a recharge, the math often favours replacement over repair at that point.
No. The R-410A phase-out applies to new manufacturing and imports as of January 1, 2026. Existing R-410A systems can still be repaired, recharged, and serviced normally for their remaining useful life. If you're replacing your system for other reasons, new installations will now use R-32 or R-454B — but there's no regulatory pressure to swap a working R-410A unit out.
Most residential HVAC manufacturers require documented annual maintenance by a licensed technician as a condition of parts and labour warranty coverage. If a compressor fails three years into a ten-year warranty and you can't produce service records, the manufacturer has clear grounds to deny the claim. Keep your receipts and tune-up notes with your home paperwork.
It depends on your policy and the cause. Many policies exclude damage attributable to lack of maintenance or gradual deterioration, which a clogged condensate drain can fall into. Overland water and sudden mechanical failure coverage are often separate riders. Review your policy annually, and keep maintenance records so that if you do file a claim, you can demonstrate the failure wasn't the result of neglect.
Routine tune-ups typically run in the range of $150 to $350 depending on region, system type, and what's included. Maintenance plans that bundle spring AC service with fall furnace service often run $200 to $400 for the year and can include priority scheduling and discounted repair rates. Emergency summer service calls — when your AC fails in July and you need same-day help — can add $200 or more in dispatch surcharges on top of the repair cost.
Maintenance plans make sense for homeowners who want predictable pricing, priority scheduling in peak season, and built-in reminders for the annual service that protects their warranty. For homeowners comfortable tracking their own service schedule and shopping seasonally, paying as you go works too. The deciding factor is usually whether you're likely to forget the annual tune-up — because a skipped year creates both efficiency losses and warranty exposure.
As a general rule, wait until outdoor temperatures are consistently above 16 to 18°C during the day and overnight lows are staying in that range too. Running an AC compressor when it's too cold outside — typically below about 15°C — can damage the compressor by causing oil to stay thick and refrigerant to behave erratically. Most of Canada hits reliable AC weather between mid-May and early June, though milder regions may be earlier and colder regions later.
The honest answer is that spring maintenance is risk management, not problem-solving. A system that worked fine last year is exactly the system you don't want to break this year, and the difference between a twenty-minute filter change and a $2,000 compressor replacement is often just the filter change. You don't have to do all seven tasks every spring — but doing nothing is the position the summer breakdown stories start from.