A short hour Friday night saves real time on Saturday. Lay out the tools where you can grab them without standing up: a 4-foot level, a stud finder, a cordless drill, channel-lock pliers, an adjustable wrench, a basin wrench (the strange-looking one with the pivoting jaw — you will need it for the faucet nuts), a utility knife, a putty knife, the caulk gun, painter's tape, safety glasses, a work light, and a bucket with a few towels for the inevitable trickle.
Stage the materials in the order you will use them: shutoff to demo first, then dry-fit, then plumbing reconnection, then top and caulk. If the new cabinet ships flat-pack, assemble it Friday night so Saturday morning starts with the cabinet ready to dry-fit, not still in a box.
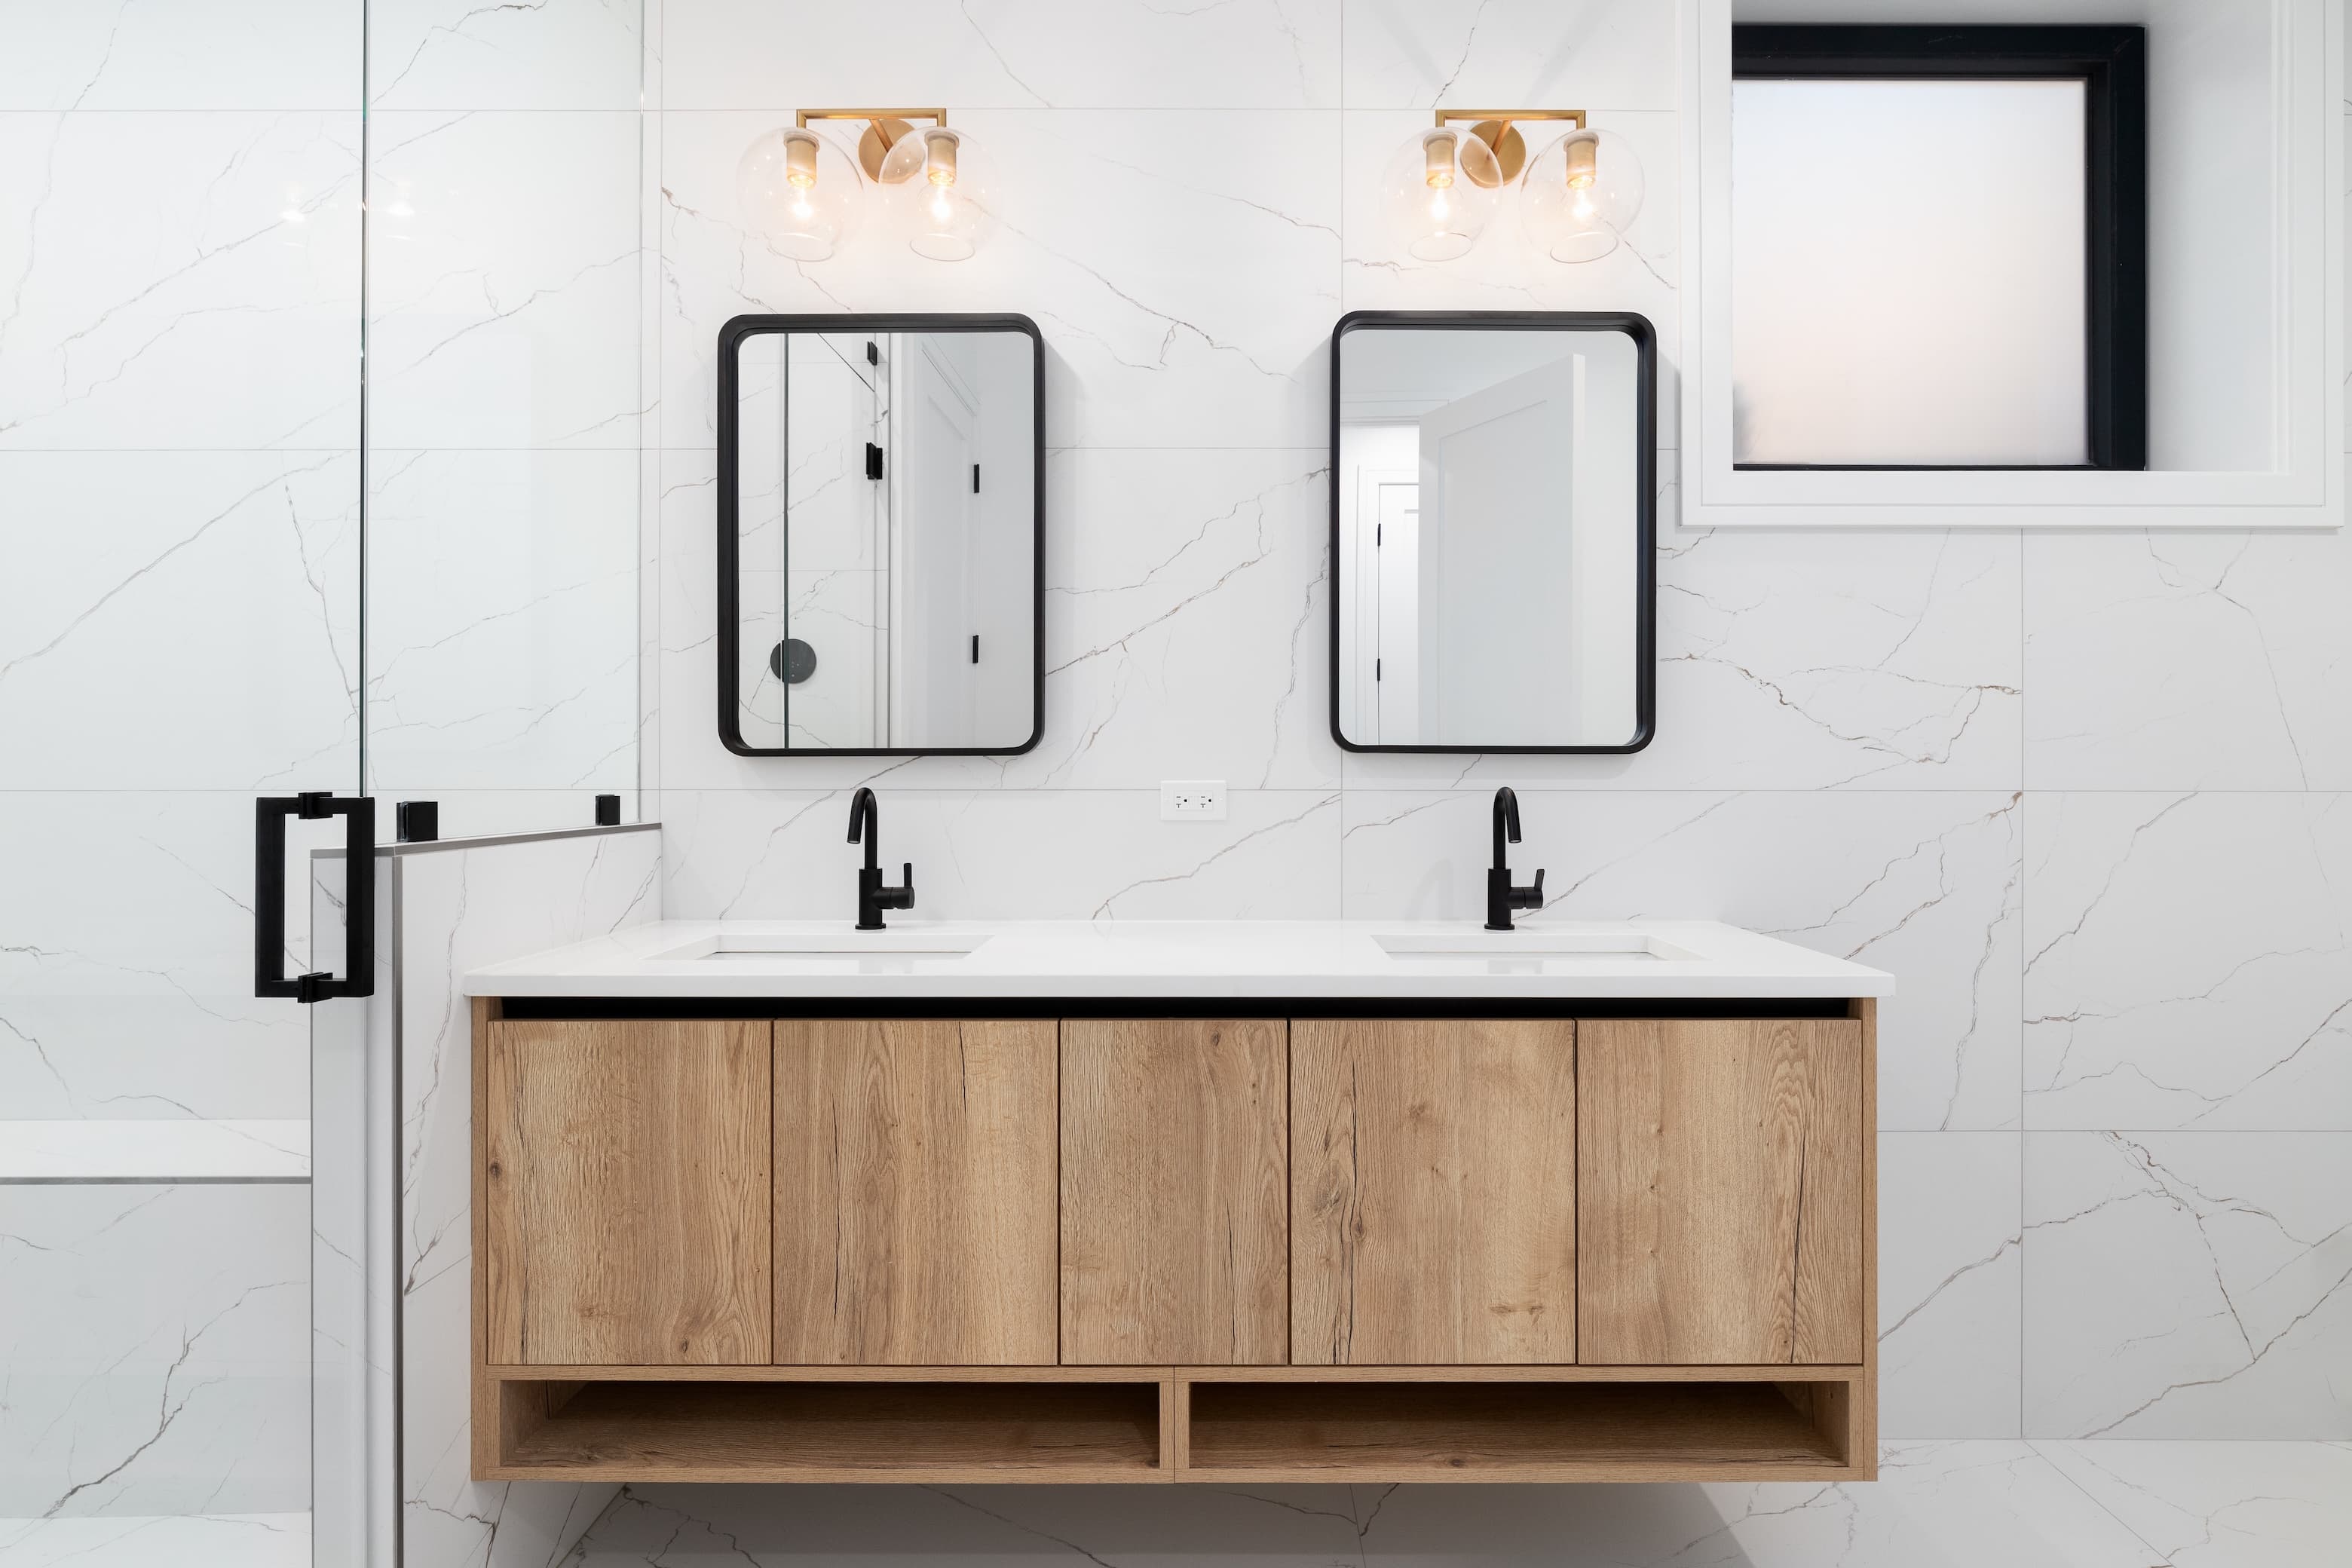
A Dry Run on the Shutoff Valves
Before you do anything else, test the shutoff valves under the sink. Turn each one off, open the faucet, and watch what happens. If the water dribbles to a stop within a few seconds, the valves are healthy and the project will go well. If the water keeps running, or the handle won't turn at all, the valves are seized — and that means the project just got bigger.
Seized shutoff valves are the single most common reason a weekend vanity project becomes a multi-weekend one. You can replace them yourself if they are modern compression valves, but you will need to shut off the main supply to the home first, which is a different scope of work. Some homeowners are also weighing a whole-home automatic water shutoff at the main, especially if they have had small leaks before — a separate decision worth knowing about, but not one to make at 7 a.m. on a Saturday.
If the valves do not fully close, do not start the demo. Restore the water, take a photo of the valve bodies, and either schedule the valve replacement as a separate Saturday project or call a plumber for that piece alone. Shutoff valves are a 30-minute job for someone who has done them; they are a half-day rabbit hole for someone who hasn't.