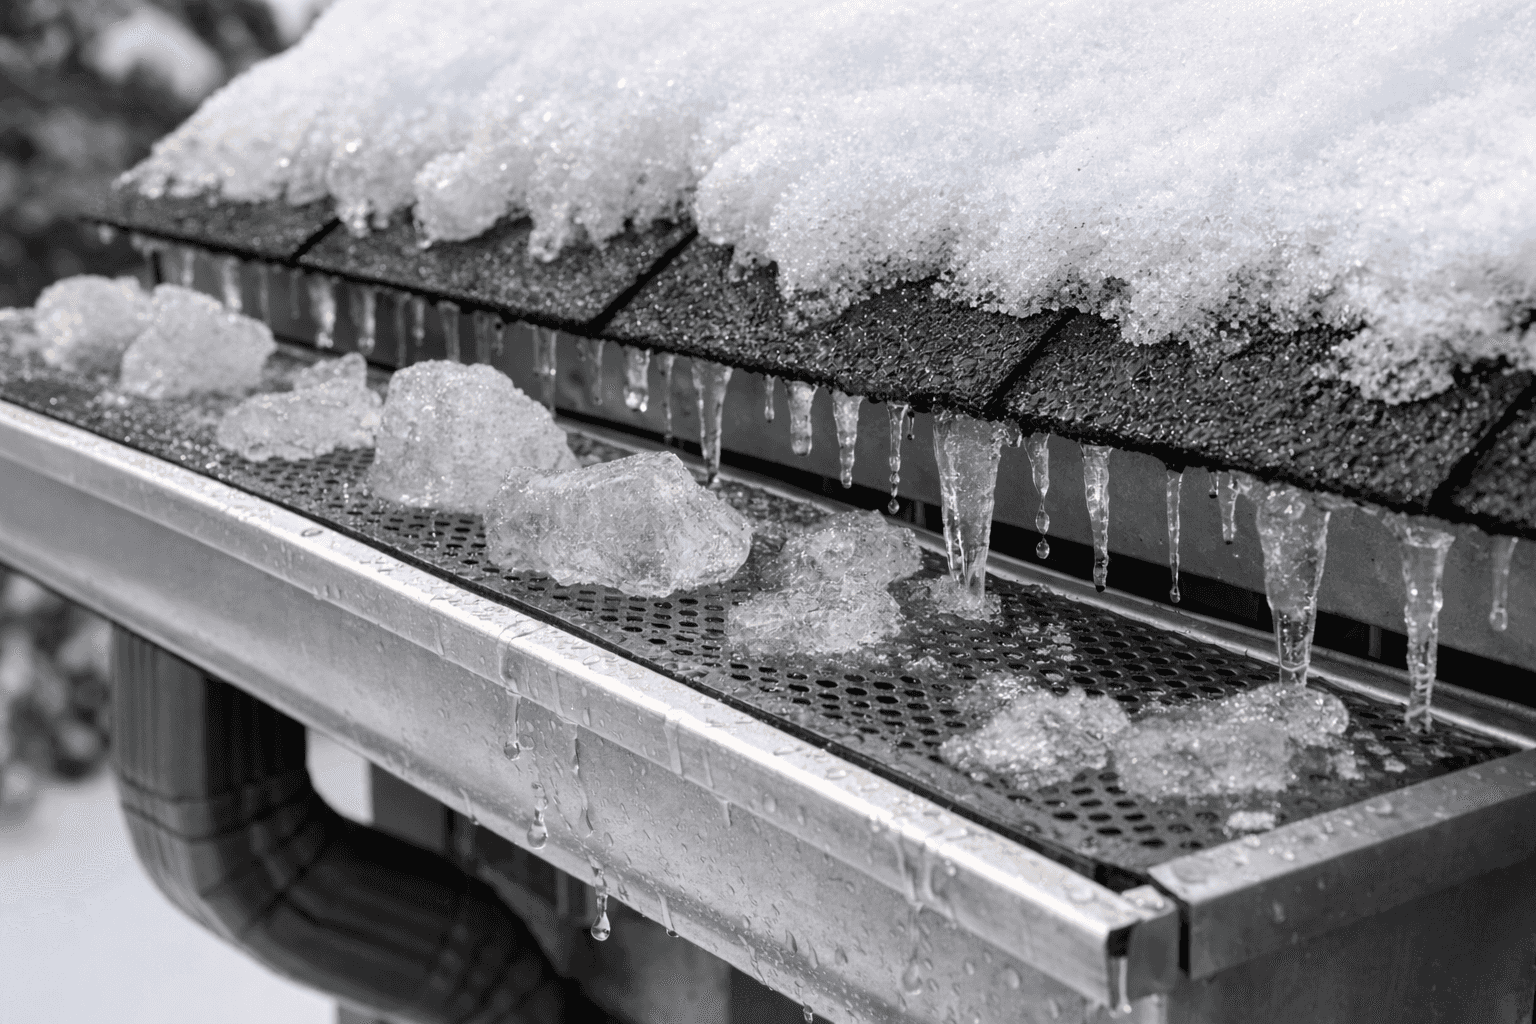
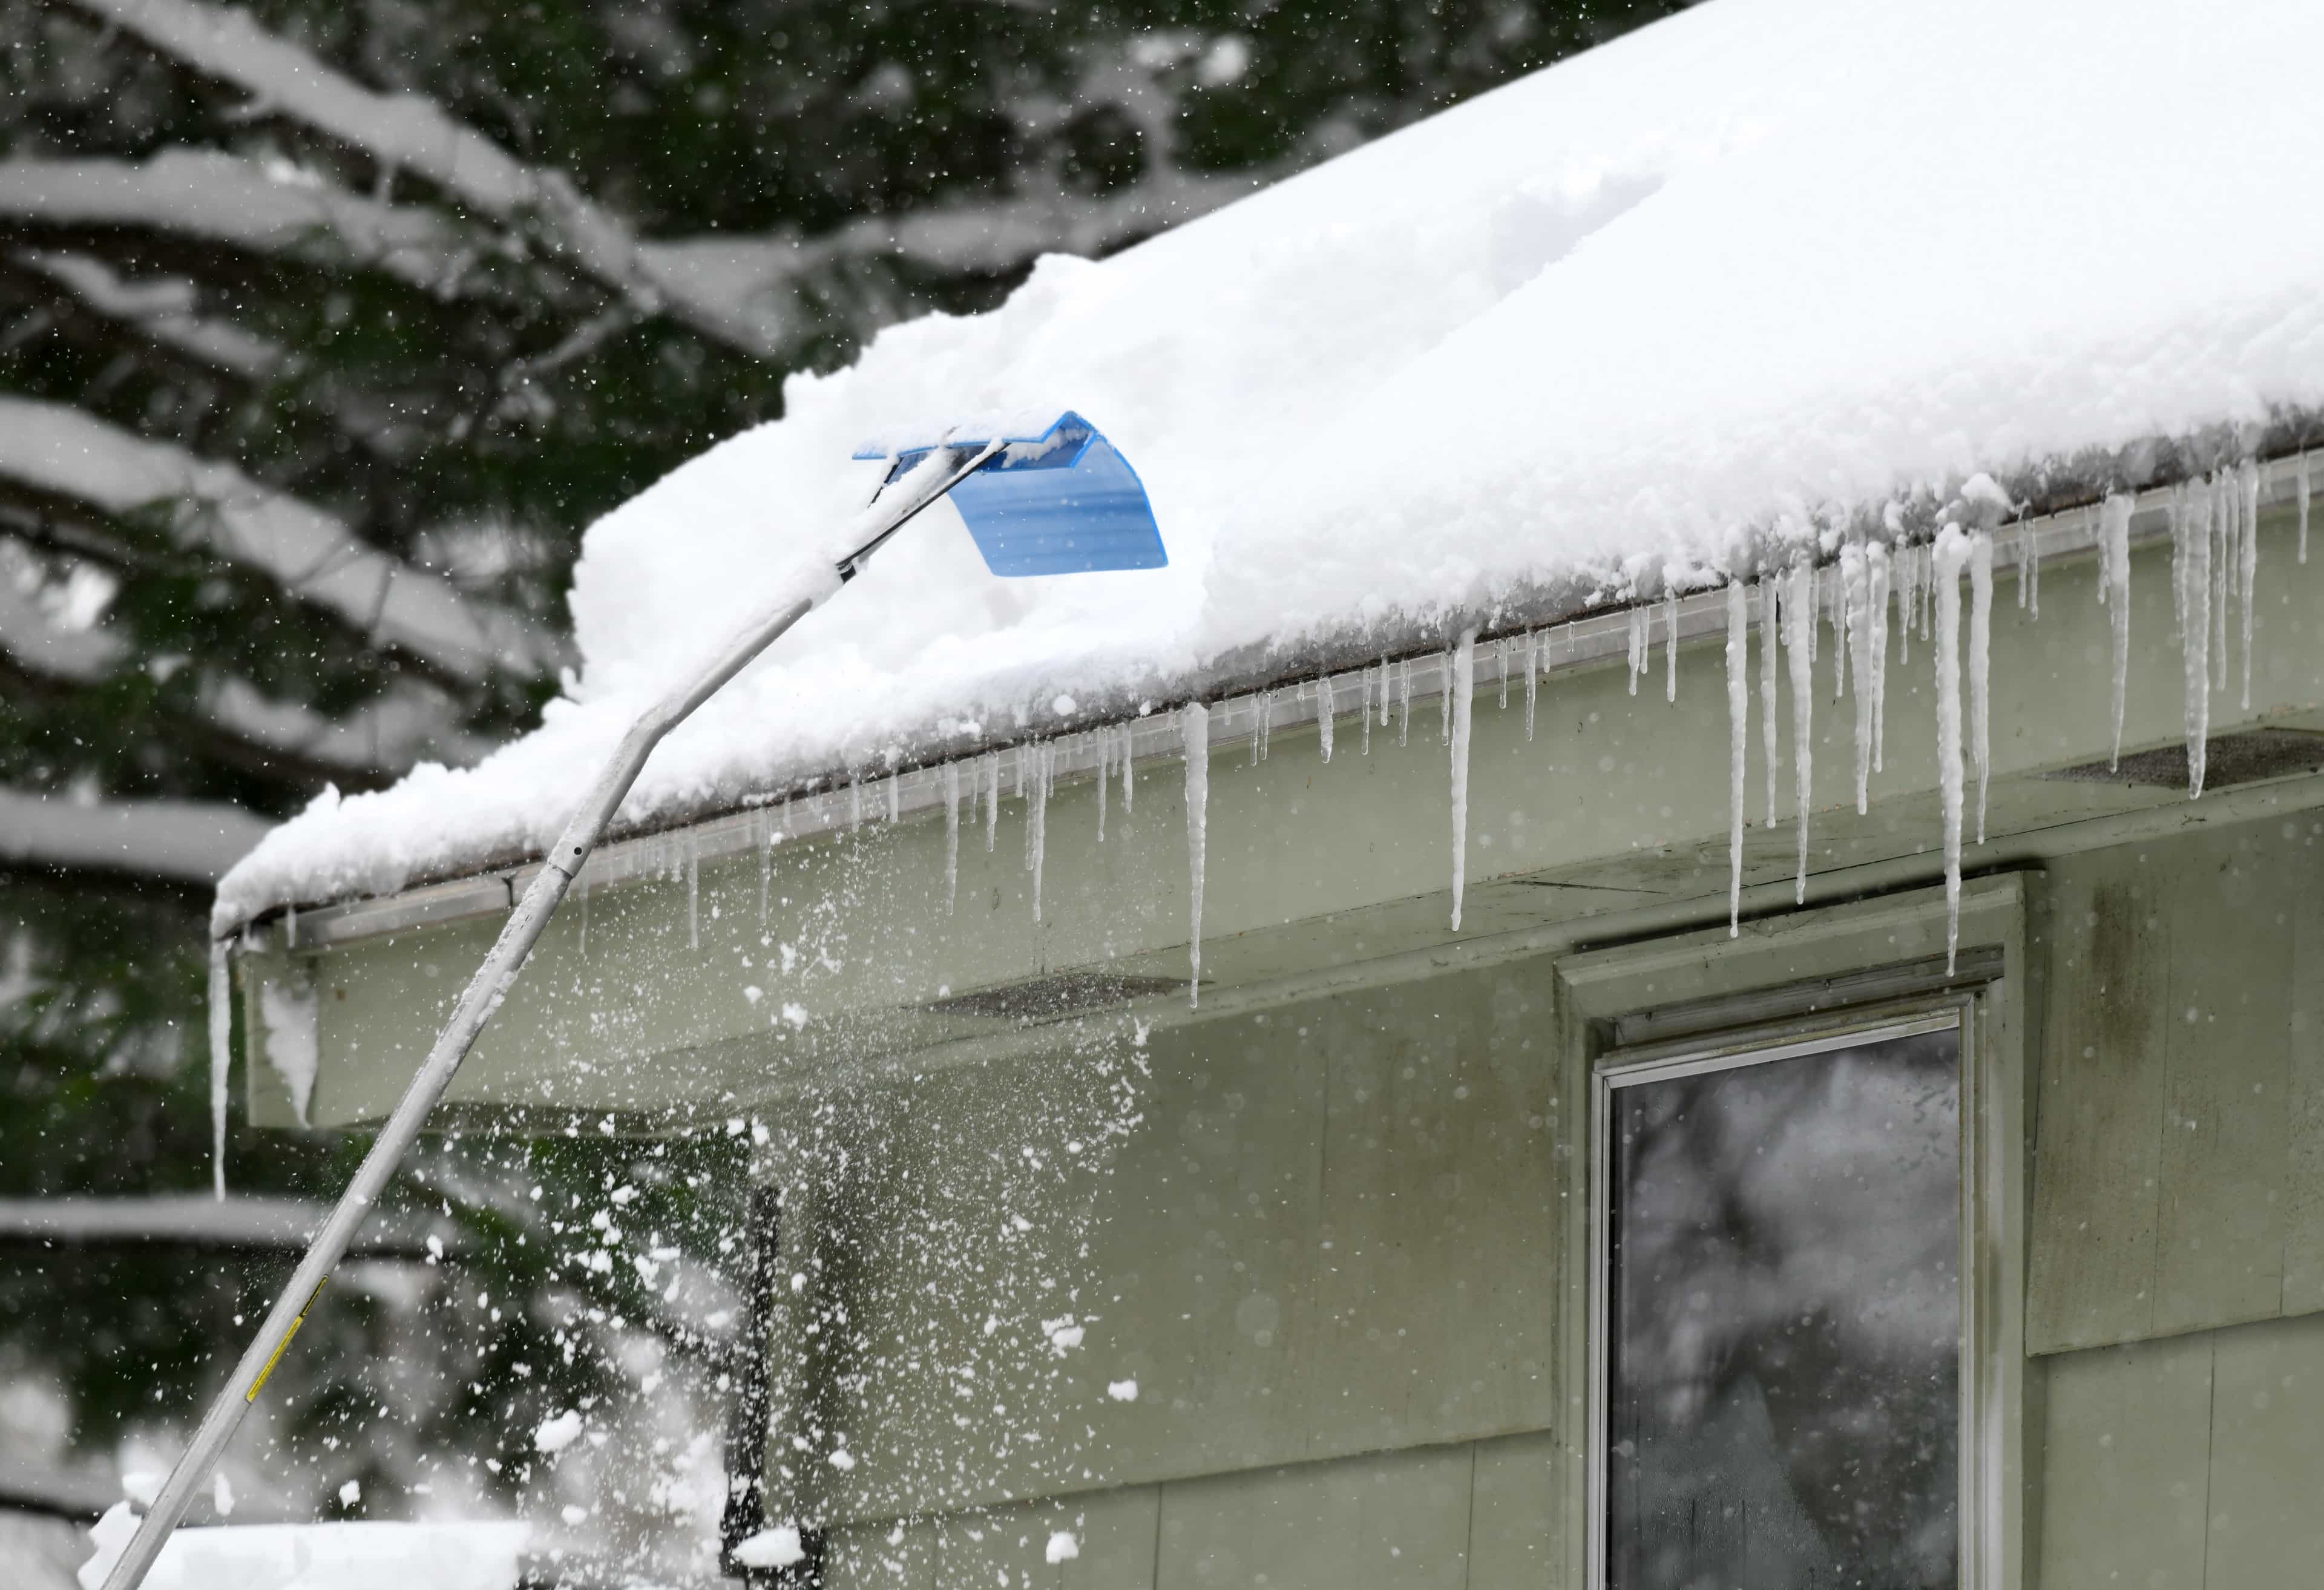
Eavestroughs do one simple job—move water away from your home—but the consequences of a clogged system can get expensive fast. Overflowing troughs can soak fascia boards, stain siding, flood walkways, and dump water beside the foundation where it doesn’t belong. That’s why federal flooding preparedness advice from the Government of Canada’s roof and gutter protection guidance puts keeping gutters clear and watching for winter ice dams in the same “protect your home” conversation, not just in a weekend chore list.
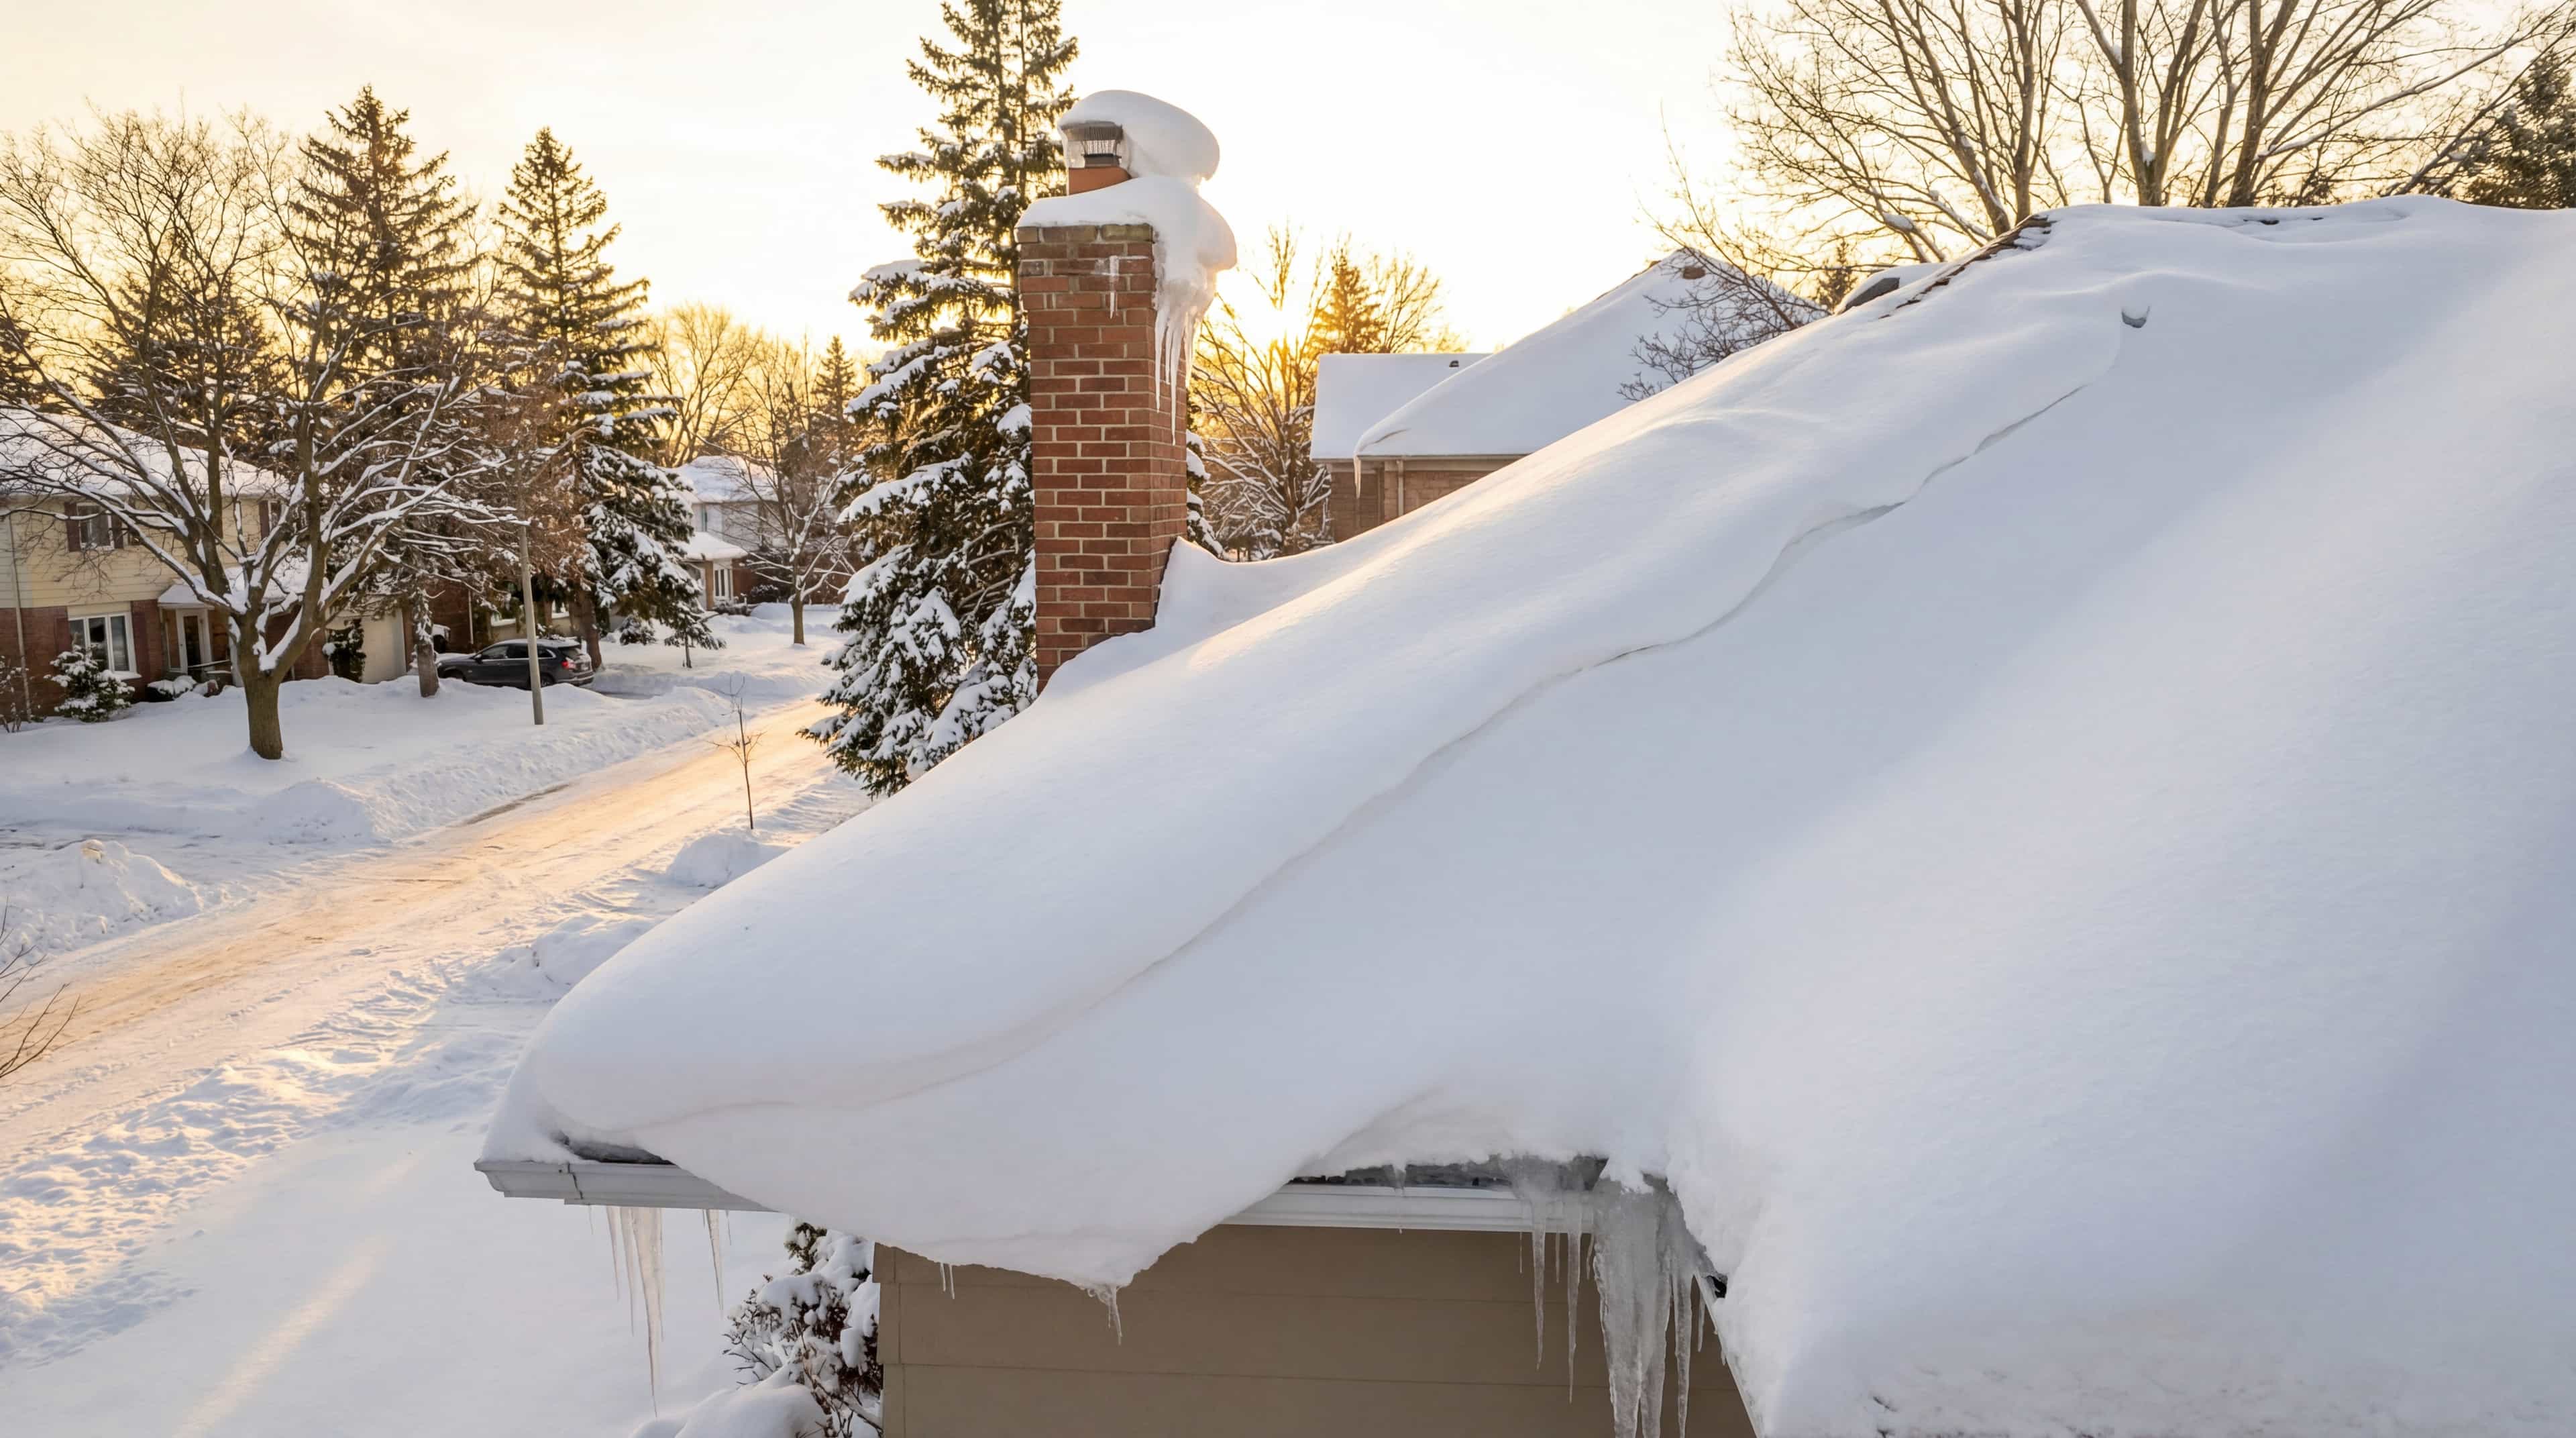
In Canada, the decision is harder than in milder climates because “normal” weather includes weeks of freeze–thaw and long stretches of snow sitting on roofs. Broader climate context from Encyclopaedia Britannica’s overview of Canada’s climate helps explain why: outside the Pacific coast, winter conditions are a common baseline, which means your eavestrough guard needs to survive snow load, ice, and spring melt—not just autumn leaves.
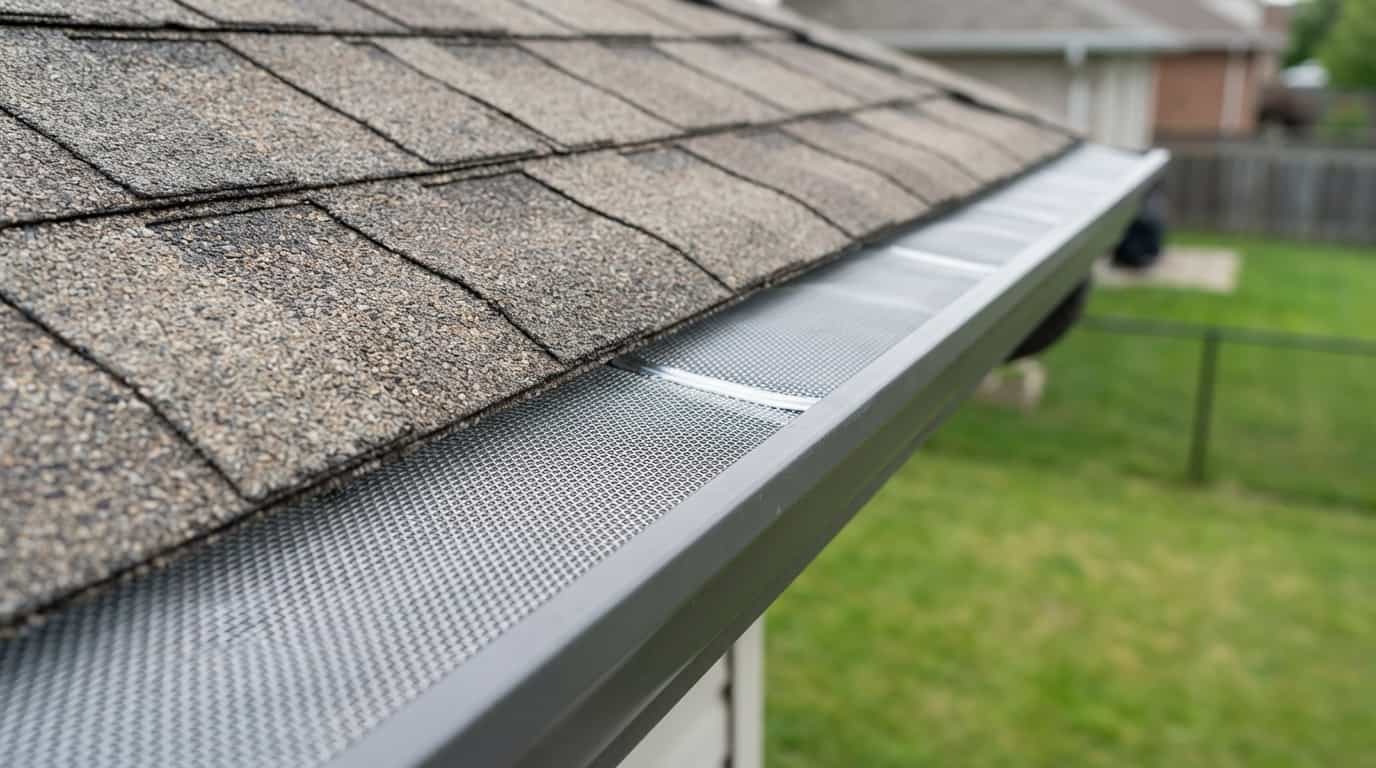
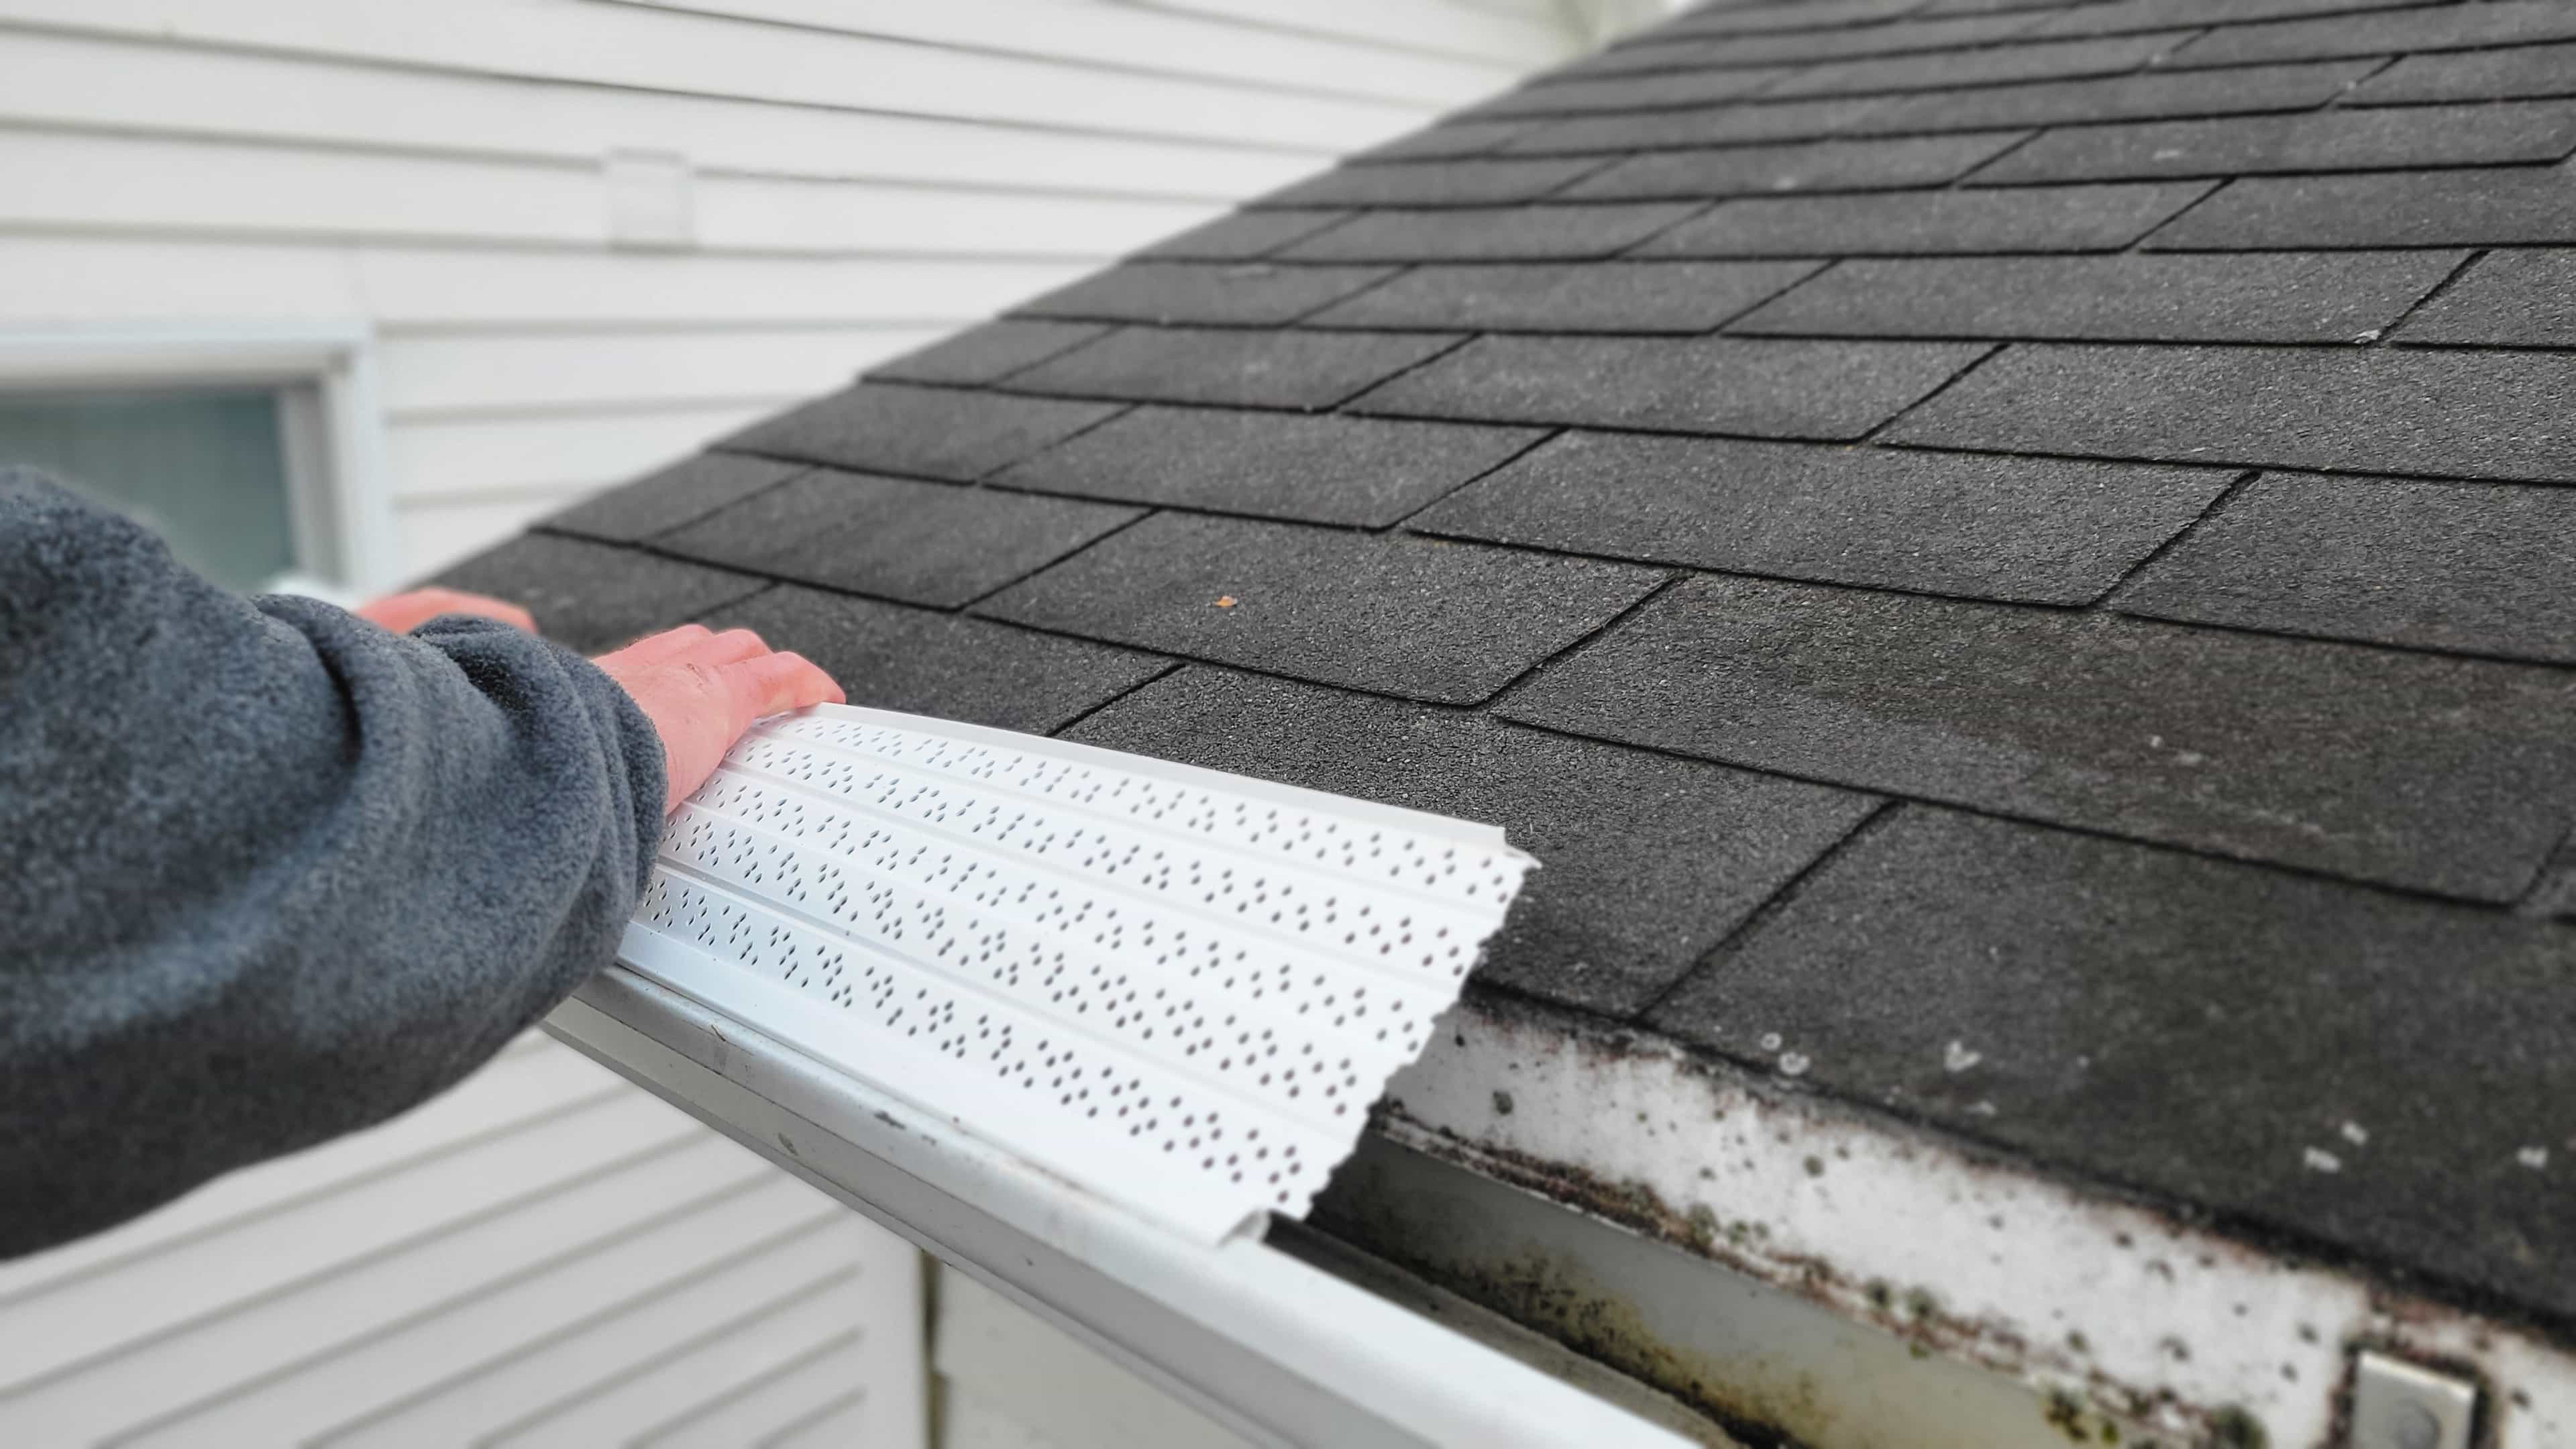
This article breaks down the main eavestrough guard types you’ll actually see in the Canadian market, then compares them through a practical lens: what debris you’re fighting (leaves vs needles vs grit), what your winters look like, and what level of maintenance you’re willing to accept. You’ll also get clear cost ranges in Canadian dollars, a DIY installation sequence you can sanity-check against your roof, and a straightforward “choose this if…” rubric.
One important framing note before we get into product styles: a guard is not a magic lid. You’re mostly trading frequent, risky cleaning for less frequent inspections and lighter maintenance. For many homeowners—especially with multi-storey homes or steep rooflines—that’s still a great trade.