Spray Foam Insulation Explained: How It Works, Where It Fits, and What to Watch For
A Homeowner-Level Guide to Performance, Moisture Control, and Safe Use in Canadian Homes
By
Published: March 19, 2026
Updated: March 21, 2026
Spray foam blooms across bare studs, where air leaks, moisture risk, and safety decisions start. (Credit: Shutterstock.com)
Key Takeaways
•Spray foam is both insulation and air sealing in one material, but “open-cell” and “closed-cell” behave very differently.
•In Canada, the biggest wins are often in air-leakage trouble spots (rim joists, rooflines, band boards), provided moisture issues are fixed first.
•Most spray-foam risks happen during installation and early curing, which is why access control, ventilation, and proper coverage details matter.
Spray foam insulation gets talked about like a “magic upgrade” because it can do two jobs at once: slow heat flow and block drafts. For homeowners, that usually translates into fewer cold floors, fewer mystery smells from the basement, more even temperatures room-to-room, and less frost showing up where it shouldn’t.
But spray foam is also one of the easiest insulation products to misunderstand. People use “spray foam” to describe everything from professional, whole-house insulation systems to the small cans you buy at a hardware store to seal a crack. Those are not interchangeable tools, and confusing them leads to bad outcomes—messy installs, trapped moisture, or expectations that don’t match reality.
This guide is built to be practical and Canada-relevant. It explains how spray foam works, what performance numbers actually mean, how air barriers and vapour barriers fit into cold-climate moisture control, and where spray foam tends to shine (and where it can create headaches) in real homes.
You won’t find pricing talk or contractor-selection advice here. Instead, you’ll get a clear mental model: what the material is, what it does well, what it does poorly, and what to watch for so you can have smarter conversations and make safer decisions.
What Spray Foam Insulation Actually Is
The Two-Part Reaction, Without the Chemistry Degree
Professional spray foam insulation is usually “spray polyurethane foam” (often shortened to SPF), which is created on site by mixing two liquid components that react, expand, and harden into foam, as explained by the U.S. Environmental Protection Agency Safer Choice program overview of how SPF is made
Homeowner-friendly translation: think of it like a two-part adhesive or epoxy. Separate liquids look manageable, but when combined correctly they change quickly—generating heat, growing in volume, and turning into a solid material that’s now part of your building envelope.
The foam you end up with can be:
Open-cell (lighter, more sponge-like)
Closed-cell (denser, more rigid)
Those two families share a name, but they behave differently in air sealing, vapour control, and how much insulation you get per inch.
Quick Definitions That Keep the Topic Straight
Term
Plain-Language Meaning
Why It Matters in a House
Spray polyurethane foam (SPF)
A two-part foam created during installation
It’s designed for insulating larger areas, not just patching
Open-cell foam
Lower-density, softer foam with interconnected cells
Good air sealing in large cavities, usually not a vapour barrier
Closed-cell foam
Higher-density, rigid foam with sealed cells
Higher R-value per inch and stronger vapour-control potential
One-component foam (canned)
Foam in a can that cures using moisture in the air
Useful for small gaps, not whole assemblies
Note
Spray foam products are not “one formula.” Even within open-cell or closed-cell categories, formulations and installation requirements vary, so the final authority is always the specific product instructions used on your job.
Why Expansion Matters
One reason SPF is so effective in odd-shaped cavities is that it expands substantially after it’s sprayed, with the Wikipedia spray foam article describing typical expansion behaviour and how it fills voids as it hardens
The key homeowner takeaway is not the exact multiplier—it’s the consequence: expanding foam can reach into irregular spaces and seal the little air pathways that fibrous insulation often can’t stop on its own.
In Canadian guidance, expansion and curing are treated as part of “proper use,” with Natural Resources Canada describing expansion ranges for different foam types along with typical lift thickness and curing expectations for closed-cell foam
What “Expansion” Usually Means in Practice
Foam Type
How It Behaves When Sprayed
Typical Result in Cavities
Open-cell
Expands aggressively, fills volume easily
Great for air sealing big voids, soft finish
Closed-cell
Expands less, builds thickness in controlled layers
Dense insulation in tight spaces, rigid finish
Important
Expansion is a feature only when the foam is applied correctly. Overfilling the wrong space (like certain window/door gaps) or applying too thick a layer too quickly can create real problems, including distortion or heat buildup.
Advertisement — Article Continues Below
Spray Foam vs “Foam in a Can”
Whole-Assembly Insulation vs Small Gap Sealing
Professional SPF systems are designed to insulate larger areas like walls and attics, while one-component canned foam is meant for small gaps and cracks, as clarified by the U.S. Environmental Protection Agency Safer Choice program description of SPF product categories and typical uses
If you remember one distinction, make it this:
Two-component SPF is an insulation system for assemblies
Canned foam is an air-sealing tool for details
DIY guidance commonly repeats the same boundary: canned foam is for small applications and not for insulating entire walls or attics, as noted by DoItYourself.com in its practical dos and don’ts for using can foam effectively
A Simple Comparison That Prevents Expensive Misuse
Topic
Two-Component SPF (Professional-Grade)
One-Component Canned Foam
Intended scale
Walls, attics, rim joists, large cavities
Gaps, cracks, penetrations
How it cures
Chemical reaction between two components
Moisture-cured after dispensing
Typical outcome
Insulation + air sealing across surfaces
Localized sealing at details
Common pitfall
Installed without managing moisture or safety
Over-expansion in delicate gaps
Where Canned Foam Is the Right Tool
Around windows and doors, best-practice air sealing often uses caulk, backer rod, or canned foam, with the Building America Solution Center recommending low-expansion foam products intended for windows and doors to reduce the risk of bowing frames
If you’ve ever seen a sticky window after “insulation work,” this is a common reason: the foam expanded too aggressively and pushed the frame out of alignment.
For homeowners tackling small draft fixes, step-by-step guidance on foam sealant use is often framed as “find the gap, control the fill, trim after curing,” as described by Do it Best in its how-to overview of sealing with foam products
Tip
If you can press your finger into fresh foam and it springs back, it’s still curing internally. Plan to trim only after it has fully firmed up, and avoid “topping up” in multiple rounds unless the product instructions call for it.
R-value is a measure of resistance to heat flow, and higher numbers mean better insulating performance, as explained on the ENERGY STAR homeowner guidance page about insulation values
In Canada, you’ll also see RSI, which is the metric way to express the same concept, with the Wikipedia entry on R-value outlining how R and RSI relate in building science discussions
Two homeowner-level implications matter most:
“Per inch” matters when space is tight (like rim joists or shallow roof framing)
R-value is not the whole story if air leaks are doing the real damage
R-Value Thinking That Matches Real Renovations
Situation
What Matters Most
Why Spray Foam Gets Considered
Limited cavity depth
Higher R per inch
Closed-cell can deliver more insulation in less space
Drafty home
Air sealing + insulation together
Foam can reduce air leakage while insulating
Moisture risk zone
Vapour control strategy
Some foam types can help, others need extra layers
Air Leakage Can Beat R-Value
Air leakage can reduce the real-world effectiveness of insulation, and energy guidance often emphasizes combining insulation with air sealing, as described by the U.S. Department of Energy overview of how insulation works in a whole-home system
This is one of the best reasons to understand spray foam: its performance story is rarely “just R-value.” It’s also about stopping heat loss carried by moving air.
If you’re insulating an existing home, practical retrofit guidance frequently starts with sealing bypasses before adding more insulation, as described by the U.S. Department of Energy resource on improving performance in older assemblies
Common “Air Leakage Tells” in Canadian Homes
Cold floors above basements even when the basement is “finished”
Dust streaks around baseboards or return-air grilles
Frost or dampness at roof nails in winter
Smells migrating between floors (basement-to-main or garage-to-house)
Important
If you only chase higher R-value without reducing air leakage, you can spend money and still feel uncomfortable—especially in windy regions and during shoulder seasons.
Air Barrier vs Vapour Barrier: Two Different Jobs
An air barrier blocks airflow through the building envelope, while a vapour barrier slows moisture diffusion, as explained by Natural Resources Canada in its plain-language description of how houses manage heat and moisture
This distinction matters more in Canada than many homeowners expect, because winter conditions can drive indoor moisture into cold assemblies where it can condense.
A Cheat Sheet You Can Use in Any Renovation Conversation
Layer
What It Controls
The Problem It Prevents
What Homeowners Often Mix Up
Air barrier
Moving air
Drafts, heat loss, moisture carried by air
Assuming insulation automatically blocks air
Vapour barrier
Water vapour diffusion
Condensation inside walls/roofs
Assuming any foam is a vapour barrier
Venting (where relevant)
Moisture removal + temperature moderation
Moisture accumulation, ice-related issues
Assuming more venting fixes air leaks
Advertisement — Article Continues Below
Open-Cell vs Closed-Cell Spray Foam
A Practical Comparison, Not a Sales Pitch
Open-cell and closed-cell SPF are different product types with different physical characteristics and typical applications, as outlined by the U.S. Environmental Protection Agency Safer Choice program archived overview of how SPF categories are commonly defined
At a homeowner level, the comparison usually comes down to:
How much insulation you get per inch
Whether the foam can help with vapour control
Where you’re putting it (roofline, wall cavity, rim joist, foundation wall)
Industry-facing summaries often describe open-cell as roughly R-3.5 to R-3.8 per inch and closed-cell as roughly R-6 to R-7 per inch, with different densities and typical uses, as described by the Johns Manville comparison of open-cell versus closed-cell foam
Open-Cell vs Closed-Cell at a Glance
Attribute
Open-Cell Spray Foam
Closed-Cell Spray Foam
Feel
Softer, semi-flexible
Rigid, dense
R-value per inch (typical)
Lower
Higher
Vapour control
Typically needs additional strategy
Can provide vapour control at sufficient thickness
Best fit
Large cavities where air sealing is the priority
Tight spaces, rim joists, cold-climate rooflines (when designed properly)
Common watch-out
Not a standalone vapour barrier
Must be layered and protected appropriately
How Thick Is “Thick Enough” for Air and Vapour Control
Both foam types can act as air barriers when installed thick enough, but Canadian retrofit guidance distinguishes between low-density foam that still needs a vapour barrier and higher-density foam that can provide vapour-barrier performance at sufficient thickness, as described by Natural Resources Canada in its wall insulation and retrofit guidance
This is where homeowners often get tripped up. Spray foam is not automatically “everything-proof.” Your assembly still needs a coherent plan for:
Stopping air movement
Managing vapour diffusion
Keeping materials warm enough to avoid condensation
Allowing drying where appropriate
Warning
A foam that air-seals well can still create moisture trouble if the vapour-control layer is wrong for the climate and wall/roof design. The goal is not “maximum sealing at any cost,” but “controlled sealing with a drying strategy.”
Advertisement — Article Continues Below
Canadian Use Cases: Basements, Rim Joists, and Walls
Rim Joists Are Small, Ugly, and Extremely High Impact
The rim joist (also called the joist header) is a common air-leakage and heat-loss zone, and guidance highlights spray foam as an effective way to insulate and air seal it, as noted by Natural Resources Canada in its basement and crawl space insulation section
For many Canadian homes, this is one of the most “felt” upgrades because it targets that cold band around the perimeter of the house where floors meet foundation.
Just as important: exposed spray foam typically needs a fire-resistant covering in many situations, with Red River Spray Foam describing the need for an approved fire barrier detail in rim joist applications
Important
Foam performance isn’t only about energy. The finishing and protection details—especially fire protection and separation from living spaces—are part of doing the assembly correctly.
Basements: Insulation and Moisture Management Are Linked
Basement insulation isn’t just about comfort; it’s also about keeping interior surfaces warm enough to avoid condensation. The reason spray foam shows up here is not because it’s “waterproof,” but because it can adhere to irregular masonry surfaces and reduce the air pathways that feed condensation.
If you’re dealing with bulk water (leaks, seepage, cracks), that has to be handled first. Insulation is not a waterproofing substitute, and adding insulation over an active water problem is a reliable way to create hidden damage.
Where Foam Commonly Shows Up Below Grade
Basement Area
Why It Matters
What to Watch For
Rim joists
Major air leakage path
Needs fire protection detail in many cases
Foundation walls (interior)
Cold surface drives condensation risk
Bulk water issues must be solved first
Penetrations (plumbing, wiring)
Air leakage + pests + smells
Seal selectively and avoid trapping wet materials
Walls: Air Sealing Helps, but Vapour Strategy Still Matters
In wall retrofits, foam can be used as an air barrier, but cold-climate walls still need a vapour-control strategy that matches the assembly. If you’re changing one layer (air tightness), you’re also changing how the wall dries and where condensation might occur.
A good homeowner mindset is to treat wall insulation like a system detail rather than a material purchase. You’re balancing heat, air, and moisture in one sandwich.
Advertisement — Article Continues Below
Attics and Rooflines: Vented vs Unvented Approaches
Moisture Problems Should Be Solved Before Any Foam Shows Up
Attic guidance often stresses that moisture problems—whether from roof leaks or indoor air leakage—must be fixed before adding insulation, with Natural Resources Canada describing how moisture issues can reduce insulation effectiveness and lead to mould or wood rot
In plain terms: insulation is not a cleanup tool. If you insulate over a leak, you’re making it harder to detect and easier to damage materials quietly.
Vented Attics: Treat the Ceiling as the Boundary
In a classic vented attic, your air barrier and thermal boundary are usually at the ceiling plane. The job is to stop warm, moist indoor air from leaking into the attic, then keep attic ventilation paths open.
A well-sealed and insulated ceiling is commonly linked to fewer winter roof problems, including ice-dam conditions, with Construction Canada discussing how better sealing and insulation can help keep roof surfaces more uniform
Unvented Conditioned Attics: Foam Below the Roof Deck
Spraying foam directly to the underside of roof sheathing can work as part of an unvented attic design, but Canadian cold climates typically require enough closed-cell foam thickness and careful moisture design, as described by Construction Canada in its discussion of when venting is appropriate and what changes in unvented assemblies
Building-science guidance for unvented attics also stresses that roof sheathing and framing should be dry and that airtightness details matter, with the Building America Solution Center describing moisture thresholds and vapour retarder needs in colder zones
For deeper cold-climate context, research summaries on unvented sloped wood roofs emphasize hygrothermal design and drying potential, with RDH Building Science providing a cold-climate review perspective on risks and design approaches
Unvented roofline insulation is not a “spray it and forget it” upgrade. If the roof deck is wet, if air sealing is incomplete, or if vapour control is wrong for the climate, you can create a condensation engine above your head.
Advertisement — Article Continues Below
Installation, Curing, and Safety: What Homeowners Should Expect
During Spraying, the Work Area Becomes a Controlled Zone
Spray foam application can create isocyanate vapours and aerosols, and guidance notes that inhalation exposures during installation can exceed occupational exposure limits, with the U.S. Environmental Protection Agency Safer Choice program describing why restricted access and protective equipment are standard during SPF work
This is why good installations look “overkill” to homeowners: respirators, full coverage, and a work zone that’s treated like a contained site. That’s not theatre—it’s controls.
Workplace practice guidance also emphasizes containment, PPE, and keeping unprotected people out of the area, with the U.S. Environmental Protection Agency Safer Choice program outlining safer practices used during professional installation
Curing, Ventilation, and Re-Occupancy Timing
Foam often becomes firm quickly, but “firm” is not the same thing as “fully cured.” Canadian guidance for closed-cell foam includes lift thickness limits and a typical curing/off-gassing window, with Natural Resources Canada describing closed-cell application in thinner passes and noting a 24-hour curing and ventilation period in its homeowner-facing materials section
Manufacturer recommendations vary, but typical guidance for re-entry after SPF or even one-component foam is often framed in hours-to-a-day ranges, with the U.S. Environmental Protection Agency Safer Choice archive snapshot describing common timing ranges used in product guidance
A Simple “What to Expect” Timeline
Phase
What’s Happening
What Homeowners Usually Notice
During spraying
Reaction + expansion + airborne exposure risk
Strong odour, loud equipment, restricted access
Early cure
Foam firms up, but chemistry continues
Odour may persist, ventilation is critical
Full cure window
Off-gassing typically drops
Space becomes more normal, but follow product guidance
Warning
Treat re-occupancy guidance as a hard safety boundary, not a suggestion. If you’re unsure, the safer move is always more ventilation and more time, aligned with the specific product instructions on site.
Health Concerns: Reassuring, but Realistic
Health questions around spray foam are common because the installation stage is chemically active, and public guidance discusses both concerns and risk controls, with the U.S. Environmental Protection Agency Safer Choice program providing a homeowner-friendly overview of what to know and why proper practices matter
When projects go wrong, the pattern is often the same: poor ventilation, improper curing time, and occupants returning too soon. A published case series describes symptoms reported in improperly retrofitted homes, with the PubMed-indexed case report discussing odours and acute irritation symptoms associated with poor controls
The calm takeaway is also the practical one: the safety plan is not optional. It’s part of the product.
Advertisement — Article Continues Below
Common Pitfalls and What to Watch For
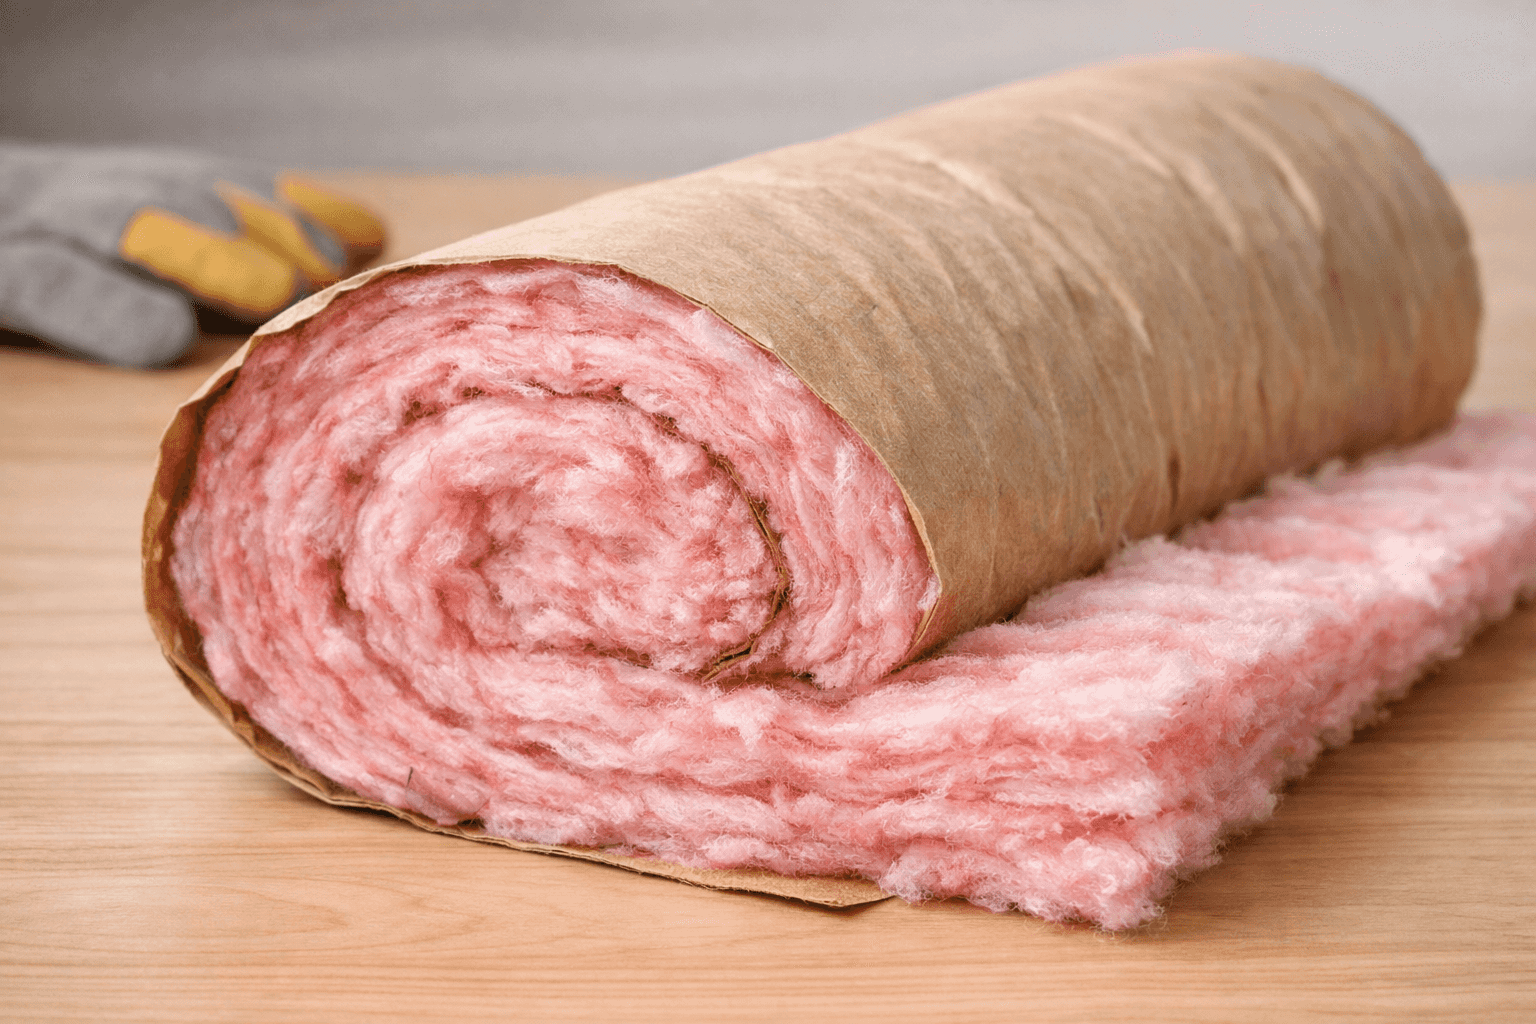
Heat Buildup Happens When Foam Is Applied Too Thick
Spray foam reactions generate heat, and application guidance commonly limits closed-cell foam thickness per pass to manage that heat, with Natural Resources Canada describing closed-cell foam being sprayed in lifts no thicker than about 50 mm in its homeowner materials guidance
For homeowners, the “watch for” is not doing the math on millimetres—it’s understanding why installers build thickness in layers and why rushing can cause quality and safety issues.
Odour, Off-Gassing, and Later Renovations
Most odour concerns show up during installation and curing. Longer-term questions often come up during renovations (cutting, grinding, or heating cured foam), because disturbing cured foam can release additional emissions, as discussed in the U.S. Environmental Protection Agency Safer Choice program overview of exposure pathways during application and disturbance
A practical homeowner approach:
Avoid DIY “hot work” near exposed foam
Treat cutting foam like cutting other dusty materials: local containment and respiratory protection
If odours persist well beyond curing guidance, treat it as a quality-control issue, not something you “get used to”
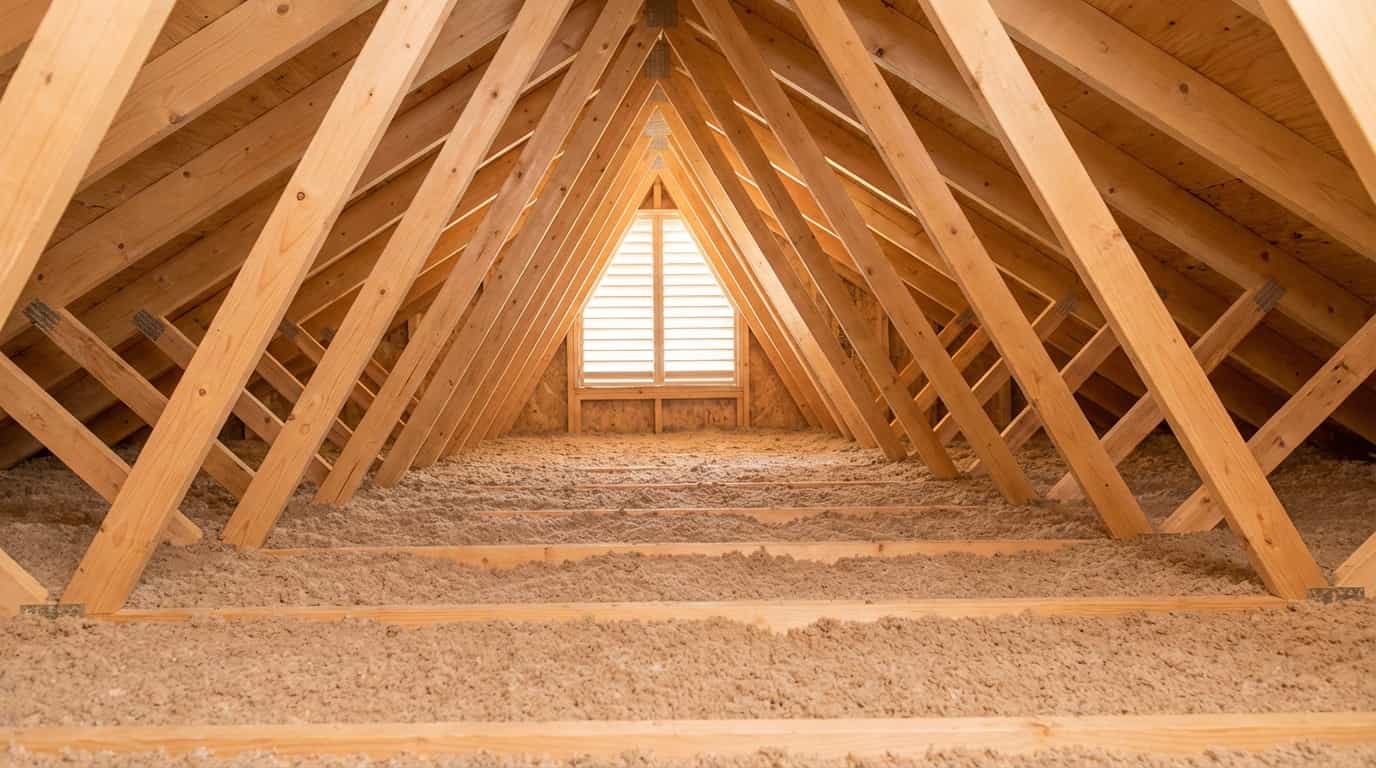
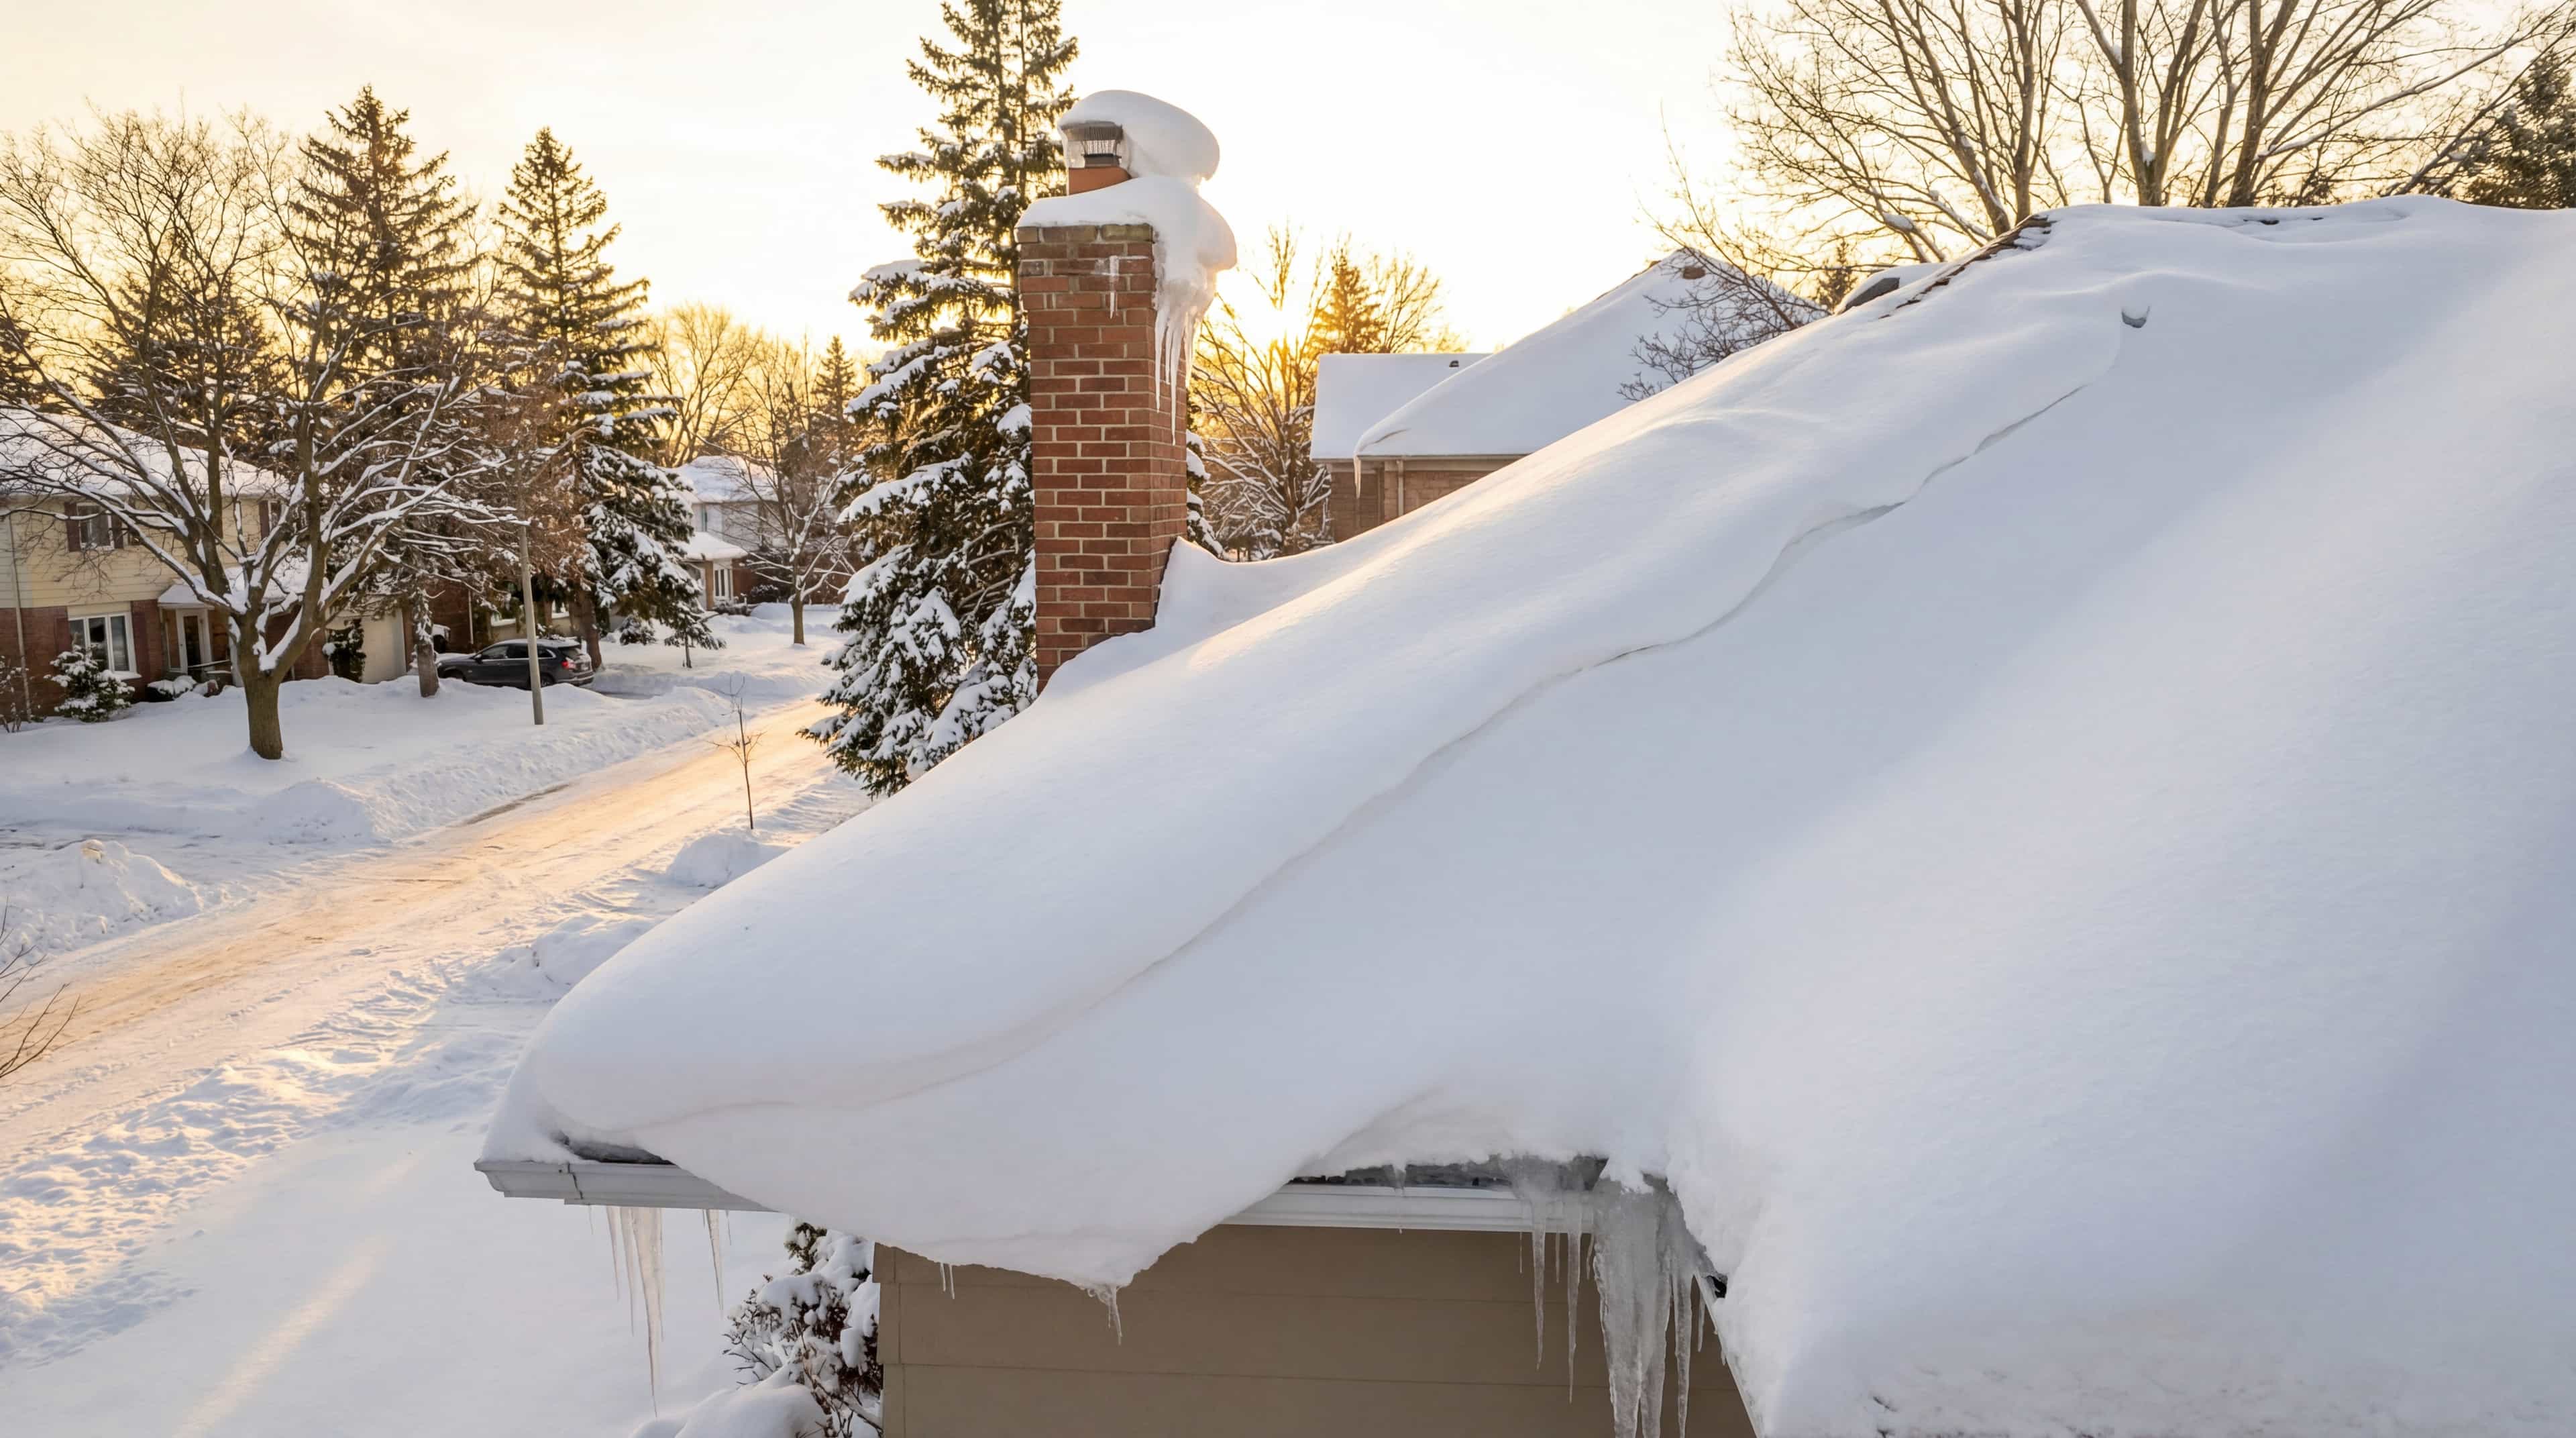
Roof Leaks and the “Hidden Damage” Fear
Concern about hiding roof leaks is common with unvented roofline foam. Balanced guidance often pairs “foam can work” with “inspect and maintain the roof,” since moisture problems still matter before and after insulation changes, as emphasized by Natural Resources Canada in its focus on identifying and correcting moisture sources before adding insulation
Some technical discussion also notes that closed-cell foam can repel liquid water and seal cracks so water from a roof leak often remains above the deck rather than spreading through the assembly, with Construction Canada addressing the “will it hide leaks?” concern alongside maintenance recommendations
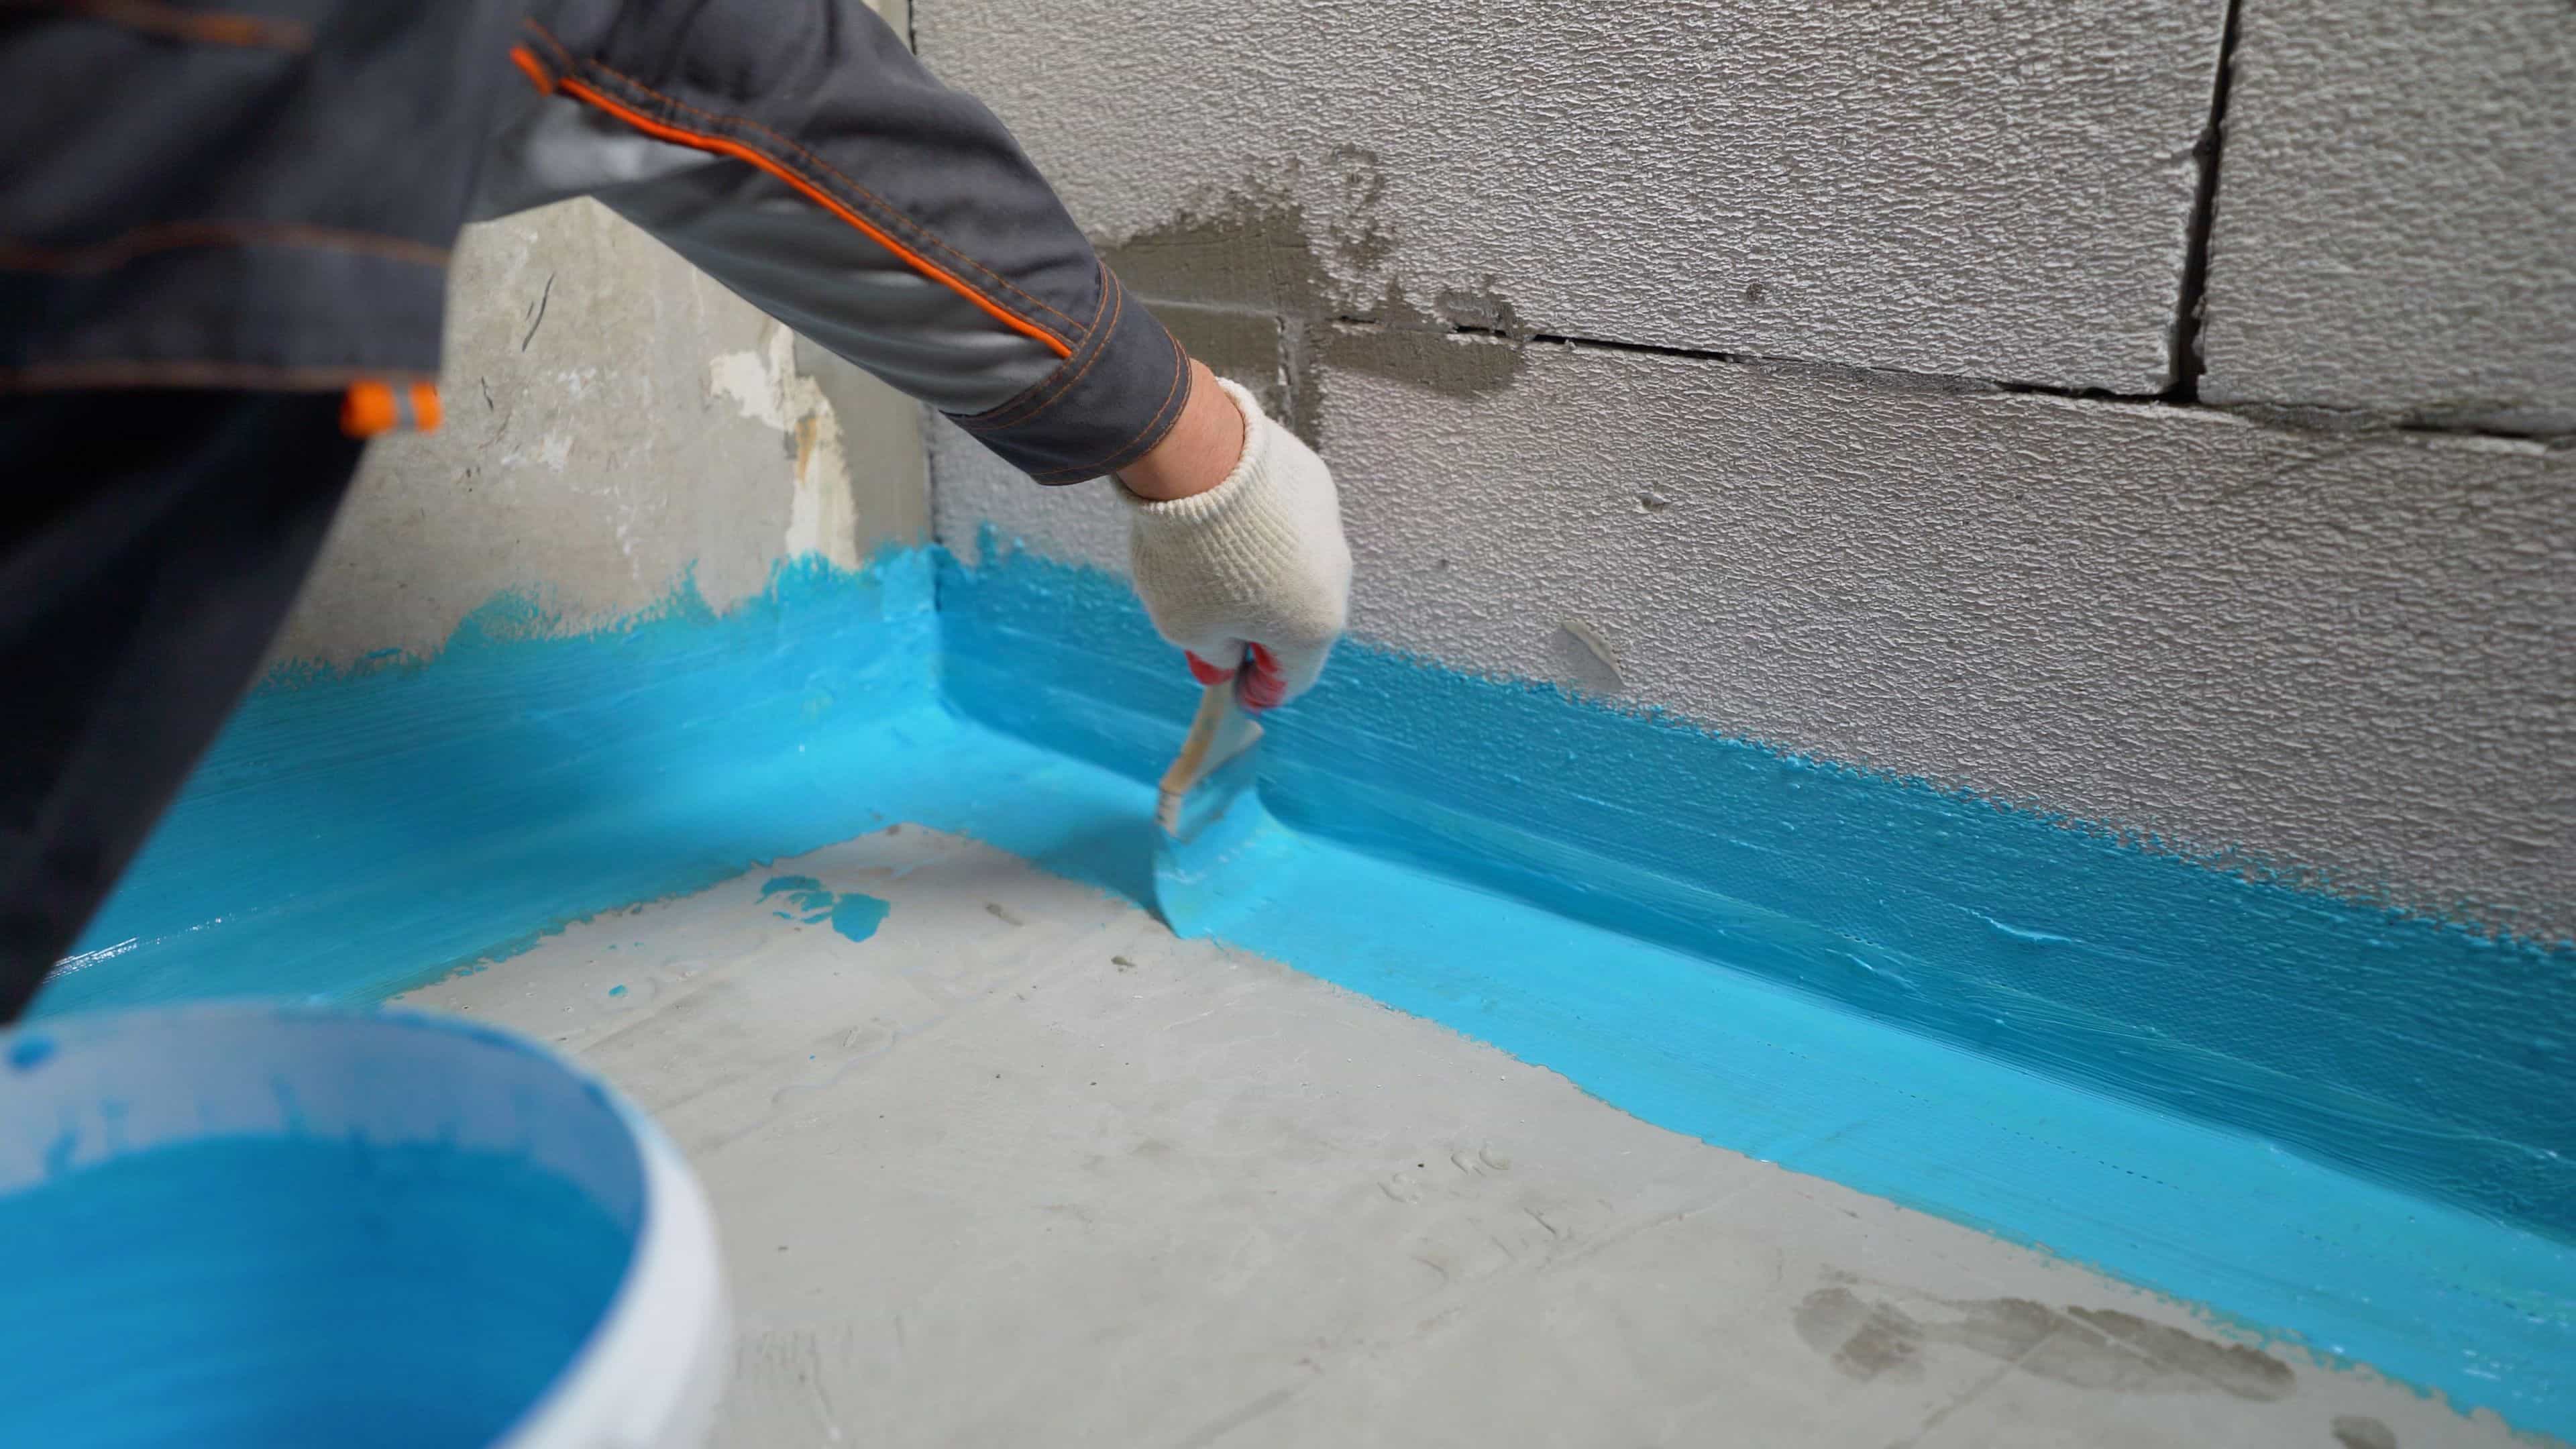
A Pre-Foam Moisture Checklist You Can Use
Location
What to Look For
Why It Matters
Attic
Stains, frost, mouldy smell, disconnected vents
Foam won’t fix the source, it can hide it
Roof
Aging shingles, flashing issues, past leak history
Unvented designs depend on a dry roof deck
Basement
Efflorescence, damp corners, active leaks
Insulating over water problems creates hidden damage
Tip
If you’re considering foam in a roofline, ask for a “dryness-first” approach: fix leaks, correct venting terminations, confirm materials are dry, then insulate.
Advertisement — Article Continues Below
A Homeowner-Friendly Framework for Thinking About Spray Foam
Start With the Problem You’re Solving
Spray foam is easiest to evaluate when you name the real goal first:
Comfort problem (drafts, cold floors, uneven temperatures)
Space problem (you can’t add much thickness)
Moisture problem (condensation risk in a cold surface zone)
If your problem is mostly drafts, air sealing often produces outsized gains compared to “just more insulation,” and retrofit resources commonly centre air sealing as part of performance work, as described by the U.S. Department of Energy in its insulation-upgrade guidance
Use a Simple Decision Matrix
If Your Constraint Is…
Foam Attribute That Matters
Likely Direction
Very shallow cavity
High R per inch
Closed-cell often considered
Big irregular voids
High expansion + air sealing
Open-cell often considered
Vapour control needed
Low permeability at thickness
Closed-cell at sufficient thickness, or added vapour strategy
Fire separation required
Covering/thermal barrier details
Plan finishes and coatings early
Note
“Likely direction” is not a final spec. The correct assembly still depends on climate exposure, existing layers, and drying potential—especially in roofs and below-grade spaces.
The Questions That Keep Projects Sane
Without turning this into contractor selection, these are the clarification questions that prevent misunderstandings:
What is the foam type and intended role (air sealing only, insulation, vapour control)?
What is the plan for moisture (roof leaks, basement water, indoor humidity sources)?
What is the curing and re-occupancy plan (time, ventilation, access control)?
What is the protection plan for exposed foam (fire-resistant coverings, coatings, separation)?
When you can answer those cleanly, the project usually stays in the “boring and successful” category—which is exactly what you want.
Advertisement — Article Continues Below
FAQ
SPF is an insulation material created during installation when two liquid components are mixed, react, expand, and harden into foam. The key homeowner point is that it’s made in place, so it can conform to cavities and also block air movement in a way many fibrous insulations can’t.
It expands significantly after spraying, which is why it can fill irregular gaps and cavities. The exact expansion depends on product type and conditions, so it’s best treated as “a lot” rather than a single universal number.
Closed-cell typically gives higher insulation per inch and can help with vapour control at sufficient thickness, while open-cell is lighter and often used to air seal larger cavities where thickness is available. The “best” choice depends on where the foam is going and what role it needs to play in the assembly.
No. Vapour control depends on foam type and thickness, and Canadian guidance distinguishes between low-density foam that still needs a vapour barrier and higher-density foam that can provide vapour-barrier performance at enough thickness, as described by Natural Resources Canada in its wall retrofit guidance
Air barriers stop moving air (which can carry a lot of moisture), while vapour barriers slow moisture diffusion through materials. They’re related but not interchangeable, and cold Canadian winters make the distinction important.
During application, SPF can generate airborne exposures that require protective equipment and restricted access. This is a “during-installation” hazard that professionals manage through PPE, containment, and ventilation.
When installed correctly and allowed to cure per product guidance, spray foam is generally treated as stable in normal use. Concerns are more likely to arise from improper installation, insufficient curing/ventilation, or disturbing the foam later during renovations.
Reported problems commonly include strong odours and irritation symptoms, and a published case series describes symptoms in improperly retrofitted homes where controls were inadequate, as discussed in the PubMed-indexed case report on occupant complaints after problematic retrofits
Yes, but use products intended for windows and doors and avoid aggressive expansion. Best-practice guidance for rough openings recommends low-expansion foam to reduce frame distortion risk, as described by the Building America Solution Center resource on air sealing rough openings
It can, but the right approach depends on whether the attic is vented (ceiling plane boundary) or unvented (roof deck boundary). Moisture sources must be solved first, and unvented designs require careful detailing to manage condensation risk.
Foam doesn’t eliminate the need for roof maintenance. A good design assumes a dry roof deck and ongoing inspection, and balanced technical discussion often frames the risk as manageable with correct assembly design and routine roof checks.
Rim joists and band areas often deliver the biggest comfort gains because they’re high-leakage zones. Foundation walls can also benefit when moisture issues are addressed first and the assembly is detailed to manage drying.
Often, yes. Many installations require a fire-resistant covering or barrier over exposed foam depending on location and code requirements, so protection details should be part of the plan—not an afterthought.
Because moving air can bypass insulation and carry heat and moisture through the building envelope. Air sealing improves comfort and helps insulation deliver its rated performance.
RSI is the metric expression of thermal resistance, used in Canadian contexts alongside R-value. The higher the RSI (or R), the better the resistance to heat flow—just expressed in different units.