How to Patch Drywall Like a Pro (Nail Pops, Doorknob Holes, and Bigger)
A Canadian Homeowner's Guide to Repairs That Disappear Under Light
By
Published: April 28, 2026
Credit: Shutterstock
Key Takeaways
•The damage you're looking at tells you which patch method to use — nail pops, anchor holes, and fist-sized holes each get a different fix.
•Pros pair setting-type joint compound for the structural fill with a softer premixed compound for the finish coats; that two-product approach is what keeps patches from cracking or shrinking.
•Primer is non-negotiable. Skipping it is the single biggest reason DIY patches end up visible the moment afternoon light hits the wall.
Most of us have done it at least once: hung a heavy mirror, slid a couch into place, swung a door open with too much enthusiasm. A few hours later, you're staring at a divot, a crack, or a perfect doorknob-shaped hole and wondering whether the patch will actually look right — or whether you'll spend the next year noticing it every afternoon when the light slants across the wall just so.
The good news is that drywall is one of the most forgiving materials in your home. The catch is that "patching drywall" isn't actually a single skill. It's a small family of techniques, and the secret to making your repair vanish is matching the right method to the damage in front of you. A nail pop is a different problem from a fist-sized hole. A pinhole doesn't need the same approach as a failed wall anchor. Once you know which fix belongs to which kind of damage, the rest becomes surprisingly straightforward.
This guide walks you through the whole landscape, from the smallest defects to the kind of hole your toddler put through the hallway last Saturday. You'll learn what compound to reach for, why the wider taping knife in your toolkit matters more than the small one, and how to handle older Canadian homes where lead paint or asbestos might be in the picture. By the end, you should be able to look at any patchable wall and know exactly what to do — and finish the job in a weekend with a result that holds up under the closest inspection.
What "Patching Like a Pro" Really Means
A truly professional drywall patch passes a single test: it's invisible under raking light, even after a year of seasonal humidity swings. Raking light is the trade name for any light source — a work lamp, a window at the right time of day, a hallway fixture — that grazes the wall at a low angle and turns every minor flaw into a shadow. It's the most honest mirror your repair will ever face.
The pros aren't relying on a secret technique. They're relying on the fact that a good patch is built in two layers of attention: the substrate (what's behind the surface — backing, screws, tape, the structural part of the patch) and the surface (the feathered, smooth, properly textured finish you actually see). A patch that looks great on day one but ignores the substrate will eventually telegraph a crack, a ridge, or a dull spot through the paint. The pros take both halves seriously.
Industry guidance backs this up. According to the Gypsum Association's recommended levels of finish, residential walls finished for paint should reach what the trade calls a Level 4 finish: tape embedded in joint compound, three coats over fastener heads, and a coat of drywall primer over the entire surface. For walls that will see strong, glancing light — the kind that would pick up any imperfection — Level 5 adds a thin skim coat over the whole area before primer. You don't need to memorize those numbers. You just need to know the principle: tape, multiple coats, full primer. That's the standard professional finish.
Tip
Before you reach for a paint roller, move a small lamp around the patch area at different angles. That five-minute self-check will catch ridges and divots that look invisible under standard room lighting — and it's exactly the test your finished wall will face later.
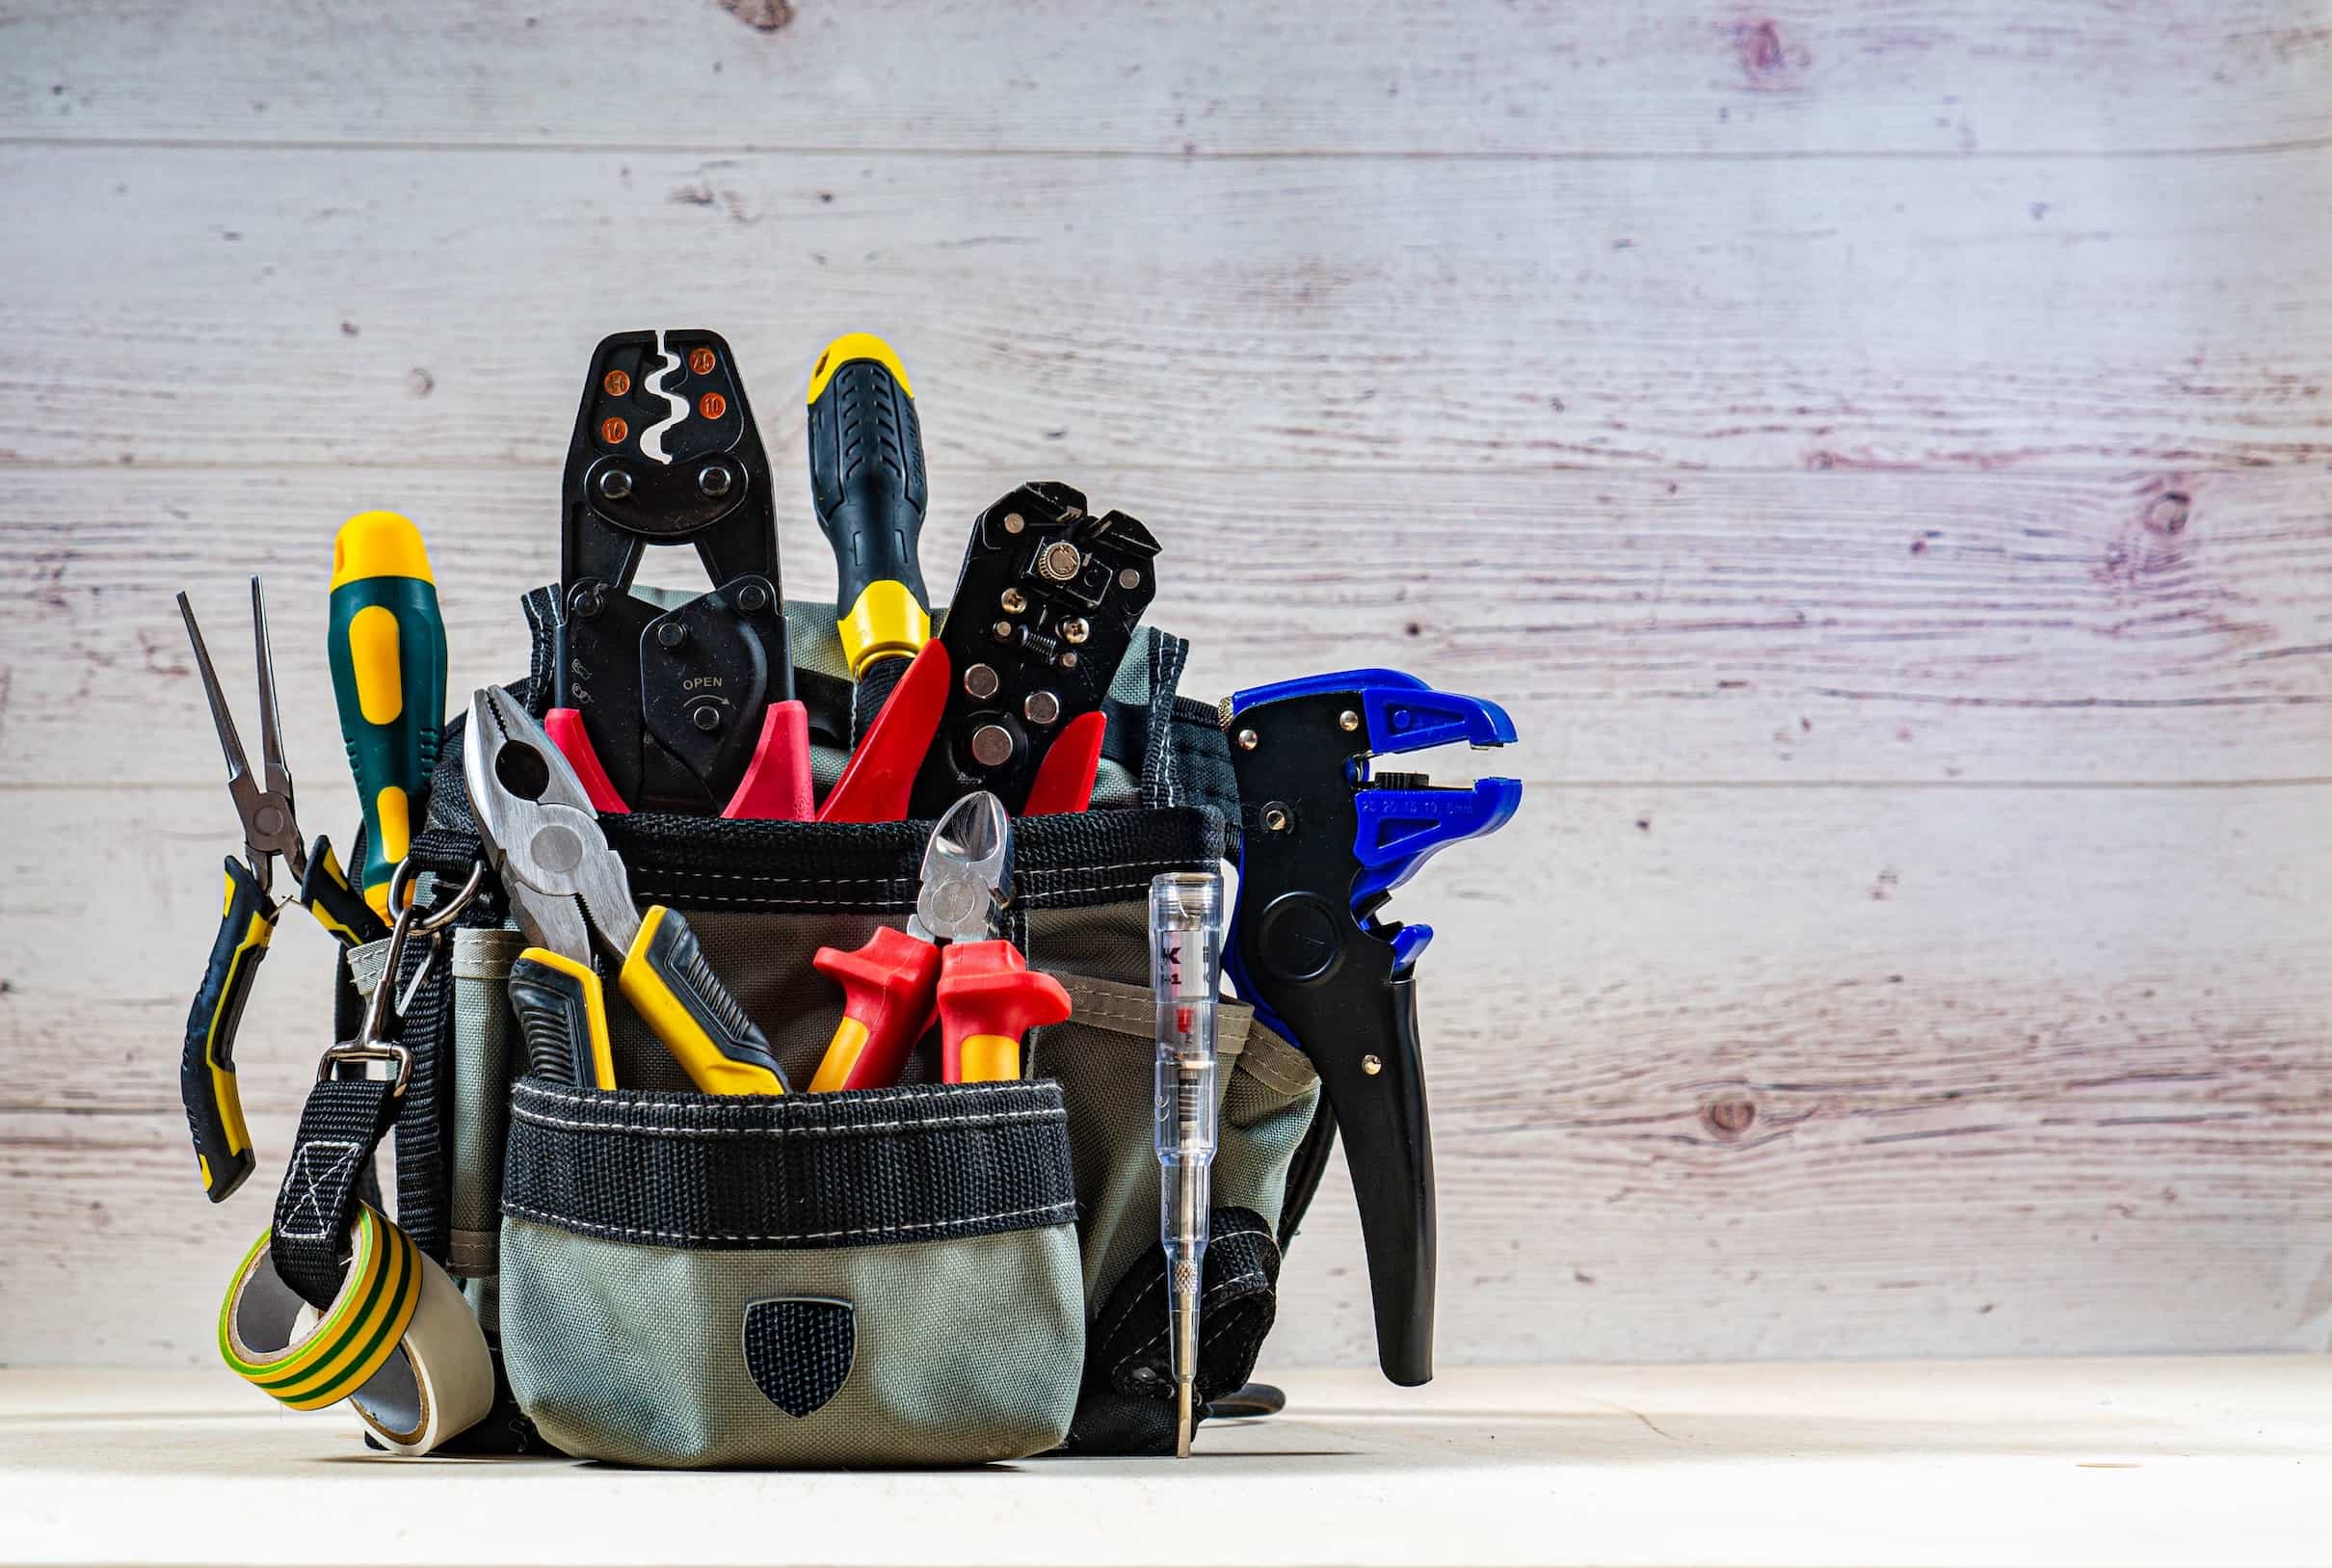
The Honest Toolkit
You don't need a contractor's supply truck to patch drywall. The tool list for nearly every job in this guide is short:
A 6-inch taping knife for filling, scraping, and small skim coats.
A 10- or 12-inch taping knife for feathering finish coats — this is the tool that makes your patch disappear at the edges.
A mud pan or hawk to hold your compound.
A sharp utility knife for trimming patches and scoring drywall.
A small drywall saw (sometimes called a jab saw) for cutting larger patches.
Sanding sponges in medium and fine grit, or a pole sander with a vacuum attachment for larger jobs.
A drill or driver for setting screws on backed patches and refastening loose nail pops.
A work light, ideally one you can position close to the wall.
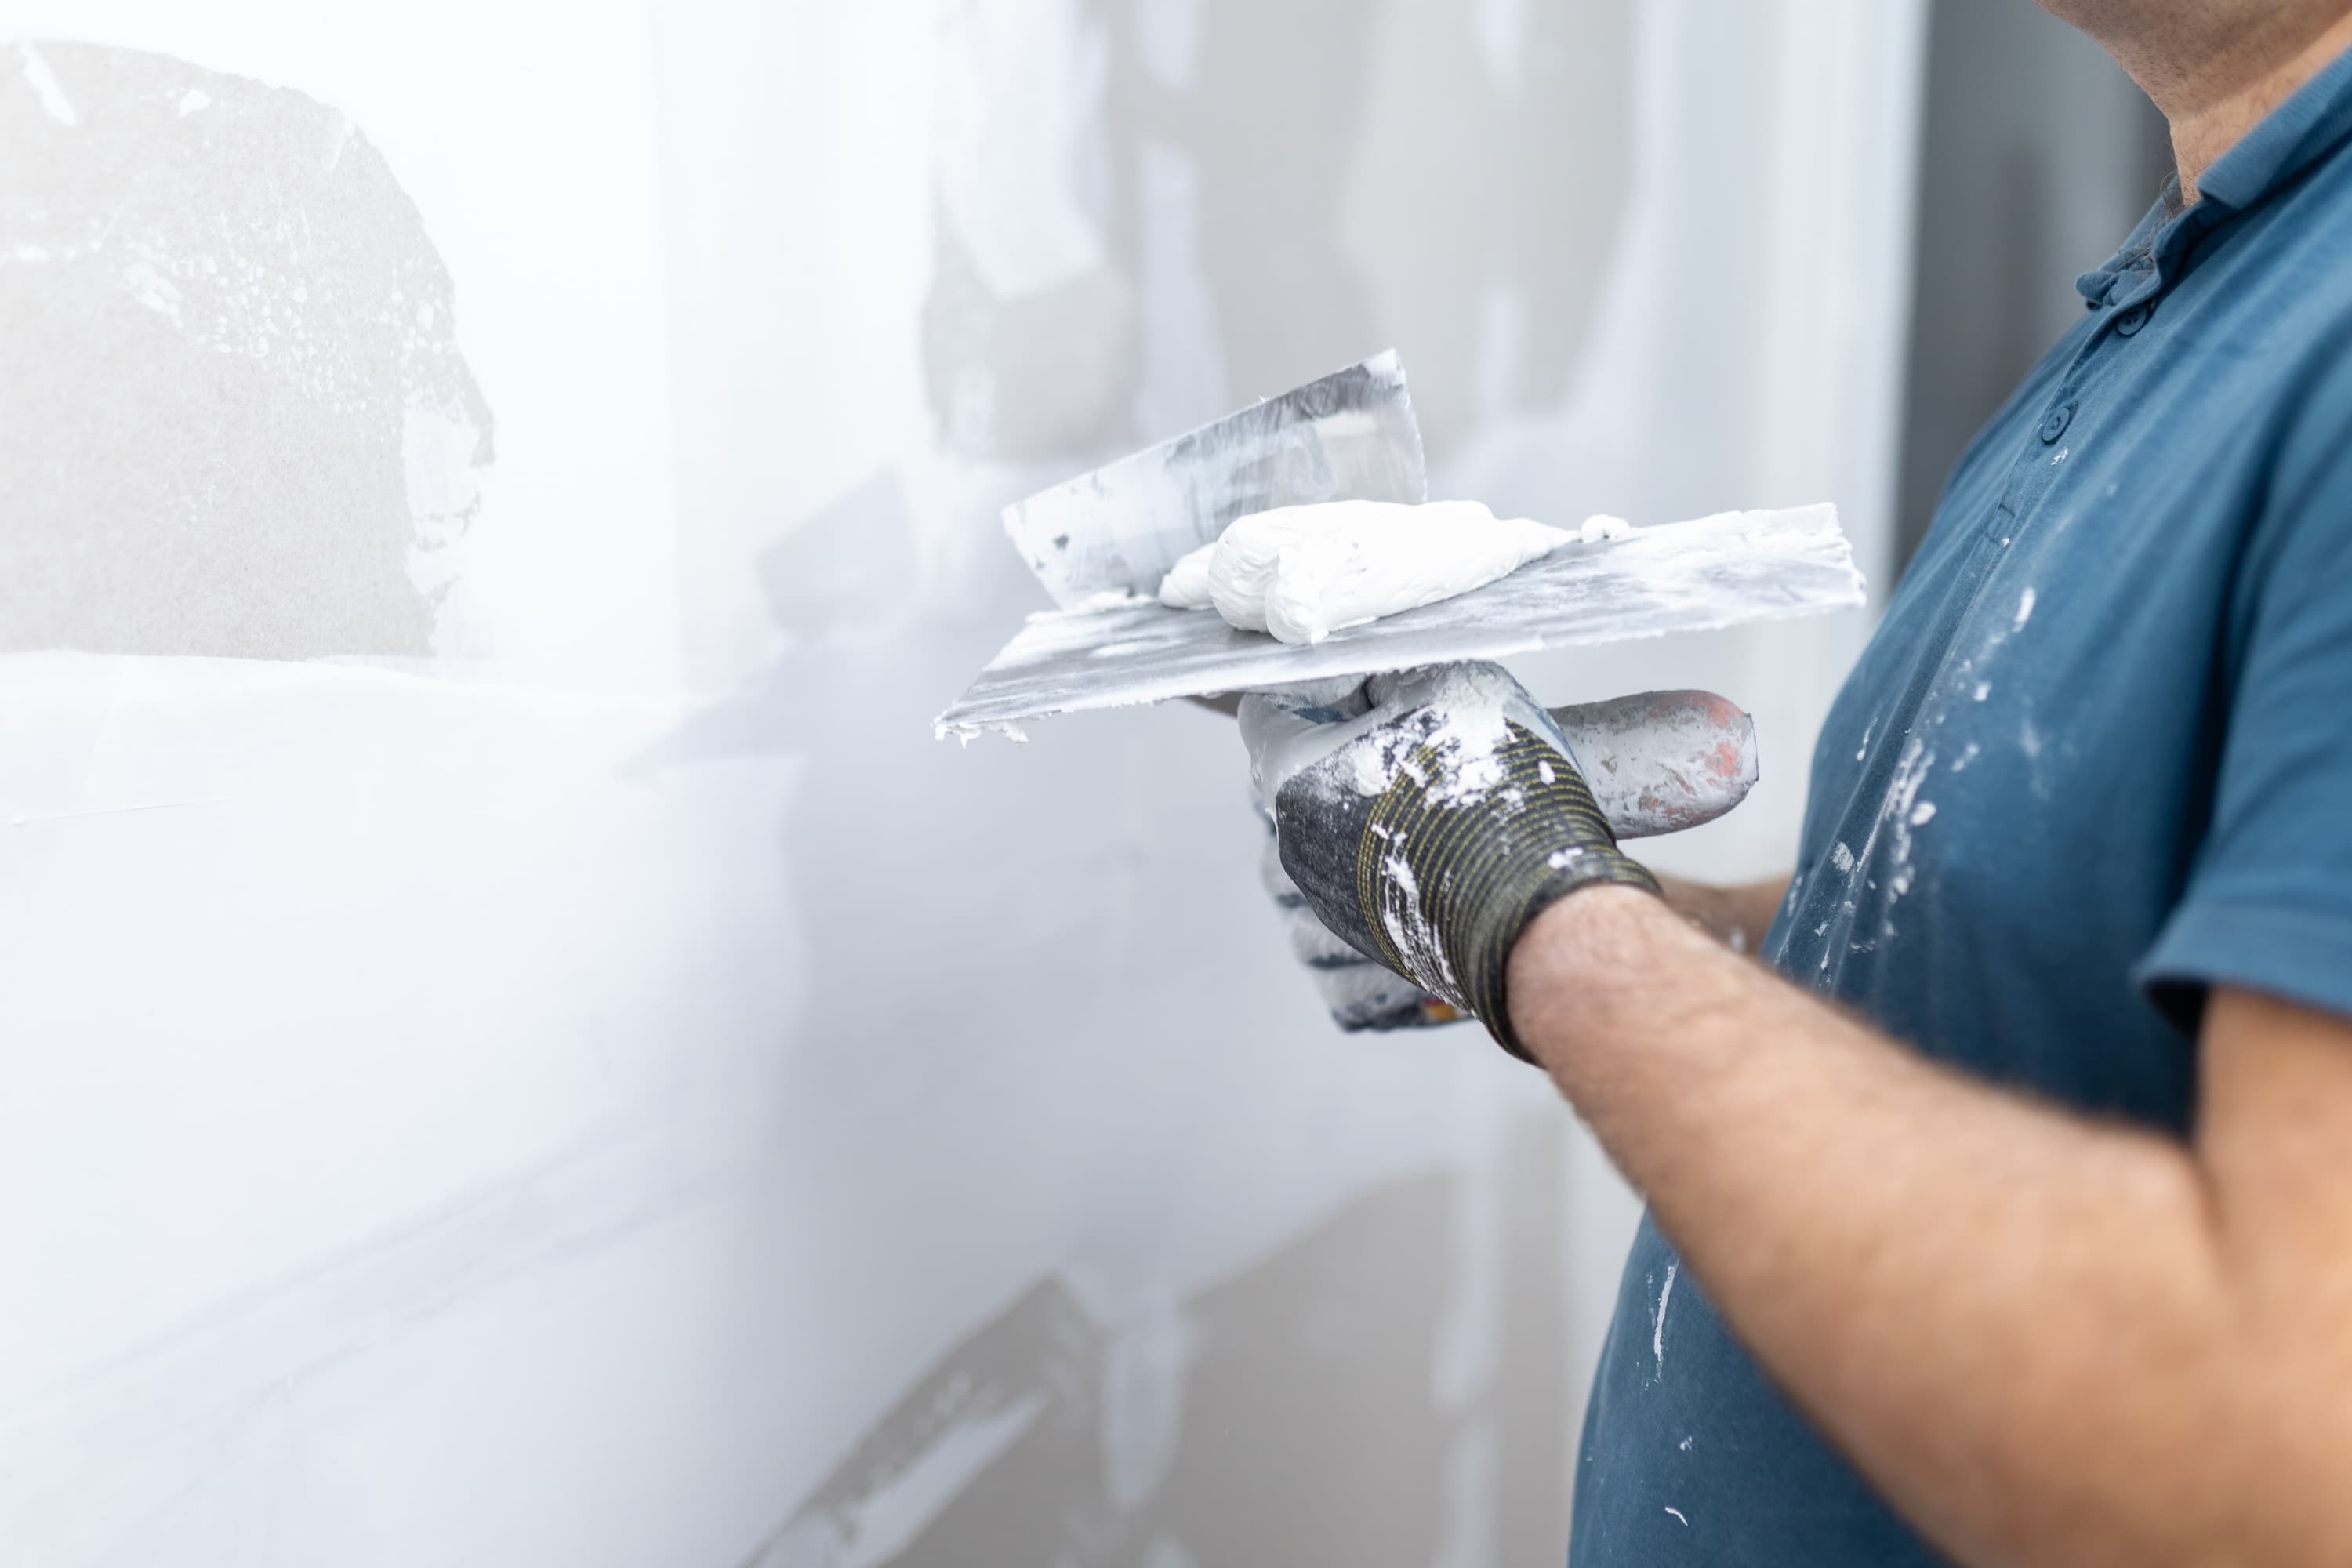
That's it. The 10- or 12-inch knife is the one most DIY-ers skip, and it's the most important. A small knife forces you to spread compound over a narrow band — which is exactly what makes a patch look like a patch. A wide knife lets you feather the edges across a much broader area, blending the new surface into the wall almost imperceptibly. Canadian housing guidance from CMHC's home care manual uses a 6-inch (150 mm) taping knife in its illustrated patching examples, but the wider knife is what takes you from "competent" to "invisible."
Choosing the Right Compound and Tape
Walking down the drywall aisle at the home centre can feel like reading a foreign menu. Using the wrong compound for the job is the most common reason patches fail months later, so a quick orientation is worth the trouble.
Setting-Type vs. Premixed Joint Compound
Setting-type joint compound — sometimes called "hot mud" — comes as a powder you mix with water, and it hardens by chemical reaction rather than drying. According to USG's installation literature, setting-type compounds are sold in working-time grades — commonly 20, 45, or 90 minutes — referring to how long you have to work the mud before it cures. Setting-type barely shrinks, making it ideal for first coats on deeper repairs, embedding tape, and any spot where shrinkage would leave a visible crater.
Premixed all-purpose compound — the familiar green-lid bucket — is ready to use straight from the tub. It dries by losing moisture, so it shrinks more than setting-type, but it's noticeably easier to sand smooth. Manufacturer guidance recommends premixed for second and third coats. A lightweight topping compound ("blue lid") is even softer and sands almost like chalk; it's the polish coat, not the foundation.
The pro convention is straightforward: setting-type for structure, premixed for finish. On a pinhole, one or two coats of premixed will do. On anything more involved — anchor holes, doorknob holes, backed patches — start with setting-type for the first coat, then switch to premixed or topping for the finishing coats. That two-product workflow is one of the clearest visual differences between an amateur patch and a professional one.
Mesh vs. Paper Tape
Tape choice matters just as much. Self-adhesive fibreglass mesh tape is convenient and beginner-friendly, and it works well on small repairs paired with setting-type compound. It's not the right choice for stressed seams like the butt joint where a patch meets the wall, especially with premixed mud — that combination is prone to cracking under everyday flex. Paper tape, embedded in a thin layer of mud, is stronger and what professional finishers reach for on butt joints, inside corners, and any patch that needs to last. The catch is that paper tape requires a bed coat of compound under it; you can't just stick it to the wall.
Here's a quick reference for matching method to damage:
Damage Type
Compound for First Coat
Tape
Knife Sizes
Typical Coats
Nail or screw pop
Premixed all-purpose
None
6 in., then 10 in.
2
Pinhole or picture nail
Premixed all-purpose
None
6 in.
1 to 2
Anchor hole (½–2 in.)
Setting-type, 45 min.
Mesh, optional
6 in., then 10 in.
2 to 3
Doorknob or fist hole (2–6 in.)
Setting-type, 45 min.
California patch flange
6 in., then 10 or 12 in.
3
Large hole (>6 in.)
Setting-type, 45 or 90 min.
Paper tape
6 in., then 10 or 12 in.
3
Hairline settlement crack
Setting-type, 20 min.
Mesh, optional
6 in., then 10 in.
2
Fixing Nail Pops and Screw Pops
A nail pop is rarely just a fastener that wandered out of the wall on its own. It's almost always a symptom of something — a stud that flexed slightly with seasonal humidity, an original screw that missed the centre of the framing, or framing that has settled over time. If you patch over the pop without addressing the underlying fastener, you'll likely be patching the same spot a year from now.
The pro approach is short and physical. Drive a new drywall screw about an inch and a half above the pop and another about an inch and a half below it, both well into the stud, until the heads dimple the paper without breaking it. Then deal with the popped fastener itself: if it's a nail, you can either drive it back below the surface with a nail set or pull it altogether and let the new screws hold the board. If it's a screw, drive it slightly deeper to dimple the paper.
From there, the patch is small. Apply a coat of premixed compound across all three dimples, feather the edges with your wider knife, let it dry, and apply a second coat. Most nail pops can be invisibly patched with two coats and light sanding. Texture and prime to match the surrounding wall, and the spot should disappear.
Patching Pinholes and Small Holes
The smallest repairs — picture nails, pinholes, light scuffs that opened the paper — are the most forgiving. Press a thin coat of premixed compound over the hole with your 6-inch knife, working the mud slightly past the edges. After it dries, a second light coat will usually fill any minor depression left behind. Sand gently with a fine sponge, prime, and paint.
The only mistake worth avoiding is loading too much compound into the hole at once. Premixed mud shrinks as it dries, and a thick application can cup or leave a small crater that's harder to feather later. Two thin coats almost always look better than one thick one.
Medium Holes — Anchor Damage and Doorstop Dings
When an anchor pulls out of the wall or a doorstop fails and the doorknob leaves a half-inch to two-inch dent, you're in mesh tape territory — but only if you pair it with setting-type compound.
Cover the hole with a piece of self-adhesive mesh patch tape that overlaps the edges by about an inch on every side. Mix a small batch of setting-type compound (a 45-minute working time is forgiving for beginners) and spread a coat over the mesh, pressing it into the holes of the weave so you can no longer see the pattern. Once the first coat sets, follow with a coat or two of premixed compound, feathering each one wider than the last with your 10-inch knife. Sand lightly between coats only if you've left ridges; if your knife work is clean, you can often skip sanding until the very end.
This is also a good moment to think about the cause. If a wall anchor failed, replacing it with the right size for the load (or using a toggle anchor for heavier items) prevents a repeat. If a doorknob made the hole, a doorstop is the simplest, cheapest way to keep the next swing from undoing your work.
The California Patch — Doorknob and Fist Holes
The 2- to 6-inch range is the canonical "doorknob hole" and the place where most DIY methods fall short. Mesh patch kits can cover the hole, but they leave a stiff, raised area that telegraphs through paint and tends to crack at the edges. The professional answer is the California patch — sometimes called a hot patch — and it uses no separate tape. The patch piece tapes itself in.
Here's how it works. Start with a piece of new drywall that's roughly two inches larger than the hole on every side. On the back of that piece, score a square the same size as the hole, cutting just deep enough to slice through the gypsum core without going through the front paper. Snap the four outer edges off the back, leaving an island of drywall in the centre with a paper "flange" of about two inches sticking out around it. That flange is your built-in tape.
To install, square up the hole in the wall so it matches the patch's island. Test-fit the patch — the gypsum island should drop into the hole flush with the surrounding wall, with the paper flange resting on the wall around the perimeter. Spread a thin coat of setting-type joint compound around the hole's perimeter, press the patch into place so the flange embeds in the mud, and smooth the flange flat with your knife. From there, you're treating it like any taped seam: a fill coat over the flange, then two finishing coats with your wider knife, each feathered farther than the last. Done well, the result is visually identical to the original wall.
Tip
The California patch trick is making the flange. Score the back of your drywall piece in a clean square, then bend the outer pieces away from the front paper. The paper should peel cleanly with the gypsum still attached — that's your flange. Practise on a scrap before you commit.
Bigger Holes — When You Need Backing
Once a hole is larger than about six inches, the California patch starts to lose strength because the unsupported gypsum island can flex. Bigger holes call for a backed patch: a wooden brace inside the wall cavity, a new piece of drywall screwed into that brace, and paper-taped seams.
Before you cut, consider what's behind the wall. Drywall conceals plumbing, electrical wiring, and sometimes ductwork, and cutting blindly can be expensive at best and dangerous at worst. According to Bob Vila's drywall repair guidance, a quick check of outlet and switch positions, a cautious knock for solid framing, and a small inspection cut if you're uncertain are simple ways to avoid surprises.
To install backing, cut your hole into a clean square with a drywall saw. Slip a piece of one-by-three or scrap drywall furring into the cavity so it spans the hole horizontally, with about an inch and a half of overlap on each side. Secure it with drywall screws driven through the existing drywall into the backer, pulling the backer tight against the back of the wallboard as you screw. Cut a new piece of drywall to fit the hole, drop it in, and screw it to the backer. From there, you're treating it like any new drywall installation: paper tape embedded in setting-type compound around all four seams, then two or three finishing coats with progressively wider knives.
Backed patches are the most labour-intensive repair in this guide, but they're also the strongest. Done well, the patched section is structurally indistinguishable from the original wall.
Cracks — When to Patch and When to Investigate
Hairline cracks above doorways, in corners, or along seams are usually settlement cracks — small movements as the house adjusts to seasonal temperature and humidity. Most are cosmetic. To repair, widen the crack slightly with the corner of your putty knife so the compound has something to grip, bridge it with mesh tape and a coat of setting-type compound, and follow with two finishing coats of premixed.
Larger cracks — wider than about a millimetre, running at an angle, or reopening after you've patched them — deserve a closer look. They can signal framing movement, water infiltration, or foundation issues, and patching the surface won't address the cause. If a crack feels like more than minor settlement, a contractor or home inspector can help diagnose what's behind it before you commit to a cosmetic repair.
The Finish — Sanding, Priming, Texture, and Paint
The final stretch is where good substrate work either pays off or gets undone. The goal is a surface that's flat, properly textured if your wall has a texture, and primed before paint touches it.
Sanding and Texture Matching
Sand with a fine-grit sponge using gentle pressure, working in circles to feather the edges into the surrounding wall. The sponge should glide — if you're pushing hard enough to leave grooves, you've mudded too thick. Stop sanding the moment the patch feels flush with the wall, and absolutely stop before you start tearing the paper face of the surrounding drywall. A fuzzy, torn surface from over-aggressive sanding is one of the few patch problems that primer can't fully hide.
If your wall has a texture — orange peel, knockdown, or, on older ceilings, popcorn — match it before primer. For orange peel, an aerosol orange peel spray applied in light passes from about 18 inches away can work well; many DIY-ers also have luck loading a thick-nap roller with thinned premixed compound and rolling the patch lightly. For knockdown, spray the texture, wait a few minutes for it to firm up but not fully set, then drag a wide knife flat across it to flatten the peaks. Practise on a scrap of cardboard first; texture spray cans don't behave intuitively, and one heavy pass on the wall is hard to undo.
Priming and Painting
Once the patch is smooth and textured, prime. According to Gypsum Association guidance, drywall primer is formulated to fill the pores in joint compound and equalize the suction difference between the compound and the surrounding gypsum face paper. Without primer, paint applied directly to bare compound is partly absorbed into the patch, leaving a duller, differently-textured sheen than the rest of the wall — the trade calls this "flashing," and it's the unmistakable signature of a skipped step. A standard PVA drywall primer or a high-build drywall primer will solve it. Roll the primer on with the same nap you'll use for paint, let it dry fully, then paint as usual. If the wall colour is dark or the patch sits in critical light, two coats of paint will give you the cleanest match.
Important
Once your paint has dried, do the raking-light check one more time. If the patch is invisible, you're done. If you can still pick it out, one more thin skim coat with your wide knife — followed by re-priming and re-painting — will usually finish the job. Pros expect to do this; the difference is they plan for it from the start.
Lead Paint in Older Canadian Homes
Before you sand or scrape painted drywall in a home built before about 1980, take a moment to think about what's in the existing finish. Health Canada notes that homes built before 1960 are most likely to contain lead-based paint, and that lead in indoor house paints was restricted in Canada starting in 1976. Sanding old paint can release hazardous lead dust that spreads well beyond your immediate work area. If your home is from this era and you're not sure whether the paint contains lead, the safest path is to test before sanding, or to keep your sanding minimal and use damp methods — a slightly damp sponge in place of dry sandpaper for the final smoothing — along with thorough cleanup.
Asbestos in Older Ceilings
Older textured ceilings are a separate concern. Health Canada's guidance on asbestos notes that asbestos-containing materials generally pose little risk when in good condition and left undisturbed, but the risk increases significantly when the material is sanded, scraped, or otherwise broken up. Many popcorn and textured ceilings installed in Canadian homes before 1980 contain asbestos and should not be DIY-sanded or scraped. If you're patching a wall and the texture is on a wall surface, you can usually proceed normally; it's the older ceiling textures specifically that warrant testing by a qualified professional before any disturbance.
Cutting Into Walls Safely
Electrical safety deserves a brief mention as well. Cutting blindly into a wall is a small risk on most repairs and a serious one on any cut larger than a few square inches. Before opening a wall for a backed patch, switch off the circuits in that area at the breaker, and if you suspect a wire may be near your cut line, a small inspection cut or a non-contact voltage tester will save you a lot of grief. On any sanding job, sealing off the work area with a drop sheet, closing interior doors, and cleaning thoroughly afterward keeps drywall dust from migrating through the house — especially helpful in homes with kids, pets, or anyone with respiratory sensitivity.
When to Call a Pro Instead
Some drywall problems aren't really patching jobs — they're warning signs.
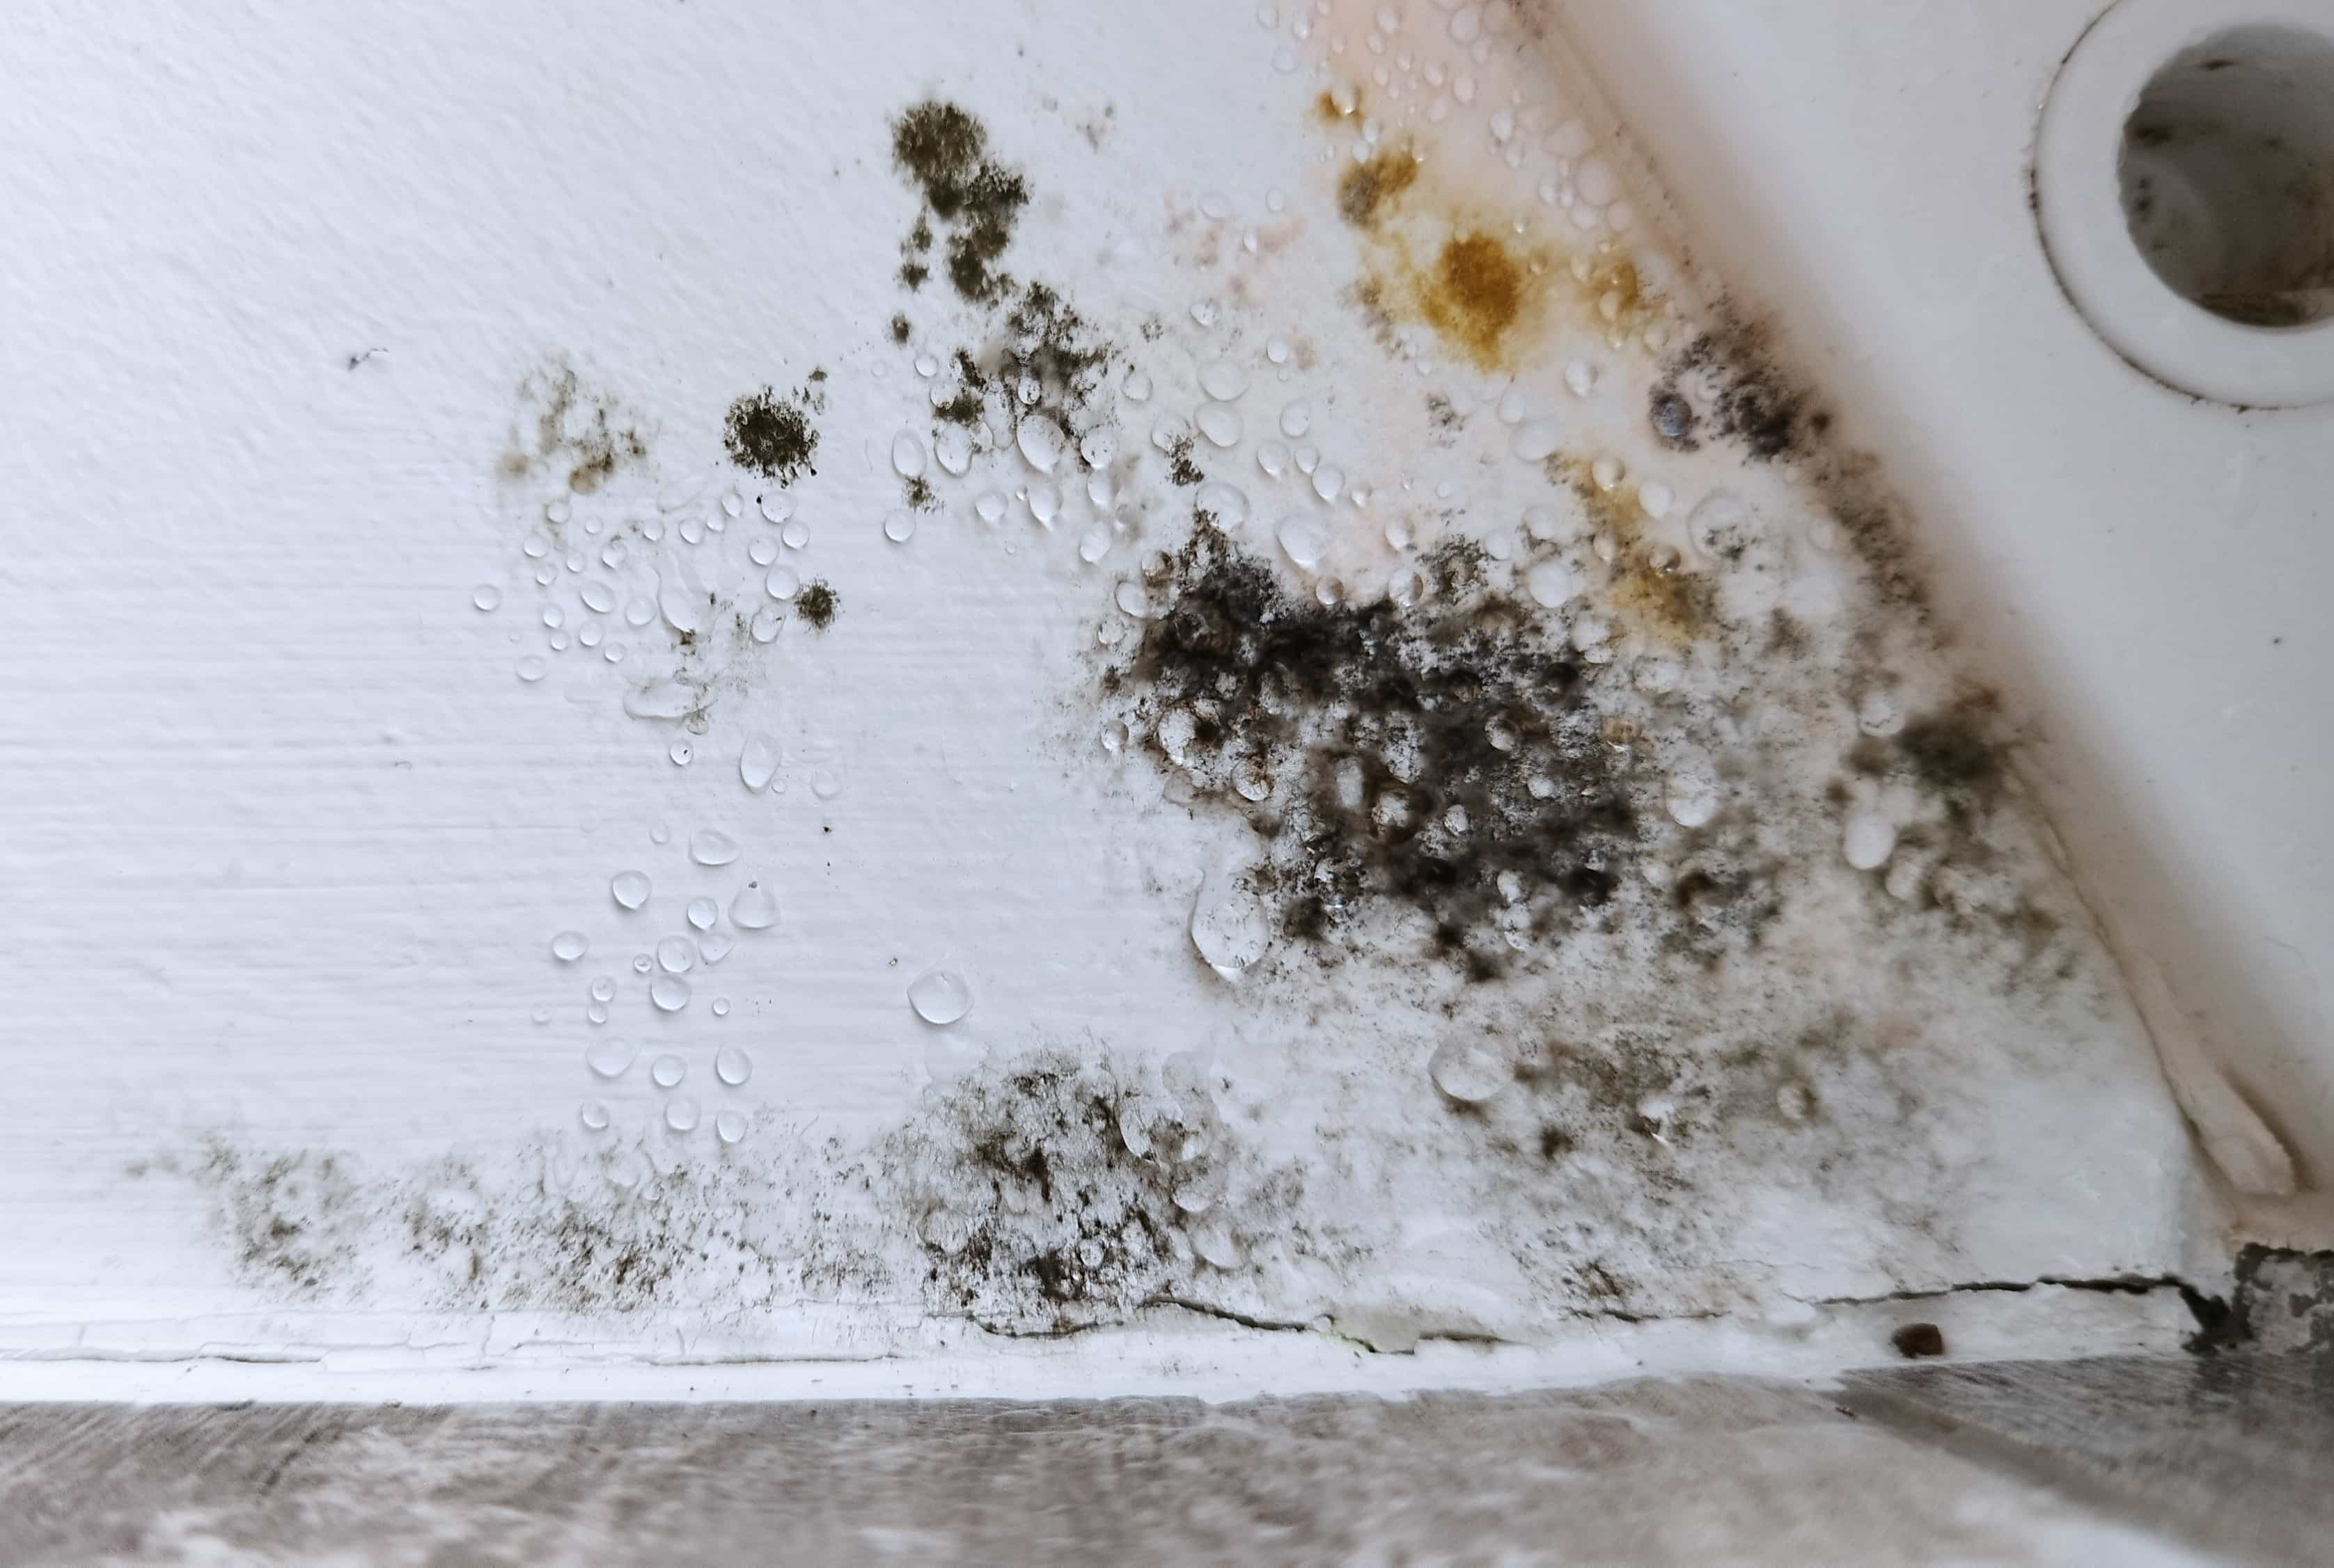
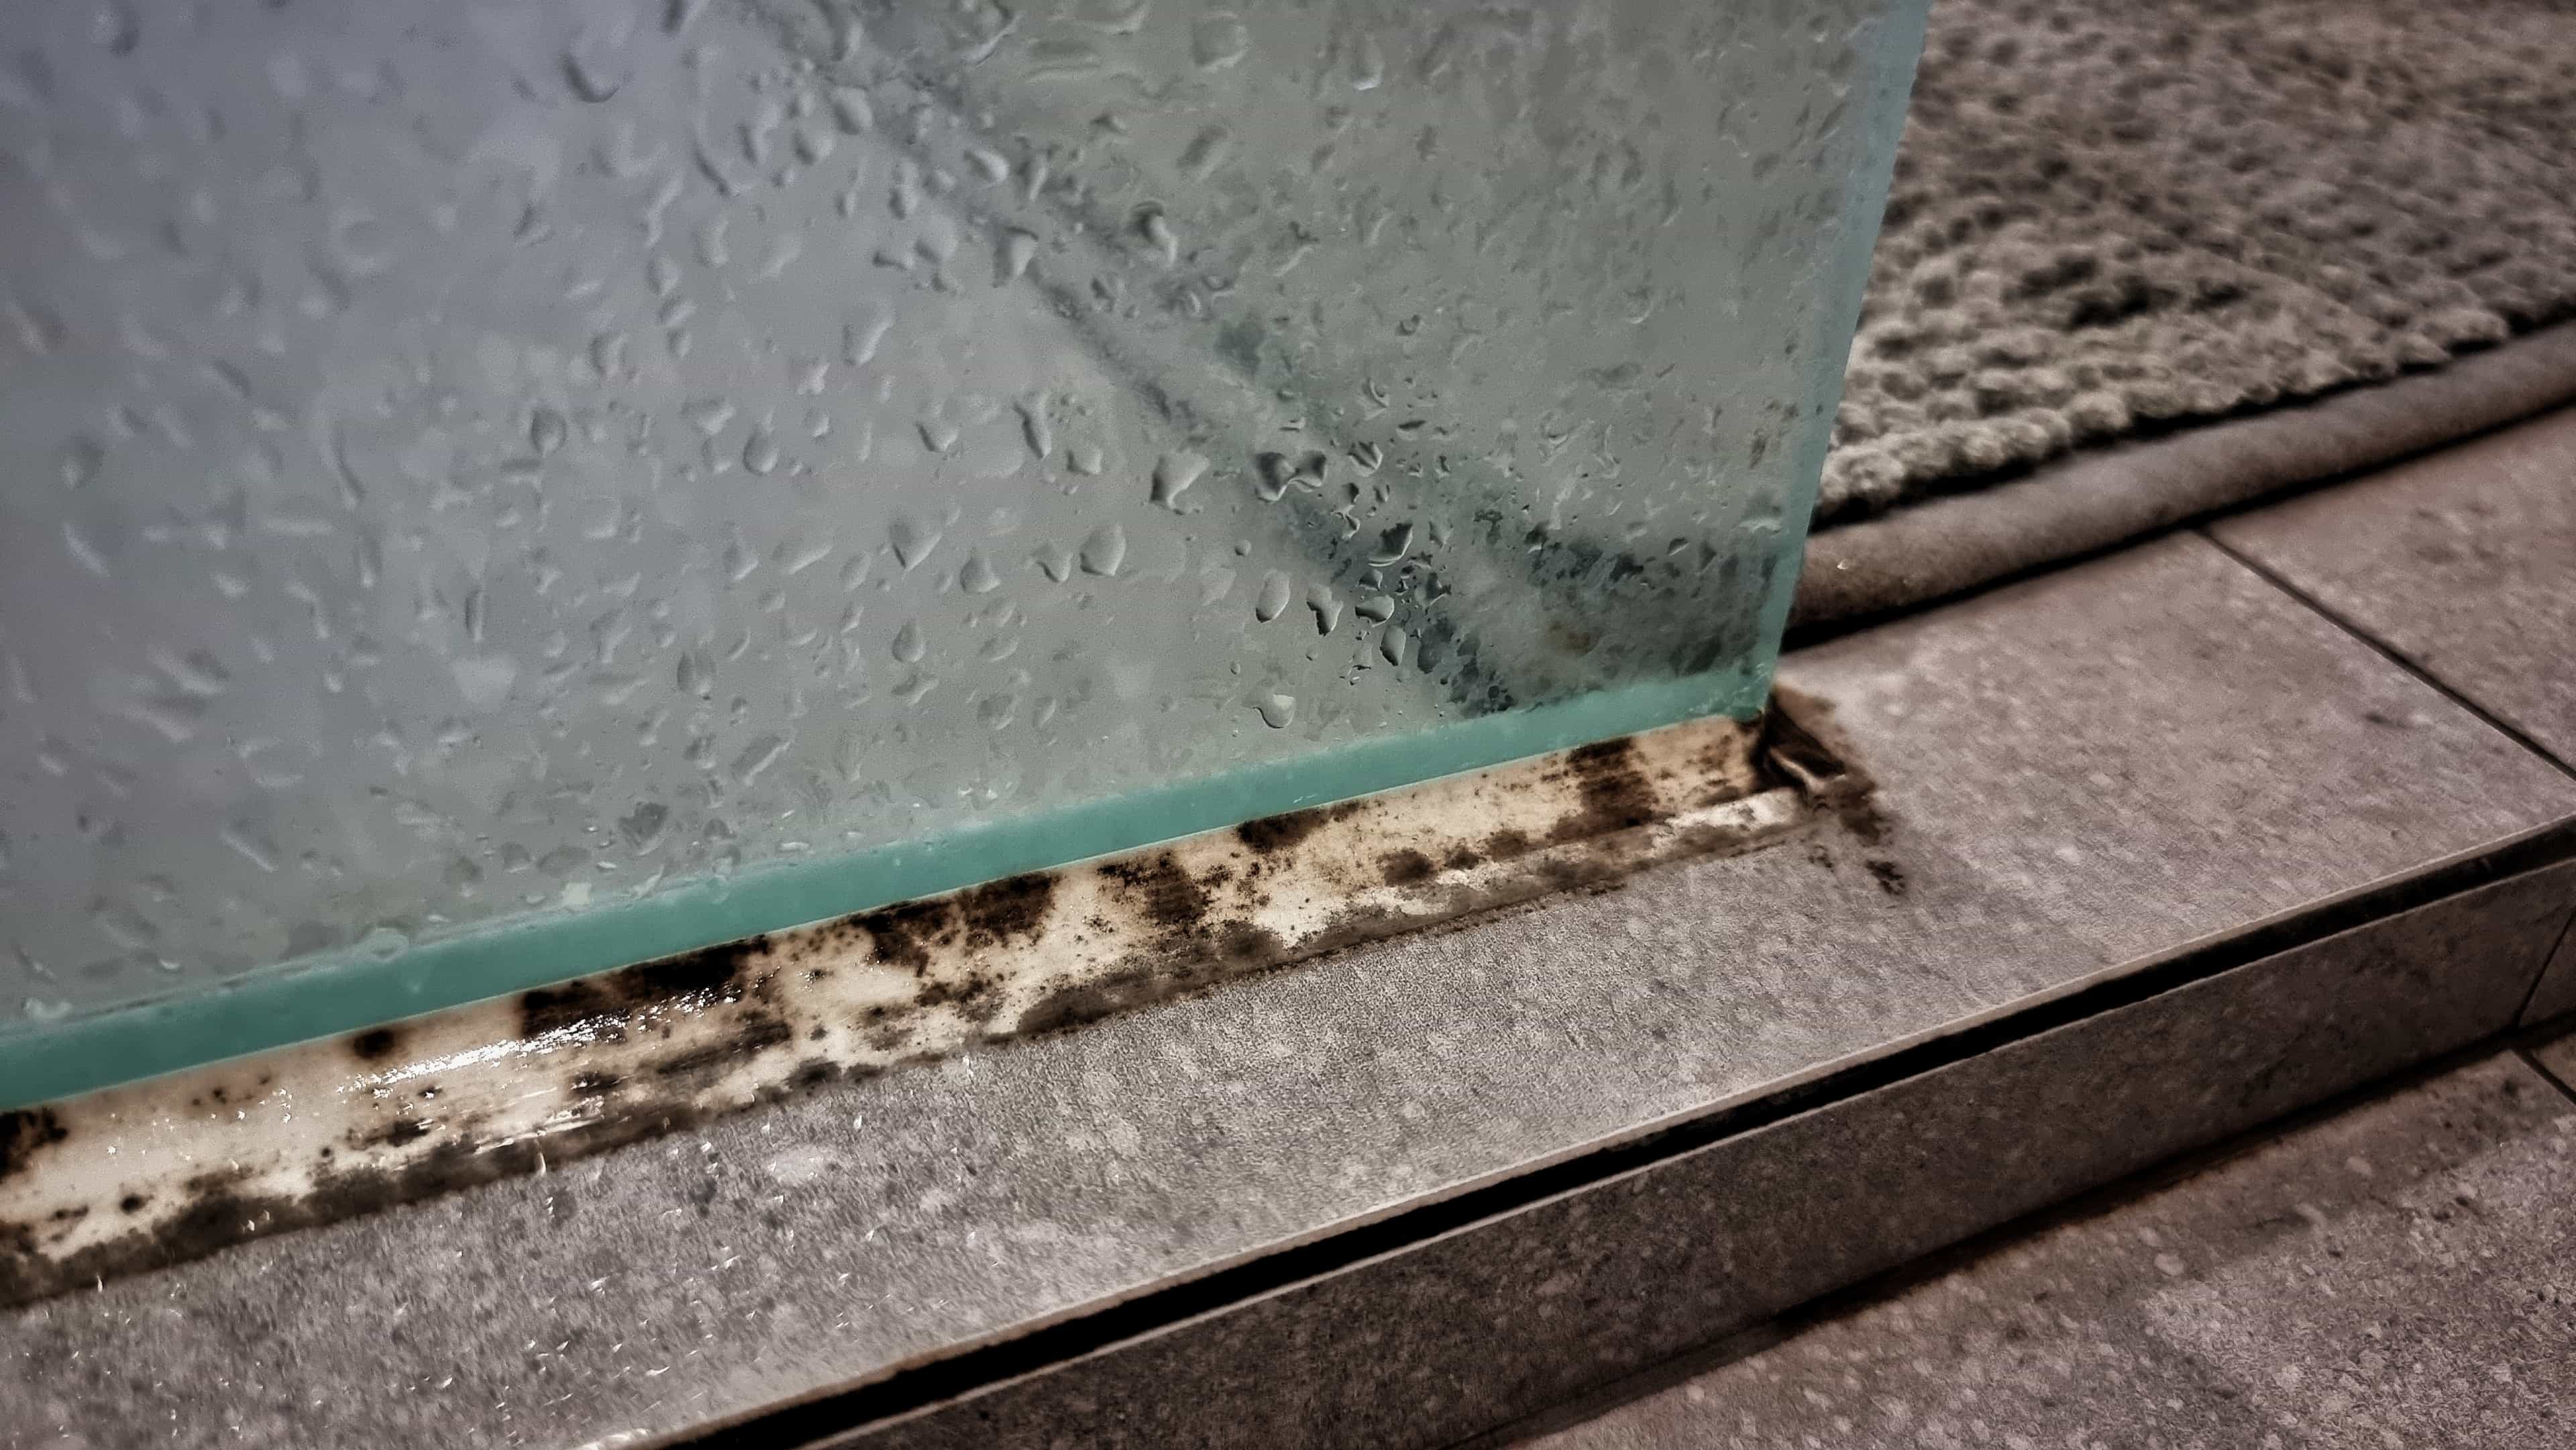
Water-damaged drywall, in almost every case, should be replaced rather than patched. Drywall that has been wet loses structural integrity and may harbour mould inside the gypsum core where you can't see it. If you're dealing with water damage from a flood, leak, or burst pipe, our spring flood prep checklist covers steps to address the underlying cause; the wallboard itself should come out and a fresh piece go in.
Plaster-and-lath walls, common in older Canadian homes, look superficially like drywall but behave very differently. Patching plaster needs different materials (typically gypsum or lime-based plaster rather than joint compound) and a different sequence. A knock test helps if you're not sure: drywall sounds hollow and slightly papery, while plaster sounds denser and more solid. If the wall behind your hole reveals wooden lath strips, that's a different repair and worth a professional's time.
Finally, structural cracks (anything more than hairline, anything that keeps reopening, any crack accompanied by other signs of movement like sticking doors or sloping floors) deserve a diagnostic conversation with a qualified contractor or structural engineer before you reach for joint compound. Patching the surface of a structural problem doesn't fix it, and you'll lose your work the next time the underlying issue moves.
Angela Nightingale is the Senior Editor at Homeowner.ca with two decades of experience in digital publishing and content strategy. She has owned two homes, taken on her share of DIY projects, and learned what most guides fail to mention. She writes from the belief that the best home guidance comes from people who have lived through the decisions — and her goal is always to leave readers feeling confident, not overwhelmed.
Mesh patch kits work well for small holes — roughly the size of a wall anchor or a doorstop ding — when paired with setting-type joint compound. They struggle with larger holes (the kit can flex and crack at the edges) and with stressed seams like butt joints, where paper tape embedded in mud is stronger. For doorknob-sized holes and bigger, the California patch or a backed patch is the more durable choice.
Setting-type compound is ready for the next coat once it has hardened — typically about as long as its labelled working time, plus a bit, so a 45-minute compound is usually ready for re-coating within an hour or two. Premixed compound dries by losing moisture, so in normal indoor conditions, expect roughly 12 to 24 hours between coats. A patch that still feels cool to the touch isn't fully dry. Forcing it with a heater or hair dryer can cause uneven drying and cracking; thin coats and patience produce a better result.
Yes. Joint compound is far more absorbent than the surrounding paint or paper, and paint applied directly to bare compound looks dull or differently textured next to the rest of the wall. The trade calls this "flashing." A coat of drywall primer over the patch — or, for highly visible walls, over the entire wall surface — equalizes the porosity so paint dries to a uniform sheen.
Spackle is a fast-drying, lightweight filler intended for very small holes — picture nails, pinholes, minor dents. Joint compound is a heavier-bodied product designed for taping and finishing drywall seams and patches of any size. For anything larger than a pinhole, joint compound is the more reliable choice; for repairs in the doorknob-and-up range, you'll want both setting-type and premixed compound on hand.
Yes, with a few caveats. Premixed compound is sensitive to cold and high humidity, both of which slow drying. The work area should ideally be above 13 °C for premixed compound to cure properly, and you'll need more time between coats than in summer. Setting-type compound is more forgiving in the cold because it cures chemically rather than by drying. Avoid pointing a space heater directly at the patch; uneven heating can cause the surface to skin over before the underlying material has fully set.
First, identify the texture. Orange peel looks like a fine, evenly bumpy surface. Knockdown has larger, flattened ridges. Smooth walls have no texture at all. For orange peel, an aerosol orange peel spray applied in light passes is the simplest match; some DIY-ers prefer rolling on thinned compound with a thick-nap roller for a softer effect. For knockdown, spray the texture, wait a few minutes for it to firm up, then drag a wide knife across it to flatten the peaks. Always practise on a scrap of cardboard or drywall first.
Patching drywall itself is generally safe; the questions arise around what's on the wall. If you live in a Canadian home built before 1976 (with extra caution in homes from before 1960), the existing paint may contain lead, and dry-sanding can release lead dust. Test before sanding heavily, or minimize sanding and use damp methods. Older textured ceilings, particularly popcorn ceilings installed before 1980, may contain asbestos and should not be sanded or scraped without professional testing.
Replace drywall when it has been wet (water damage compromises the gypsum core and can hide mould), when the damage covers most of a wall, when there are multiple large holes in a small area, or when a single hole is larger than about a foot across — at that point, replacing the affected section is usually faster and more durable than building up a patch. Plaster-and-lath walls in older homes are a separate skill set; if you discover lath behind your hole, consider calling a professional.
Sources
American Gypsum. GA-214 (2021) — Recommended Levels of Finish for Gypsum Board, Glass Mat, and Fiber-Reinforced Gypsum Panels.https://www.americangypsum.com/