It helps reduce the risk of sewage and wastewater flowing backward into your home through the sanitary (or combined) sewer connection during surcharge events.
A Practical Homeowner Guide To Reducing Sewer Backup Risk

Backwater valve set into basement concrete stands between surcharged sewers and a flooded Canadian home. (Credit: Homeowner.ca)
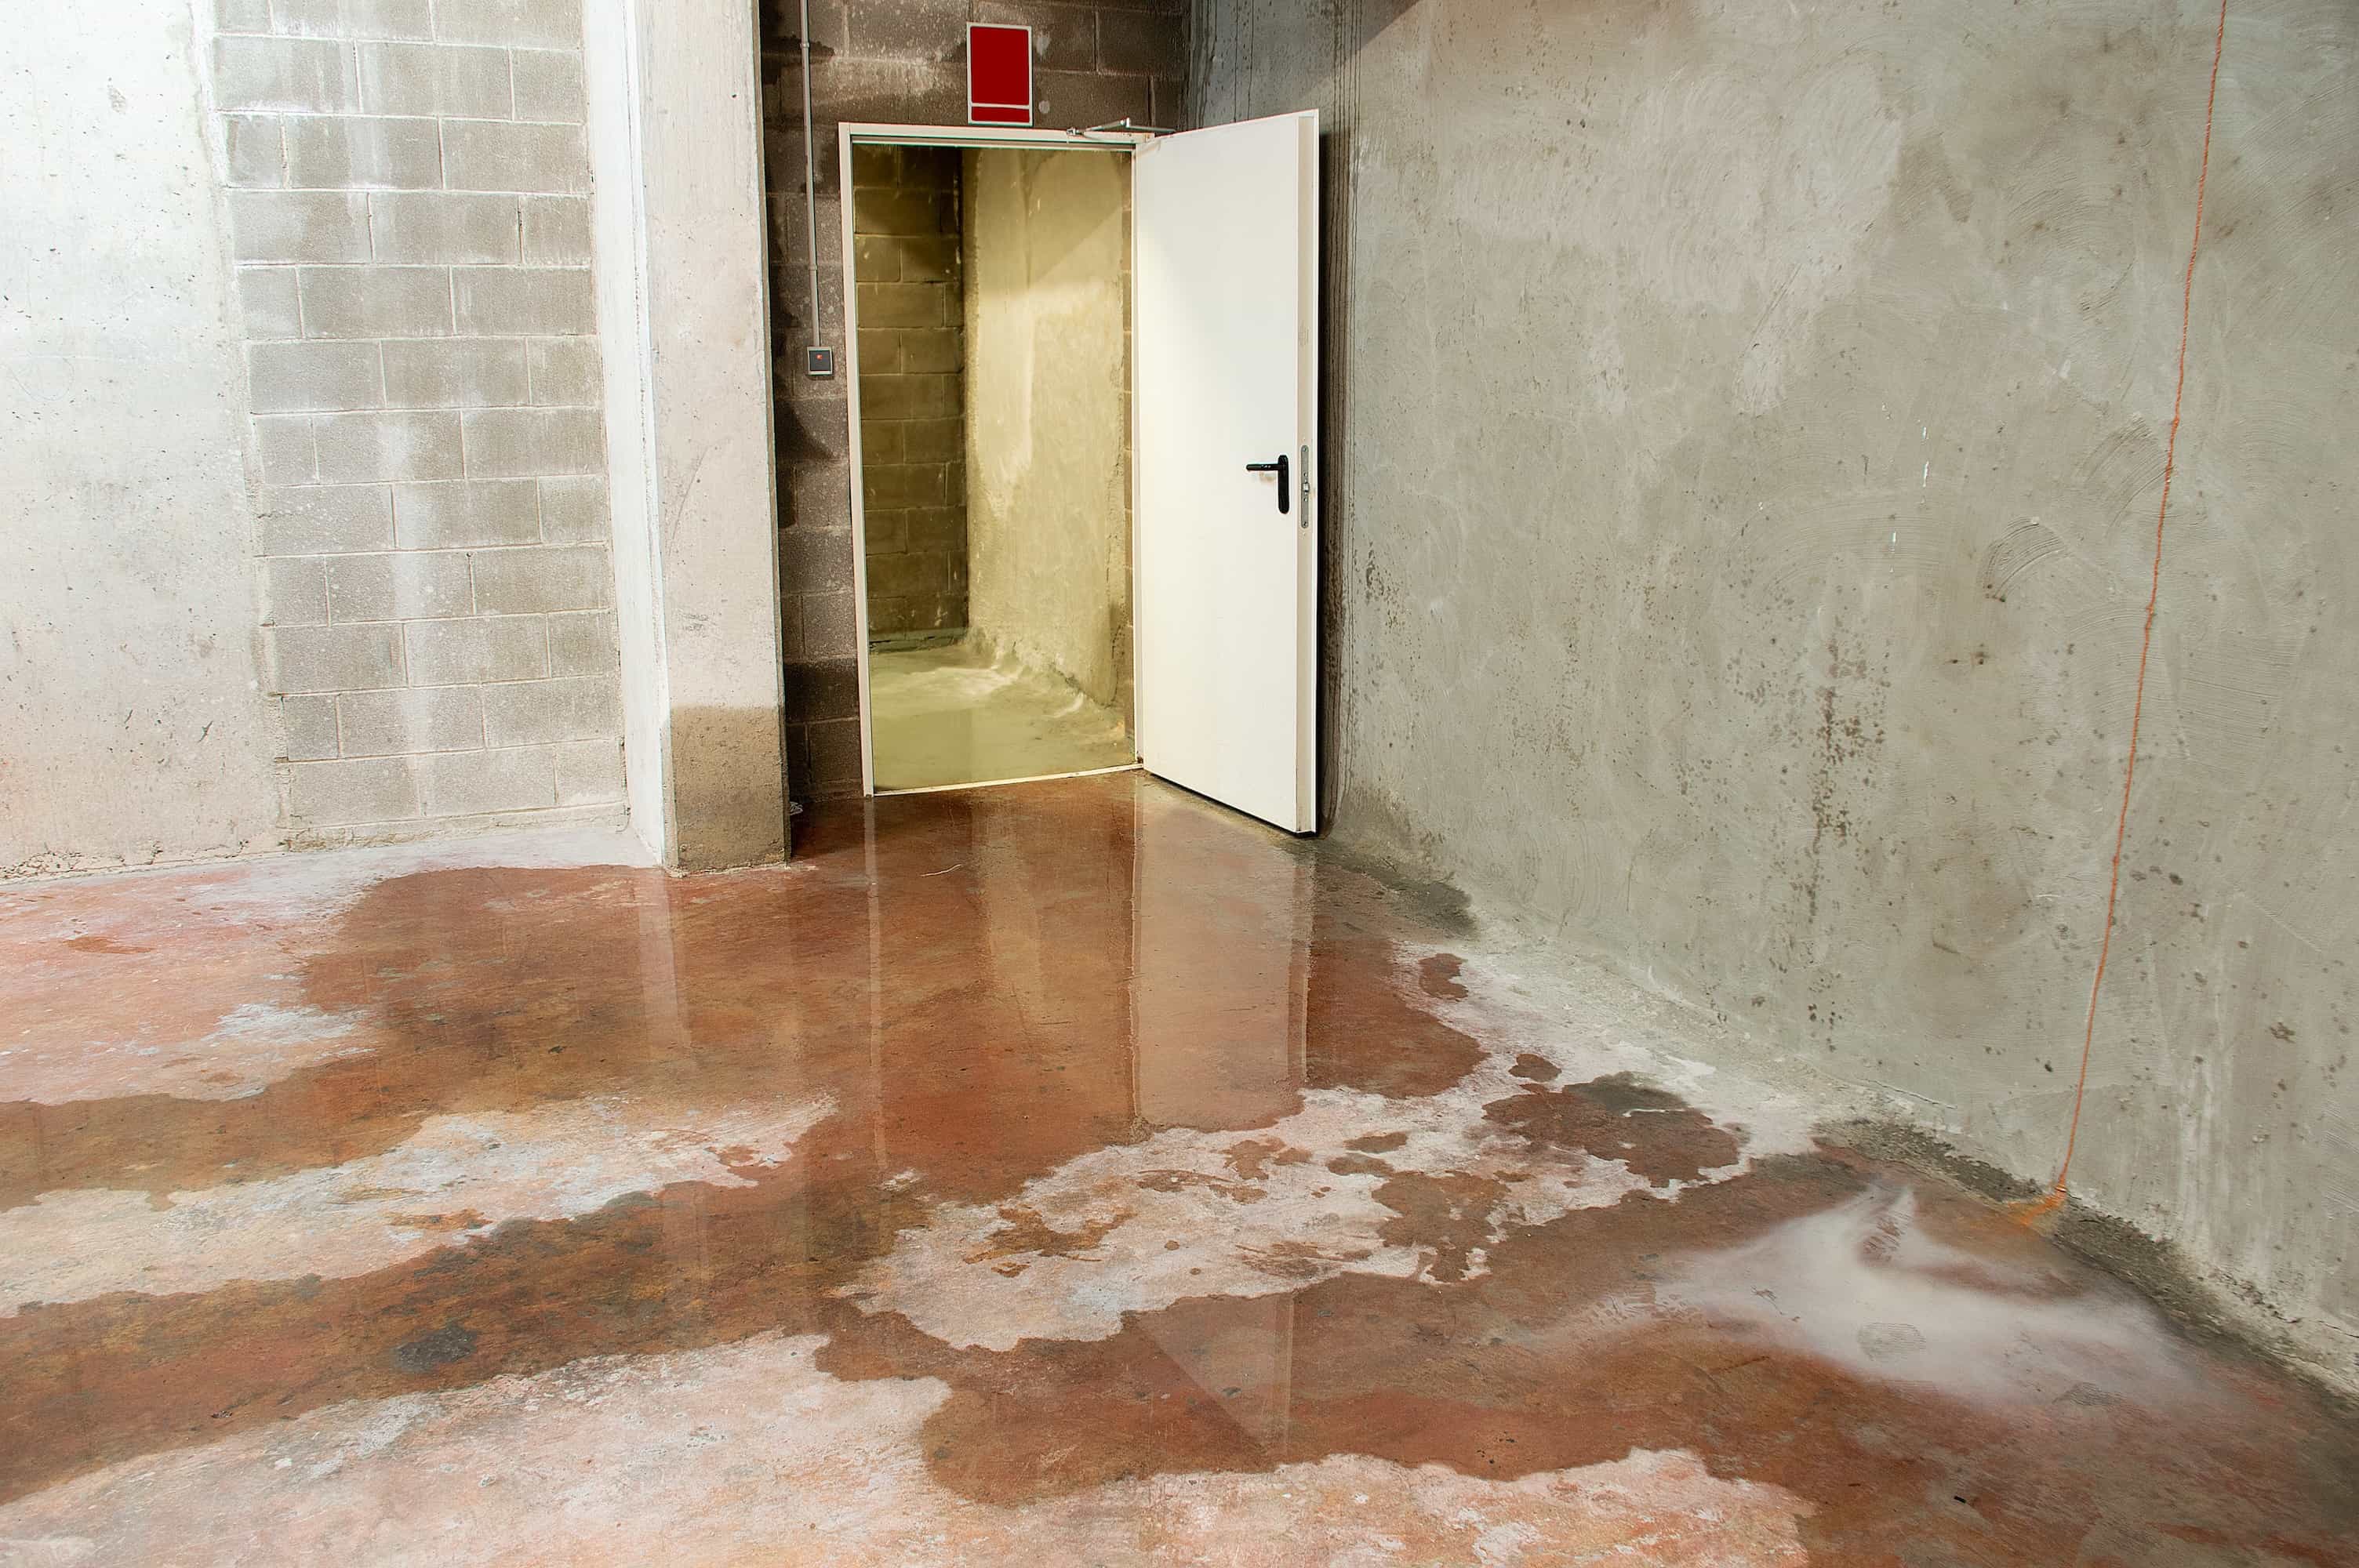
Basement flooding is one of those homeowner topics that gets simplified too quickly. People talk about “flooding” as if it’s a single event with a single fix, but in real homes it’s usually a set of different pathways that can all end with water on your basement floor. Sometimes it’s surface water finding a weak point outside. Sometimes it’s groundwater pressure showing up through cracks or joints. And sometimes it’s the municipal sewer system surcharging during heavy rain—pushing wastewater back toward homes that sit lower than the street or have basement plumbing fixtures tied into the sanitary or combined sewer connection.
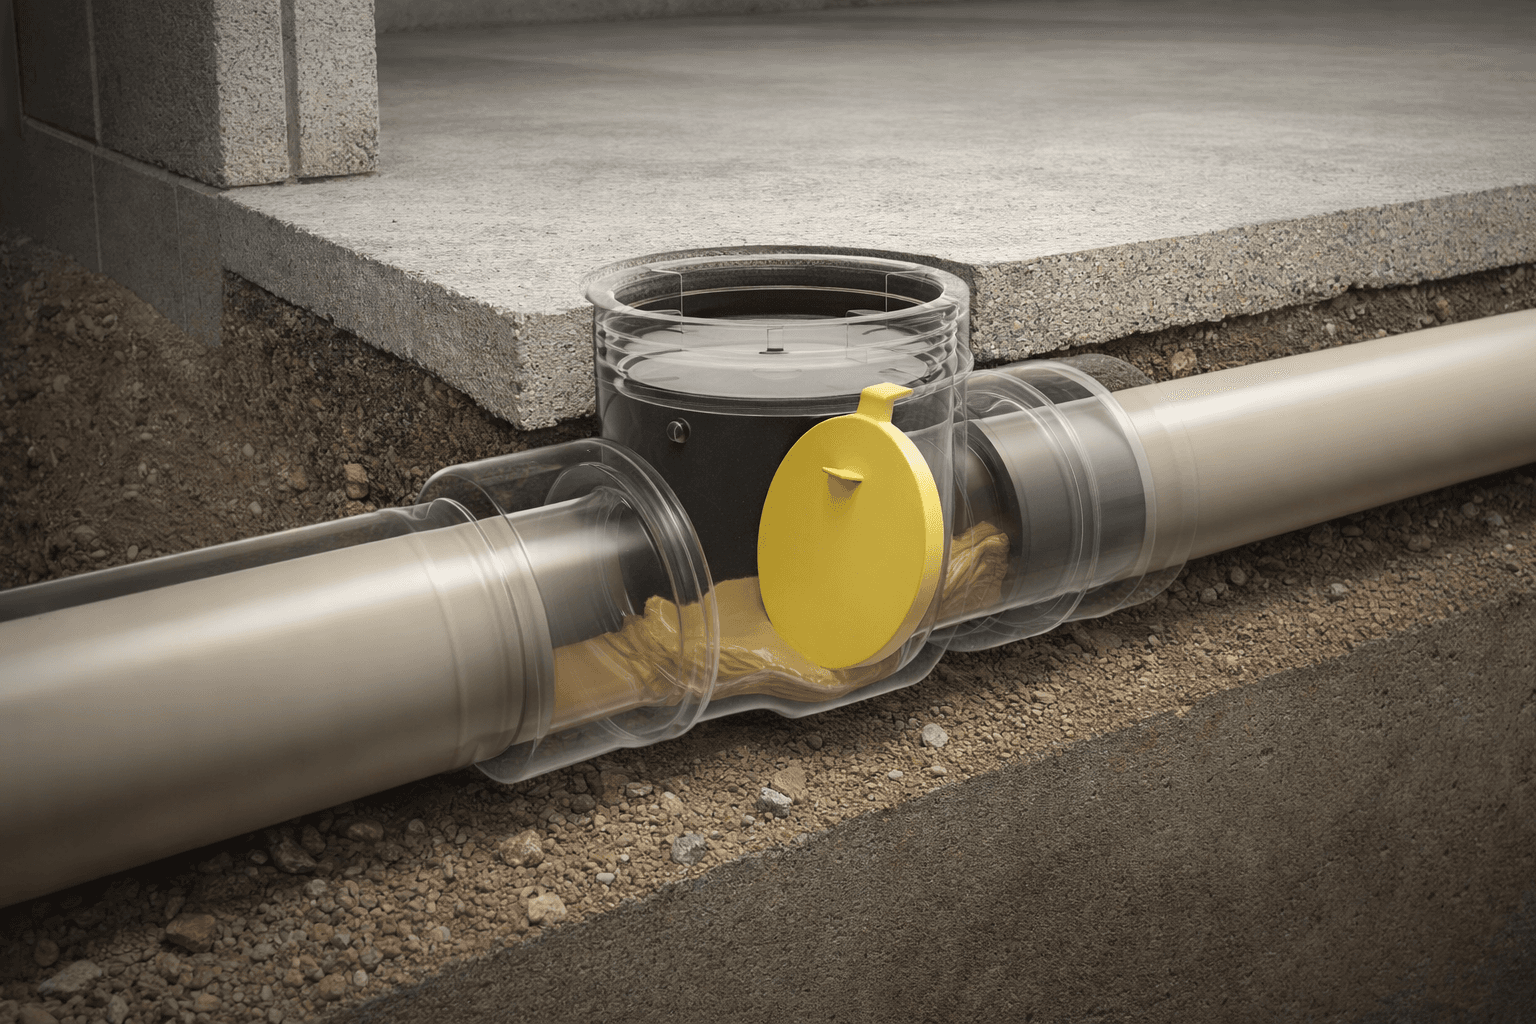
Backwater valves are designed for that last scenario. They’re not a general flood gadget and they’re not a cure-all for wet basements. A backwater valve is a one-way device installed on the home’s sanitary sewer line that allows wastewater to flow out to the municipal sewer, then closes automatically if sewage tries to flow back into the house during a surcharge event. That single function—blocking reverse flow—can be the difference between a bad storm and a full sewage cleanup when neighbourhood sewers are overloaded, as explained in Square One’s guide to backwater valves.
What makes this topic tricky is that the valve itself is only one part of a successful project. In many Canadian retrofits, the device ends up under the basement slab, and the “real work” is the access, the concrete, the restoration, and ensuring the valve remains reachable for inspection and cleaning later. Add in permits, inspections, and the documentation rules that come with municipal subsidies, and it quickly becomes the kind of project that benefits from planning—especially if you have a finished basement or you’re about to invest in one.
This guide walks through backwater valves the way most homeowners actually need it: how they work, where they typically go, the situations where they’re worth prioritizing, what the true cost drivers are, and how to think about installation quality and maintenance without turning this into a DIY manual. If you’re in a city with rebate programs, we’ll also cover what tends to be required so you can line up the paperwork before you start breaking concrete.
A backwater valve is installed on the main pipe that carries wastewater from your home to the municipal sewer, and in normal conditions it allows flow out of the house while blocking flow into the house—exactly as described in Square One’s backwater valve overview for homeowners trying to reduce sewer backup risk.
From a “how it works” perspective, most homeowner-friendly explanations describe a valve body with a flap that stays open during normal drainage, then closes when reverse flow pushes back toward the house. Some designs are “normally open” for everyday drainage and sewer gas venting, then close during surcharge events and reopen afterward.
A few practical implications fall out of that design:
For most homeowners, the “where” question matters as much as the “what” question, because location drives disruption, cost, and whether the valve will be maintained properly over time.
A key concept is mainline protection: the valve is most effective when it’s installed on the main sanitary drain serving the home, not on a single branch or one fixture. In Toronto-focused contractor explanations like Trouble Shooters Plumbing’s backwater valve installation overview, the valve is typically described as being installed inside the basement at or near the exit point of the main sewer lateral, with occasional outside installations depending on site conditions.
In many Canadian retrofit situations, homeowners should expect the valve to be located under the basement floor near the main sanitary sewer line, often close to the floor drain area—meaning concrete cutting and restoration are common parts of the job.
A good installation plan usually includes two non-negotiables:
You don’t need a history of flooding to justify protection. In practice, the best time to install a backwater valve is often before you have a finished basement full of flooring, drywall, and belongings.
Use this quick rubric to decide how urgent it is:
High priority (strong candidates):
Medium priority (situational):
Lower priority (still worth discussing):
Backwater valve projects often disappoint homeowners—not because the valve is a bad idea, but because the install was treated like a simple swap instead of a system change with future maintenance needs.
In a typical retrofit, you should expect some combination of slab access, pipe replacement on the main line, an access cover that remains serviceable, and restoration after inspection requirements are satisfied. The goal isn’t to memorize plumbing steps—it’s to understand the constraints so you can plan the disruption, the schedule, and the future accessibility.
If permits and inspections are involved, timing matters. Covering the work too early can force rework, and missing documentation can jeopardize eligibility for subsidies.
There’s a consistent pattern across Canada: installing a backwater valve during new construction is usually far cheaper than retrofitting one into an existing slab, because the plumbing and floor structure are already accessible.
When Toronto-area contractors discuss average project totals, guides like Premier Plumbing’s Toronto backwater valve rebate explainer commonly describe installed costs in the low-thousands for many retrofit scenarios, with the final number depending on access, drain depth, and restoration requirements.
A homeowner-friendly way to think about cost drivers:
Toronto is one of the clearest examples of how municipalities treat backwater valves as a core basement flood mitigation tool.
Under the requirements described by the City of Toronto’s Basement Flooding Protection Subsidy Program, eligibility can depend on permit rules, contractor licensing, inspection outcomes, and documentation such as itemized invoices.
Common homeowner failure points include starting work before permits are in place, enclosing the valve before inspection, and missing invoice details or application timing windows.
Rebates don’t make the job free, but they can make retrofit decisions easier—especially when bundled with other protective upgrades.
A program summary like Flood Ready’s Toronto basement flooding subsidy guide is useful for understanding how caps and percentage coverage can reduce net costs and how multiple measures can fit under an overall maximum.
Toronto isn’t the only place with financial assistance. Programs can exist at the municipal or regional level, often with different eligibility rules and caps.
A practical starting point is a multi-city summary like UPR’s city rebate program roundup, then verifying current details on your municipality’s official site before committing to work.
A directory page like Foundation Guard’s municipal rebate summary can help you identify which municipalities may offer programs, but treat it as a lead, not the final authority.
A backwater valve targets sewer backup. That’s one pathway. Many basements also face groundwater or surface-water pathways, which is why municipalities often talk about multiple measures rather than a single device.
Even in broader incentives listings like the City of Toronto’s incentives and rebates table, basement flooding protection is framed as a set of eligible installations, which reflects how homeowners should plan: match solutions to pathways.
Backwater valves are mechanical devices in a harsh environment, so maintenance is part of reliability.
Toronto’s program materials emphasize that valves must be maintained and inspected according to manufacturer instructions to remain effective, as stated by the City of Toronto’s subsidy program guidance.
One key operational point: if the valve is closed during a surcharge event, avoid using plumbing fixtures until drainage returns to normal, because water may not drain and can back up inside the home.
Subsidy programs can change based on budgets and storm impacts.
For example, in a City of Toronto news release about proposed flood-protection supports, the City discussed proposed adjustments that could affect maximum subsidies and device coverage.
It helps reduce the risk of sewage and wastewater flowing backward into your home through the sanitary (or combined) sewer connection during surcharge events.
No. Backwater valves relate to wastewater/sewer lines, while backflow preventers relate to potable water supply lines.
Basement fixtures increase exposure because they’re below grade; whether it’s required or recommended depends on code context and local rules.
Often on the main sanitary line under the basement floor near where the drain exits the house, typically under an access cover.
It’s generally recommended not to, because wastewater may not drain and can back up inside the home.
Follow manufacturer guidance, but many homeowners plan periodic inspection and cleaning plus checks after major storms.
No. It targets sewer backup. Groundwater seepage and overland flooding require other measures.
It’s generally not recommended. Permits, inspections, and licensed installation are common requirements for effectiveness and rebates.
It varies by insurer, but it’s often viewed as a risk-reduction measure, especially where sewer backup coverage is optional.
Itemized paid invoices, permit records, inspection approvals, and product documentation are the usual essentials.