CO & Smoke Detector Placement: Canadian Safety Standards Explained
A Practical, Code-Aware Guide for Safer Homes Across Canada
By
Published: March 13, 2026
Updated: March 21, 2026
Unobtrusive CO detector in a cozy living room guards daily life where fuel-burning risks quietly accumulate. (Credit: Homeowner.ca)
Key Takeaways
•Place alarms for coverage first: every storey, and especially near where people sleep.
•Mounting details matter: ceiling-first for smoke alarms, and manufacturer-height guidance for CO alarms.
•A simple maintenance rhythm (testing, cleaning, replacement planning) is what makes alarms reliable in real life.
Most Canadian homeowners don’t struggle with the idea of smoke alarms and carbon monoxide (CO) alarms—they struggle with placement details: Which rooms count? How close is “outside” a bedroom? Does a basement need its own alarm if no one sleeps there? And why do some homes have three alarms while others have ten?
Canada’s safety rules also feel fragmented at first glance. Building codes usually govern what gets installed during construction or major renovation, while fire codes and local bylaws shape what must be maintained in occupied homes. The exact wording varies by province and territory, but the practical goals are consistent: early warning on every storey, and strong protection around sleeping areas.
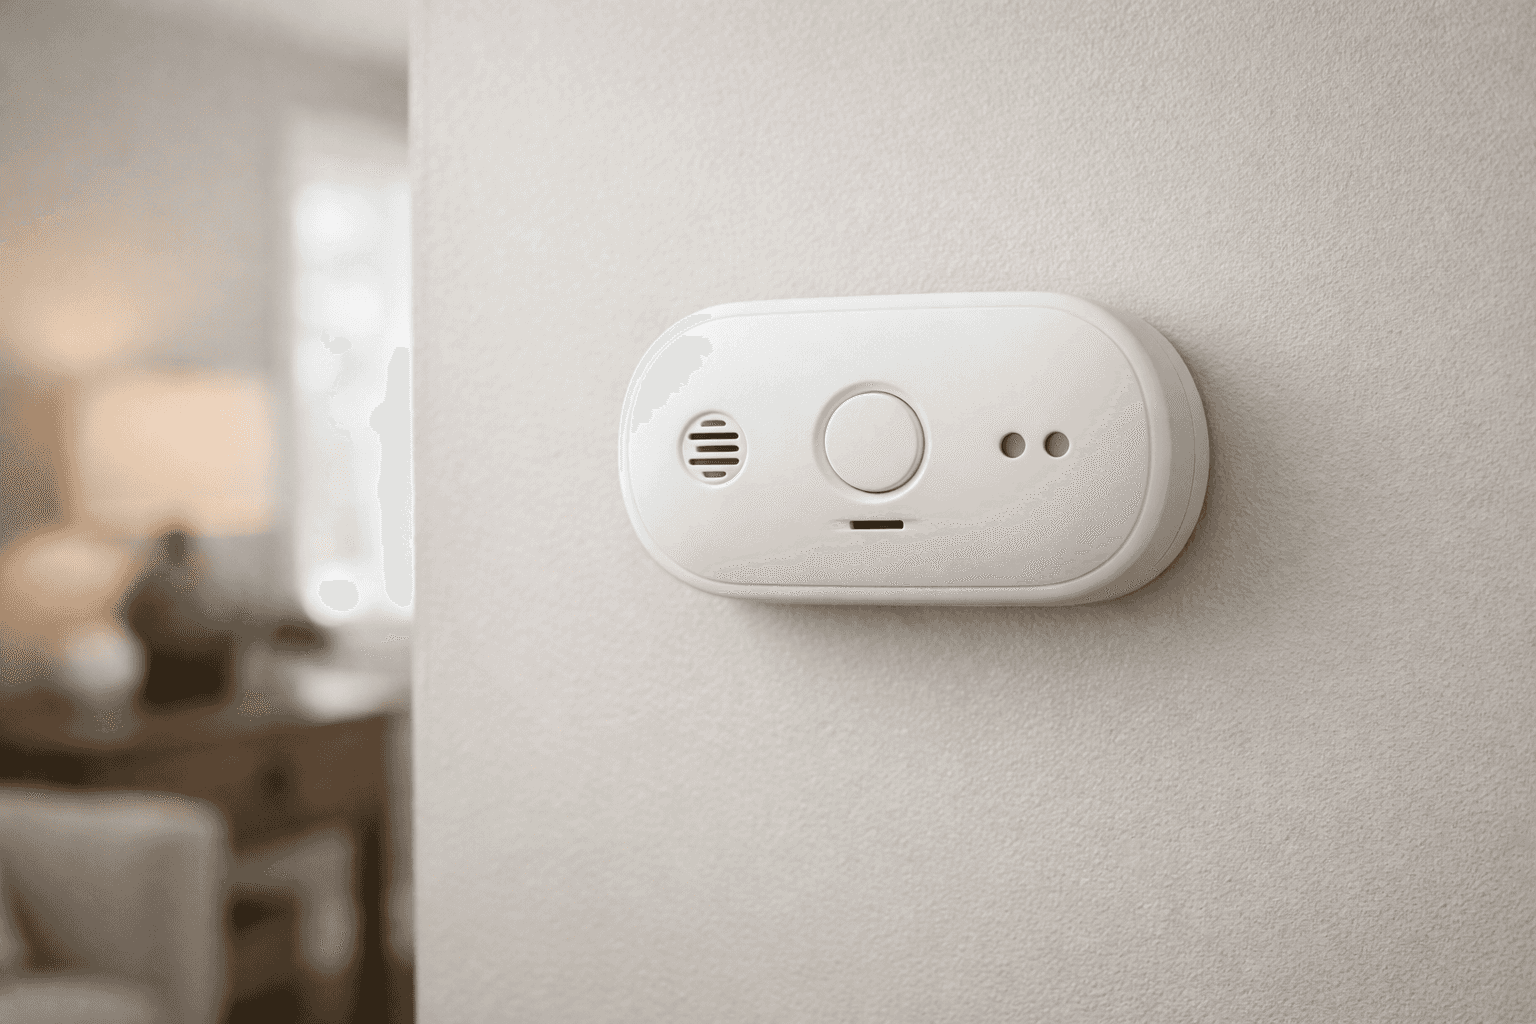
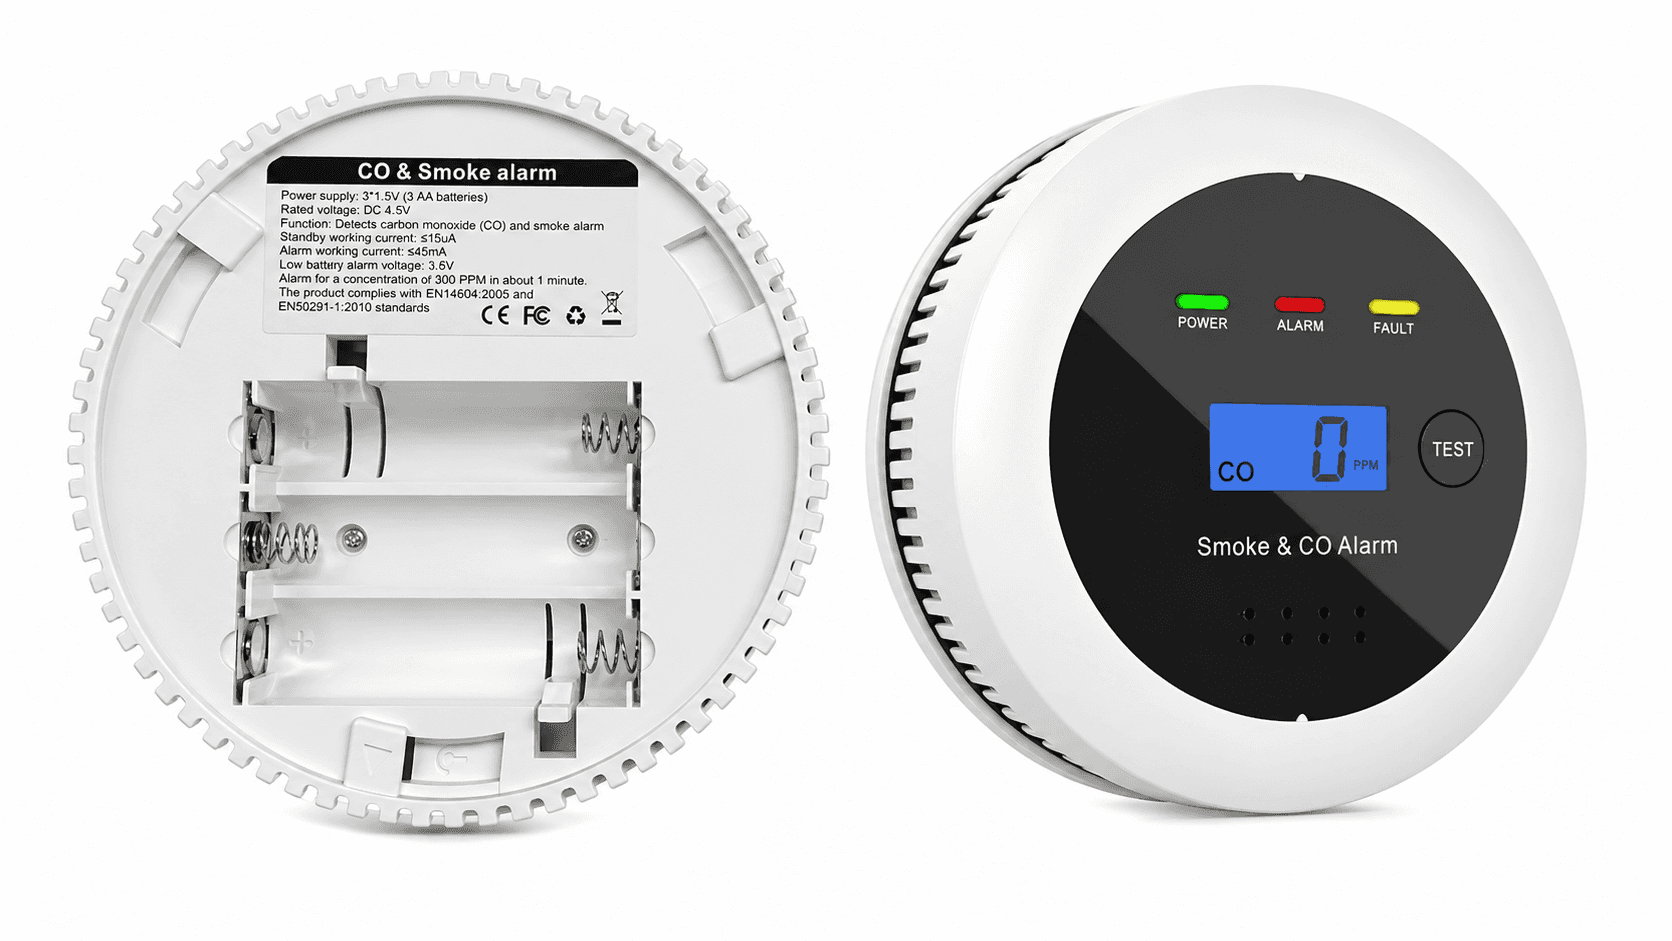
Smoke and CO alarms also behave differently because the hazards behave differently. Smoke spreads fast and often rises, so placement tends to favour ceilings and open pathways. Carbon monoxide is invisible and can move through a home in ways people don’t anticipate—especially at night—so CO alarm placement is anchored around sleeping areas and combustion sources (like fuel-burning appliances or attached garages).
This guide gives you a Canadian, standards-aligned way to think about coverage, mounting, and upkeep—without turning your weekend into a code-research project. You’ll get room-by-room guidance, common mistakes (and fixes), and a simple walkthrough you can use on a real floor plan.
A Simple Placement Framework That Works Across Canada
Think In Layers: People, Paths, and Sources
If you remember one mental model, make it this: place alarms by risk layers, not by “one per floor and done.”
Layer 1: People (Sleeping Areas)
Your first priority is warning occupants while they’re asleep—because response time and awareness are lowest at night.
Layer 2: Paths (Hallways, Stairs, and Common Circulation)
Alarms in circulation spaces catch hazards moving from one room or storey to another.
Layer 3: Sources (Combustion Appliances, Fire-Prone Rooms, Attached Garages)
Your last layer is “where it might start” or “where it might leak,” without creating nuisance alarms.
Here’s the framework in a working table you can apply to most Canadian homes:
Layer
What You’re Protecting Against
Smoke Alarm Strategy
CO Alarm Strategy
People
Delayed wake-up and slow response
Ensure alarms cover every sleeping area and nearby hallway
Put the first alarm right outside bedrooms
Paths
Hazard spread between rooms/storeys
Put alarms where smoke is likely to travel (hallways, near stairs)
Add alarms on storeys that connect sleeping areas to combustion risks
Sources
Higher likelihood of ignition or CO production
Cover storeys and living areas without placing too close to cooking or bathrooms
Add coverage near fuel-burning appliances and attached garage interfaces
Tip
Before you buy anything, do a 5-minute “coverage sketch”: mark bedrooms, the hallway outside them, stairs, and any fuel-burning appliance or attached garage. You’ll instantly see where coverage is missing—and where it’s already strong.
Advertisement — Article Continues Below
Smoke Alarm Placement: Coverage Rules Canadians Can Rely On
The “Every Storey + Sleeping Areas” Baseline, Plus a Practical Upgrade Path
A strong baseline for smoke alarms in Canada looks like this: one on every storey, and one outside sleeping areas, with additional alarms added as homes get larger or more compartmentalized. As a concrete example of how this is communicated to homeowners, Ontario’s home fire-safety guidance describes smoke alarms as required on every storey and outside all sleeping areas.
For many households, the difference between “minimum coverage” and “excellent coverage” is simply adding alarms inside bedrooms. That step is consistent with federal best-practice messaging: according to Health Canada’s fire safety guidance, smoke alarms belong in each bedroom, in the hallway outside bedrooms, and on every level of the home (including the basement). Once you adopt that pattern, you’re no longer guessing whether a closed door or a long hallway will delay detection.
To make this operational, think of smoke alarm coverage in two tiers:
Coverage Tier
What It Looks Like
Where It Works Well
Where It Can Fall Short
Baseline Coverage
Every storey + outside sleeping areas
Smaller homes, open floor plans
Homes with long hallways, closed bedroom doors, finished basements
Best-Practice Coverage
Baseline + each bedroom
Most homes, families, guests, rentals
Still needs smart mounting to reduce nuisance alarms
Room-By-Room Smoke Alarm Placement (Practical Canadian Version)
A lot of confusion comes from floors without bedrooms: “Where does it go if nobody sleeps here?” Many Canadian fire services translate the intent clearly: install alarms on each level, and on levels without bedrooms, place them in or near living areas. For a plain-language example, Fort Frances Fire Rescue’s smoke alarm education page describes placing alarms outside sleeping areas and on every level (including basements), and also points to living areas as the placement target on storeys without bedrooms.
Use this “room logic” to choose locations:
Bedrooms: best-practice coverage is an alarm in each bedroom (especially if doors are closed at night).
Hallway outside bedrooms: treat this as non-negotiable coverage.
Main floor without bedrooms: prioritize the living/family room area and the pathway to stairs.
Basement: cover the storey even if unfinished; basements often contain mechanical systems and storage.
Important
If you’re adding only one extra smoke alarm beyond the minimum, add it where it reduces the biggest blind spot: a closed bedroom door. Bedroom alarms often shorten the “time-to-wake” window in real fires because the alarm is already inside the sleeping space.
Smoke Alarm Installation Details: Mounting Height, Dead Air, and Nuisance Alarms
Where the Alarm Goes in the Room Matters as Much as Which Room
Once you’ve chosen the right rooms, you still need the right mounting zones. Smoke behaviour is why ceiling mounting is usually preferred, and why “almost the right spot” can still underperform.
For example, the Department of National Defence’s home fire prevention booklet emphasizes ceiling installation where possible (because smoke rises), and otherwise mounting high on a wall while avoiding problem areas like bathrooms, windows, ceiling fans, and heating/cooking appliances. The practical takeaway is that mounting is not just about height—it’s about keeping the sensor in clean, predictable airflow.
Manufacturers add another layer: they often call out corner zones and other “dead air” areas where smoke may not reach the sensor quickly. To see how this is described in homeowner terms, Kidde Canada’s optimal alarm placement guidance discusses choosing locations that avoid airflow dead zones and reduce nuisance alarms, while still maintaining strong coverage.
Smoke Alarm Mounting Do/Don’t Table
Location Detail
Do
Don’t
Why It Matters
Ceiling vs wall
Ceiling-first when possible
Mount low on a wall like a thermostat
Smoke typically stratifies higher first
Corners and peaks
Follow manufacturer guidance for spacing
Tuck alarms into tight corners
Dead air can delay smoke reaching the sensor
Bathrooms
Keep alarms away from steam paths
Put alarms right outside steamy bathrooms
Steam can trigger nuisance alarms and lead to disabling
Kitchens
Place near—but not in—the cooking zone
Install right beside the stove/oven
Cooking aerosols can trigger false alarms
Fans and vents
Choose stable airflow locations
Install beside supply vents or ceiling fans
Turbulence can delay or dilute smoke reaching the sensor
Warning
“Nuisance alarms” are a safety problem, not an annoyance—because they train people to remove batteries or disable alarms. If your alarm false-alarms repeatedly, fix the placement or ventilation issue rather than living with the noise.
A Practical Nuisance-Alarm Reduction Checklist
If alarms trigger during cooking: move the alarm slightly farther from the cooking source while keeping coverage in the same storey and circulation pathway.
If alarms trigger during showers: reposition away from bathroom doors and steam paths.
If alarms chirp intermittently: treat it as a maintenance signal (battery, dust, end-of-life) rather than a “random glitch.”
Advertisement — Article Continues Below
Carbon Monoxide Alarm Placement: Protect People While They Sleep
Start Outside Bedrooms, Then Cover Combustion Risks and Garages
CO alarm placement should feel simpler than smoke placement: your first alarm goes near bedrooms, because that’s where it protects you at the most vulnerable time. At a national guidance level, Health Canada’s CO exposure prevention guidance recommends installing at least one CO alarm (ideally with battery backup) in homes with combustion appliances or equipment, and highlights the hallway outside sleeping areas as the most important location.
From there, your next decisions are driven by combustion sources and air pathways. Typical CO risk triggers in Canadian housing include:
Gas or propane furnaces and boilers
Gas water heaters
Wood stoves and fireplaces
Attached garages (even if you “never idle” inside them)
Shared mechanical rooms in some multi-unit buildings
When CO Alarms Are Required (Ontario as a Concrete Example)
While rules vary, Ontario is a useful example because its Fire Code language is specific about combustion triggers. Under Ontario Regulation 213/07 (Fire Code), CO alarms are required in residential suites where fuel-burning appliances or fireplaces are present, and also in suites adjacent to service rooms or storage garages containing fuel-burning equipment; the regulation also references that CO alarms must meet recognized standards (including CAN/CSA-6.19 or UL 2034) and be installed per manufacturer height guidance (or on/near the ceiling if no height is specified).
That legal language can feel abstract until you translate it into “homeowner triggers.” Use this decision table as a practical interpretation:
If Your Home Has…
Treat CO Coverage As…
First CO Alarm Location
Next Best Addition
Any fuel-burning appliance (furnace, water heater, fireplace)
Essential
Hallway outside bedrooms
Add coverage on storeys connecting bedrooms to appliance areas
Attached garage
Essential
Hallway outside bedrooms
Add an alarm on the storey with the garage interface
Condo/stacked townhouse with shared mechanical rooms
Often required or strongly advised
Hallway outside bedrooms
Add coverage near entry points to shared corridors/mechanical interfaces
What “Adjacent to Sleeping Areas” Means in Real Floor Plans
The phrase “adjacent” is one of the most misunderstood parts of CO alarm placement, especially in condos and long hallways. For a plain-language explanation, Ontario’s carbon monoxide safety guidance clarifies that “adjacent to each sleeping area” typically means the hallway or area outside the sleeping rooms—such as the hallway nearest multiple bedrooms.
Important
Avoid placing CO alarms inside bedrooms as a default unless the manufacturer instructs it for your unit or your local authority recommends it. Hallways outside sleeping rooms are typically the most effective “single point of warning” for multiple bedrooms.
Newer Homes and Renovations: Why Alarms Are Often Hard‑Wired and Interconnected
Understanding “Interconnected,” “Hard‑Wired,” and Backup Power
If you’ve toured newer Canadian homes and noticed alarms in bedrooms, hallways, and multiple storeys—often with a “test/hush” feature that triggers several alarms at once—that’s not just a design trend. Many building codes push toward broader coverage and more resilient power.
As an example of how detailed these requirements can get, Ontario Regulation 332/12 (Building Code) requires smoke alarms on each storey and mezzanine of a dwelling unit, and on storeys with sleeping rooms it requires alarms in each sleeping room and in a location between the sleeping rooms and the rest of the storey (commonly the hallway); it also sets construction-oriented power requirements, including permanent connection to an electrical circuit and battery backup performance expectations.
For homeowners, the “why” matters: hard-wired, interconnected alarms are designed to reduce single-point failure (dead battery) and increase warning time across the home (one alarm senses, all alarm).
Upgrade Options (Without Overbuilding)
Situation
Good Upgrade
Why It’s Worth It
Watch-Out
Older home with minimal alarms
Add alarms in bedrooms and hallways
Reduces closed-door blind spots
Place carefully to avoid nuisance alarms
Renovation opening walls/ceilings
Consider interconnected alarms
Whole-home warning when any alarm triggers
May require electrician and permit in some cases
Frequent power outages
Prioritize battery backup and end-of-life clarity
Keeps protection during outages
Don’t assume “plug-in” equals reliable backup
Tip
If you’re renovating, treat alarm wiring like plumbing rough-in: it’s dramatically easier (and cheaper) when walls are open than after finishes go in.
Advertisement — Article Continues Below
Maintenance and Replacement: The Schedule That Keeps Protection Real
Testing Is Easy; Replacement Planning Is What People Forget
Placement gets you coverage; maintenance keeps it real. Most alarm failures in lived-in homes come down to simple problems: dead batteries, dust buildup, or alarms that are past end-of-life.
You’ll also see more “sealed battery” alarms in Canadian retail and new installs. In manufacturer language, First Alert Canada’s 10-year smoke alarm guidance explains how 10-year alarms are designed around a long-life power source and end-of-life replacement, which can reduce battery-removal behaviour (while still requiring replacement at the end of service life).
A Simple Maintenance Schedule (Use This as a Fridge Checklist)
Task
Frequency
What You’re Looking For
Quick Fix If It Fails
Press “Test” button
Monthly
Alarm sounds clearly and promptly
Replace battery or unit if weak/none
Visual check
Monthly
Not painted over, not hanging loose, not blocked
Re-secure, clear obstructions
Light cleaning (vacuum exterior vents)
Every 6 months
Dust buildup that can affect sensing
Vacuum gently; avoid sprays
Battery replacement (if replaceable)
At least annually, or when chirping
Prevent “low battery” failure
Replace with correct type
Full unit replacement
At end-of-life (often ~10 years, or per label)
Sensor ageing and electronics wear
Replace the whole unit, not just the battery
Note
If you’re in a condo or rental, responsibilities can be shared (building systems vs in-suite devices). The safest approach is to confirm what the building provides, then ensure your personal suite coverage still matches your floor plan and sleeping areas.
Regional and Housing‑Type Considerations in Canada
Condos, Townhomes, Basements, and Local Variations That Change Placement
Across Canada, the principles are consistent, but the implementation patterns can differ by housing stock and province.
For a Quebec example, Montréal’s smoke alarm FAQ guidance describes baseline expectations like at least one smoke alarm per floor, with mounting on or near the ceiling, and notes that newer buildings can require more comprehensive coverage (including within sleeping rooms and between sleeping areas and the rest of the floor). The directional trend is easy to recognize across Canada: newer construction generally pushes coverage closer to where people sleep.
Municipal guidance elsewhere often reinforces the same “every level + sleeping areas + living areas on non-bedroom floors” logic. For example, East Zorra-Tavistock’s home and fire safety guidance reflects the common Canadian messaging that alarms should cover levels and sleeping areas in a way homeowners can apply without reading code language.
Placement Hotspots by Home Type
Home Type
Smoke Alarm Hotspots
CO Alarm Hotspots
Common Miss
Two-storey detached
Bedroom floor hallway + bedrooms
Bedroom hallway + storey with combustion source
Missing main-floor coverage if bedrooms are upstairs
Bungalow
Bedroom hallway + basement
Bedroom hallway + near garage interface
No basement alarm “because it’s unfinished”
Townhouse with attached garage
Each storey + near stairs
Bedroom hallway + storey with garage door
Forgetting CO coverage near the garage interface
Condo
Bedrooms + in-suite hallway
Bedroom hallway, especially if fuel-burning exists or shared risks
Assuming corridor alarms cover the suite interior
Important
If you move provinces (or even municipalities), treat it like moving your car insurance: the baseline logic remains, but local requirements and enforcement can shift. When in doubt, align to the “best-practice” pattern—especially around sleeping areas.
Advertisement — Article Continues Below
Troubleshooting: When Alarms Chirp, False-Alarm, or Go Off “For No Reason”
Fix the Cause Without Losing Coverage
Alarms that annoy people get disabled—and disabled alarms don’t protect anyone. The goal is to correct the cause while keeping coverage intact.
For a practical, local-government example that covers both smoke and CO concerns, the City of Hamilton’s guidance on smoke alarms and carbon monoxide is a useful model of the kind of homeowner-facing advice many Canadian fire services provide: it frames alarms as mandatory life-safety devices and emphasizes correct placement and maintenance behaviours that prevent disabling.
CO alarms, in particular, can be thrown off by environmental extremes and poor placement. In terms of “where not to install,” Ontario Association of Fire Chiefs public safety guidance warns against locations that drop below about 4.4°C (40°F) or rise above about 37.8°C (100°F), and also advises avoiding installation within roughly 1.5 m (5 ft) of cooking or open-flame appliances to reduce nuisance alarms and device stress.
Fast Troubleshooting Flow (Keep This on Hand)
If a smoke alarm goes off while cooking:
First: use the hush feature if available and ventilate (range hood, window).
Then: consider moving the alarm slightly farther from the cooking zone without removing storey coverage.
If it keeps happening: check for grease/dust buildup and confirm mounting guidance for corners and airflow.
If a CO alarm goes off:
Treat it as real until proven otherwise.
Move people to fresh air and follow emergency guidance for your jurisdiction.
After the event: have fuel-burning appliances inspected and review placement (especially near garages and mechanical rooms).
If you hear chirping:
It’s usually low battery or end-of-life.
Replace batteries (if replaceable) and check the unit’s manufacture date.
If chirping persists, replace the unit.
Warning
Never “solve” nuisance alarms by removing batteries, taping over the unit, or relocating alarms into closets or dead zones. Those fixes trade short-term quiet for long-term risk.
Advertisement — Article Continues Below
Ontario’s Rules Are Tightening: What the January 1, 2026 Update Signals
Use It as a Prompt to Check Your Province and Consider Whole‑Home CO Coverage
Canadian requirements evolve, and Ontario provides a clear example of the direction: more coverage, not less. As described in the Ontario Association of Fire Chiefs announcement on the Fire Code update, Ontario is expanding CO alarm requirements effective January 1, 2026, pushing beyond “near sleeping areas” toward broader storey-by-storey coverage in homes with fuel-burning appliances, fireplaces, or attached garages.
Even if you don’t live in Ontario, that change is a useful signal: provincial standards tend to tighten toward comprehensive protection as hazards are better understood and as housing stock changes. If you’re planning upgrades now, installing with “whole-home logic” often avoids having to redo work later.
Note
If you’re uncertain about your local requirements, your local fire department’s prevention office is often the fastest, clearest way to confirm expectations for your home type.
Advertisement — Article Continues Below
A 30‑Minute Placement Walkthrough for a Typical Canadian Home
Map Your Alarms Before You Buy Anything
Use this walkthrough whether you’re in a bungalow, two-storey, townhouse, or condo.
Step 1: Draw the “Sleep Map”
Mark every bedroom.
Mark the hallway or area immediately outside the bedrooms.
Mark doors that are usually closed at night.
Target outcome: smoke and CO warning coverage that reaches sleeping occupants quickly.
Step 2: Draw the “Path Map”
Mark stairs.
Mark long hallways.
Mark any doors separating basement/mechanical areas from living areas.
Target outcome: alarms positioned so hazards travelling between rooms/storeys are detected early.
Step 3: Draw the “Combustion Map”
Mark anything that burns fuel: furnace, boiler, water heater, fireplace, wood stove.
Mark the attached garage and the door between garage and house (if applicable).
Target outcome: CO coverage aligned to risk sources without installing alarms in harsh/unapproved locations.
Step 4: Convert the Maps into a Purchase List
A typical outcome for a two-storey detached home might look like:
Smoke alarms: bedroom hallway, each bedroom, main-floor living area, basement stair area
CO alarms: bedroom hallway first, then additional storey coverage if combustion sources/garage are present
Step 5: Install, Test, and Label
Install per manufacturer instructions.
Test immediately after installation.
Write the install month/year inside the battery door or on the back of the unit (so replacement planning is easy later).
Tip
If you’re unsure whether you’re “overdoing it,” remember this: extra coverage placed well is rarely the problem—poor placement that creates nuisance alarms is the problem.
Advertisement — Article Continues Below
FAQ
Yes. Storey-by-storey coverage is a core safety pattern because hazards don’t care whether a space is finished. Unfinished basements often contain electrical panels, mechanical equipment, storage, or laundry—any of which can introduce ignition risk. Even when the basement is “just storage,” smoke can move up stairwells quickly, so early detection is still valuable.
In many Canadian homes, bedroom alarms are the difference between “technically covered” and “actually protected,” especially if doors are closed at night. If you’re choosing where to add alarms beyond the minimum, bedrooms are one of the highest-value upgrades. If your home already has strong hallway coverage, bedroom alarms reduce the chance of delayed warning behind closed doors.
Usually, no—not in the immediate cooking zone. The goal is to cover the storey without creating constant nuisance alarms from normal cooking. Place the alarm so it still hears/“sees” developing smoke in the storey but isn’t routinely exposed to cooking aerosols and steam.
Far enough that shower steam and humid air aren’t routinely drifting into the sensor. If the alarm is triggering during showers, it’s too close to the bathroom airflow path. Shift the alarm location while keeping the same storey coverage, and prioritize stable airflow (not directly outside the bathroom door).
Sometimes, but placement can get tricky because ideal locations for smoke and CO aren’t always identical. Combo units can work well in hallways outside bedrooms where both hazards are relevant. Before relying on combos, confirm that coverage still meets the needs of each hazard and that you’re not compromising by placing the unit somewhere that’s “okay for one, bad for the other.”
Think “the last common space you pass through before you enter bedrooms”—typically the hallway that serves the bedrooms. In a primary-bedroom-on-main layout, it might be the small corridor just outside the bedroom door. In a multi-bedroom layout, it’s usually the shared hallway nearest the cluster of bedrooms.
Follow the manufacturer’s installation instructions for your specific unit. Some devices specify a height or mounting approach; others allow ceiling or high wall placement. If your unit doesn’t specify, place it where it will reliably alert sleeping occupants—usually in the hallway outside bedrooms—while avoiding harsh locations like unheated garages.
An attached garage is a meaningful CO risk even if the home’s heating is electric. Vehicles, stored fuel-powered equipment, and infiltration through shared walls or doorways can all introduce CO pathways. In most cases, you should treat a garage connection as a reason to install CO alarms, starting outside sleeping areas.
Yes, it can. Any appliance that burns fuel has the potential to produce CO if it malfunctions, is poorly vented, or is operated incorrectly. That doesn’t mean you should mount a CO alarm right beside the stove—but it does mean your home should have CO protection anchored around sleeping areas.
Even occasional use can create CO risk, especially if vents are blocked, drafts are poor, or combustion is incomplete. Treat any functional combustion appliance as a reason for CO coverage. The safest approach is still the same: first CO alarm outside bedrooms, then consider additional storey coverage based on the appliance location and home layout.
Monthly testing is a common, practical rhythm because it’s frequent enough to catch failures before they linger for years. Testing also helps you notice weak sounders, intermittent faults, and issues introduced by renovations or painting. If monthly feels hard, tie it to a calendar habit (first weekend of the month).
Replace units at end-of-life, which is often around 10 years (check your device label and manufacturer guidance). Sensors and electronics age even if the alarm still beeps during a test. A working test button does not guarantee the sensor’s performance is still within design spec.
Interconnected means that when one alarm senses a hazard, all linked alarms sound. It can materially improve warning time in larger homes or homes with closed doors and long travel paths. If you’re renovating and walls are open, it’s often a smart upgrade; if you’re not renovating, you can still improve outcomes by adding coverage in key locations like bedrooms and hallways.
Battery-operated alarms are typically DIY-friendly if you follow manufacturer instructions and use correct mounting hardware. Hard-wired or interconnected systems may require an electrician, permits, or both depending on your jurisdiction and the scope of work. If you’re unsure, treat electrical work like plumbing behind walls: professional help reduces downstream risk.
Building corridor alarms don’t necessarily provide timely detection inside your suite, especially behind closed doors. Your suite layout still needs coverage in sleeping areas and key pathways. Confirm what the building provides, then ensure your in-suite protection matches your actual floor plan.
Treat any CO alarm as real until proven otherwise. Move to fresh air, account for everyone (including pets), and follow local emergency guidance for your area. Then have fuel-burning appliances inspected and review alarm placement—especially near garages and mechanical rooms—so you reduce the odds of repeat events.